Ocarina of Time Bosses: How to Beat All 10
Every boss in order, with its weak point and a strategy that works, followed by the minibosses. Each one links to its dungeon guide.
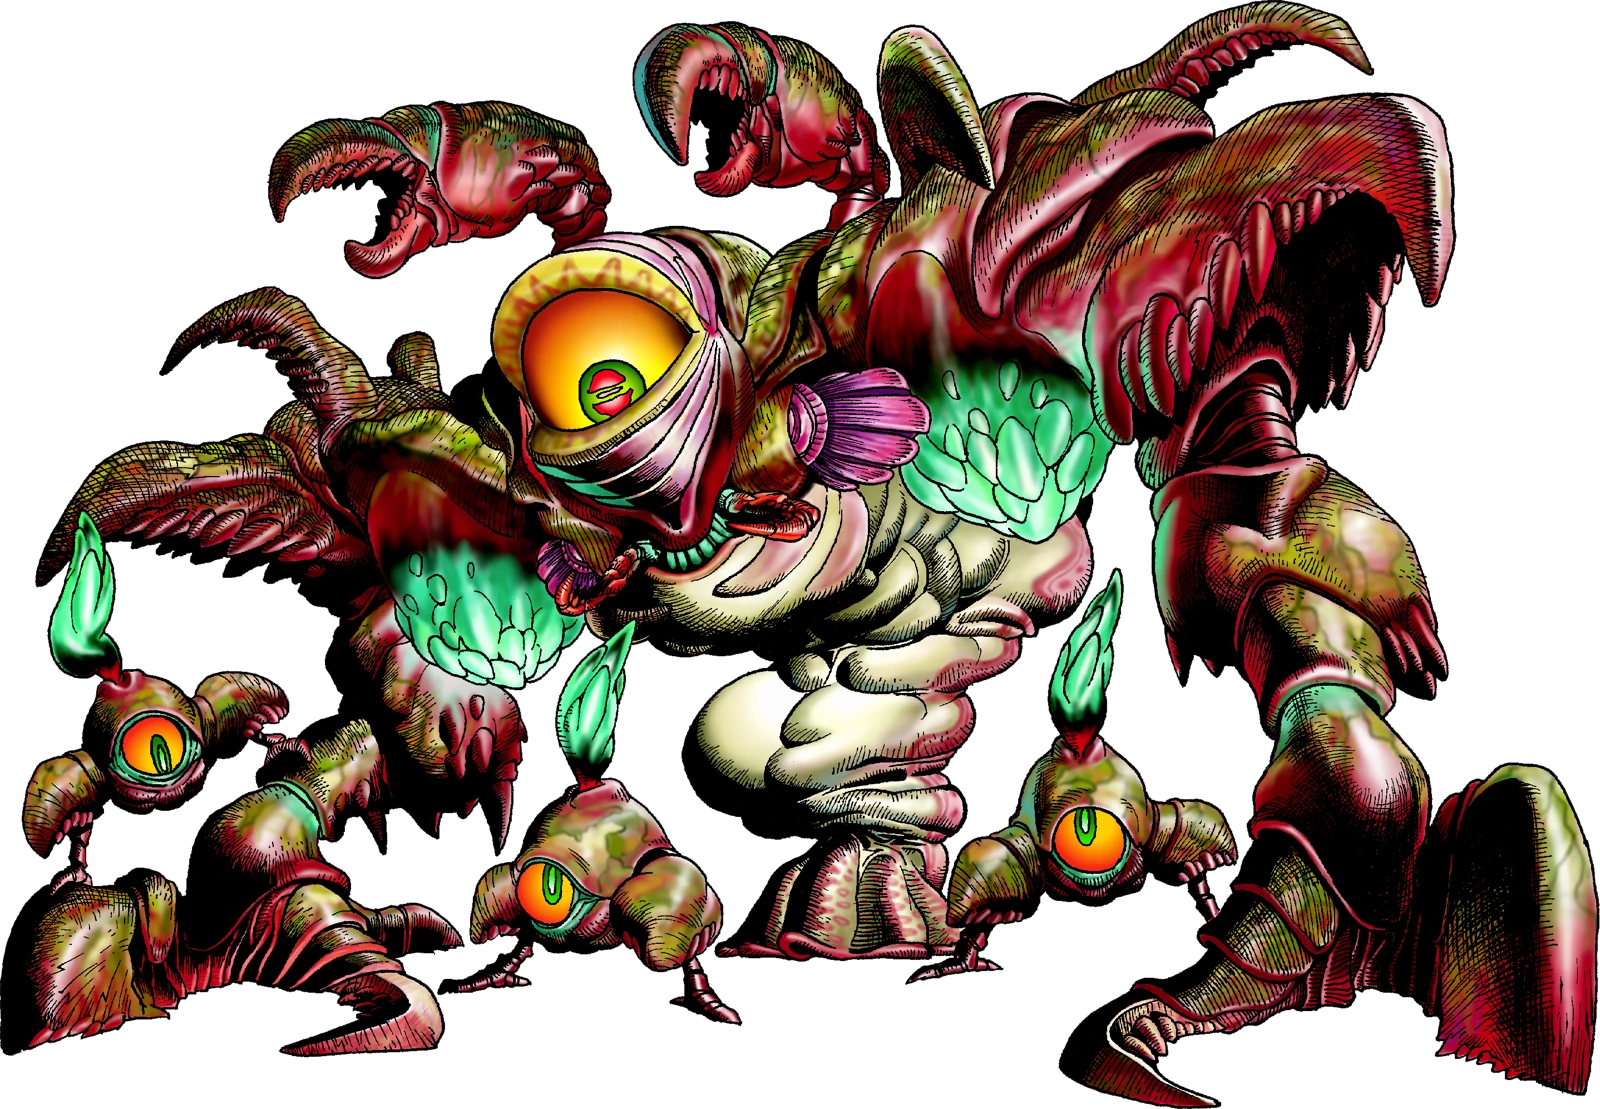
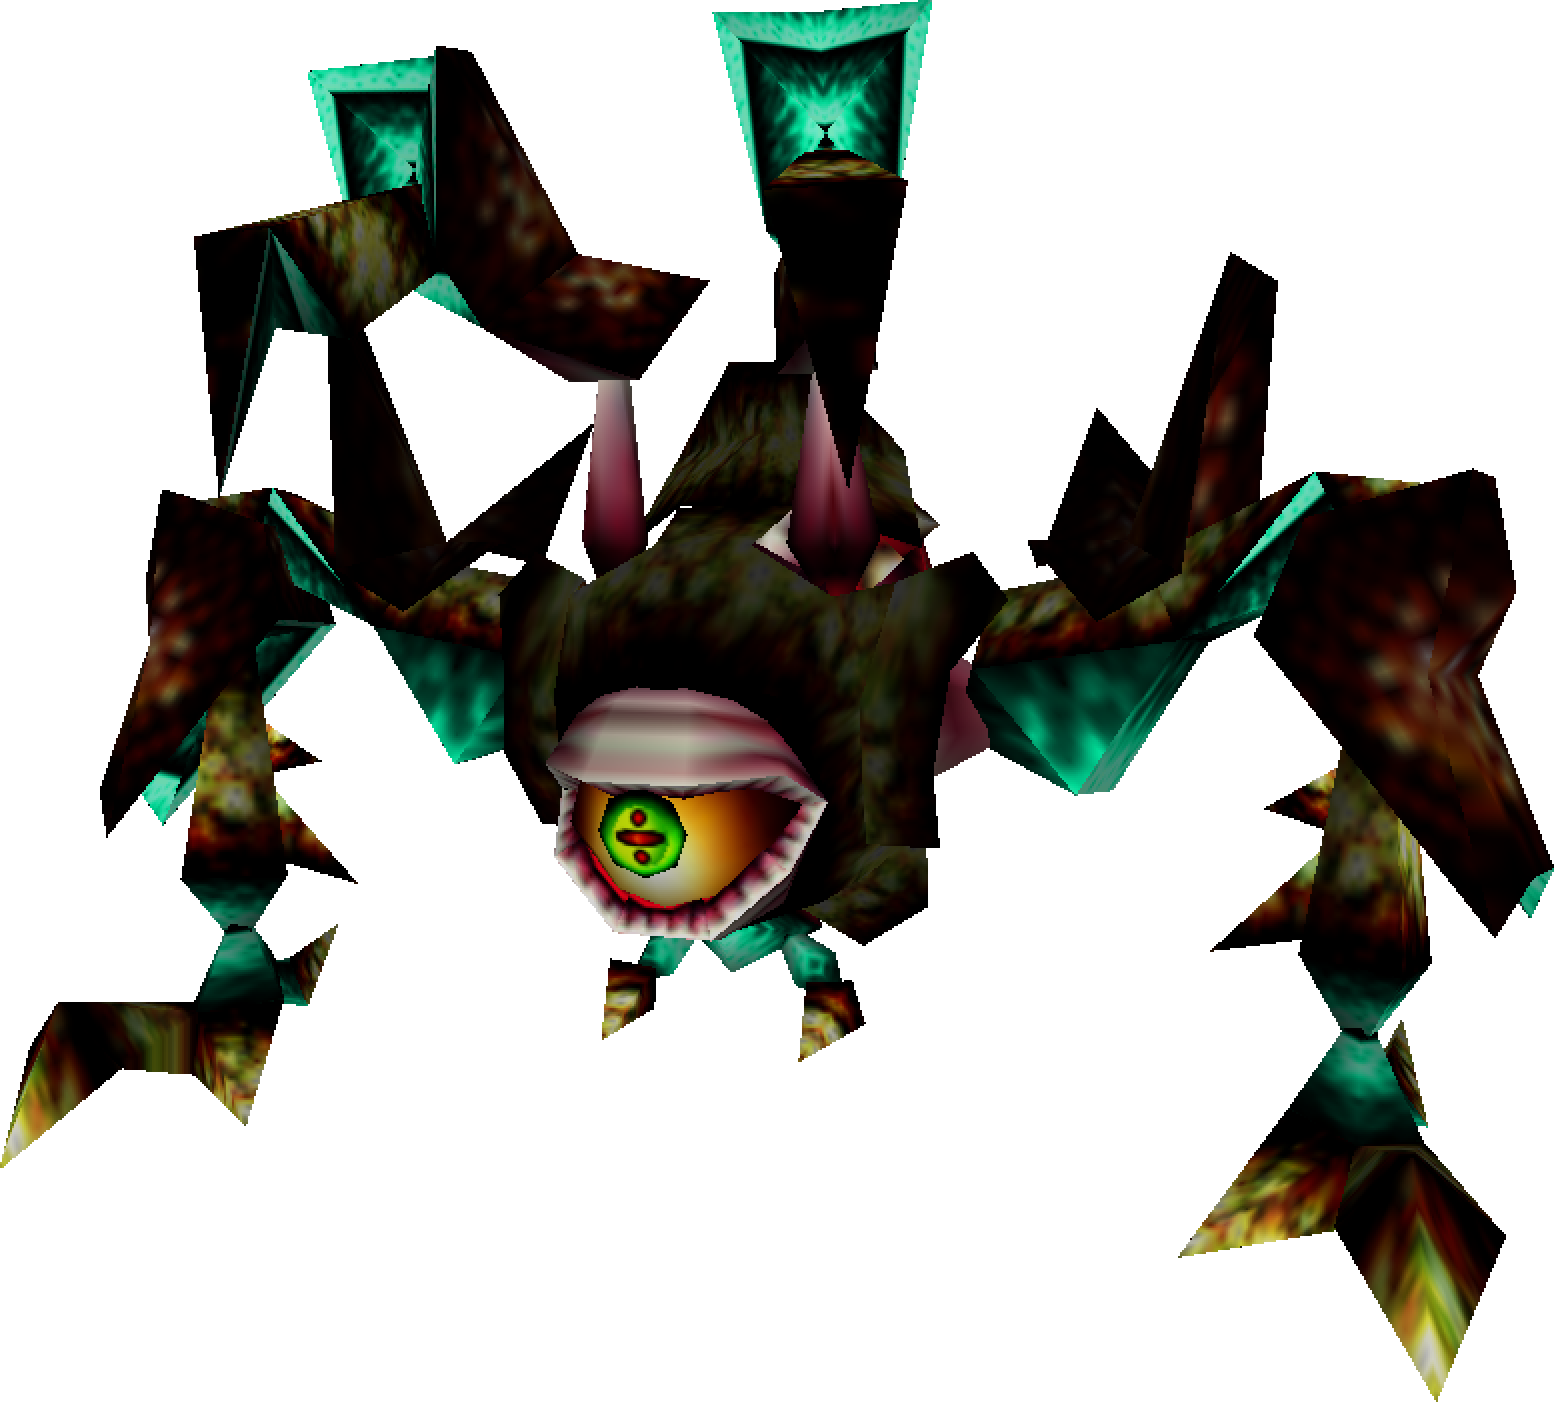
Queen Gohma
- Title
- Parasitic Armored Arachnid
- Weak to
- Her eye, when it glows red
- Reward
- Kokiri’s Emerald + Heart Container
Wait for her eye to turn red, then stun her with a Slingshot shot or a Deku Nut and slash the eye while she is down; a jump attack with a Deku Stick does heavy damage. When she climbs onto the ceiling, shoot her eye to bring her down, and clear the larvae that hatch from her eggs.
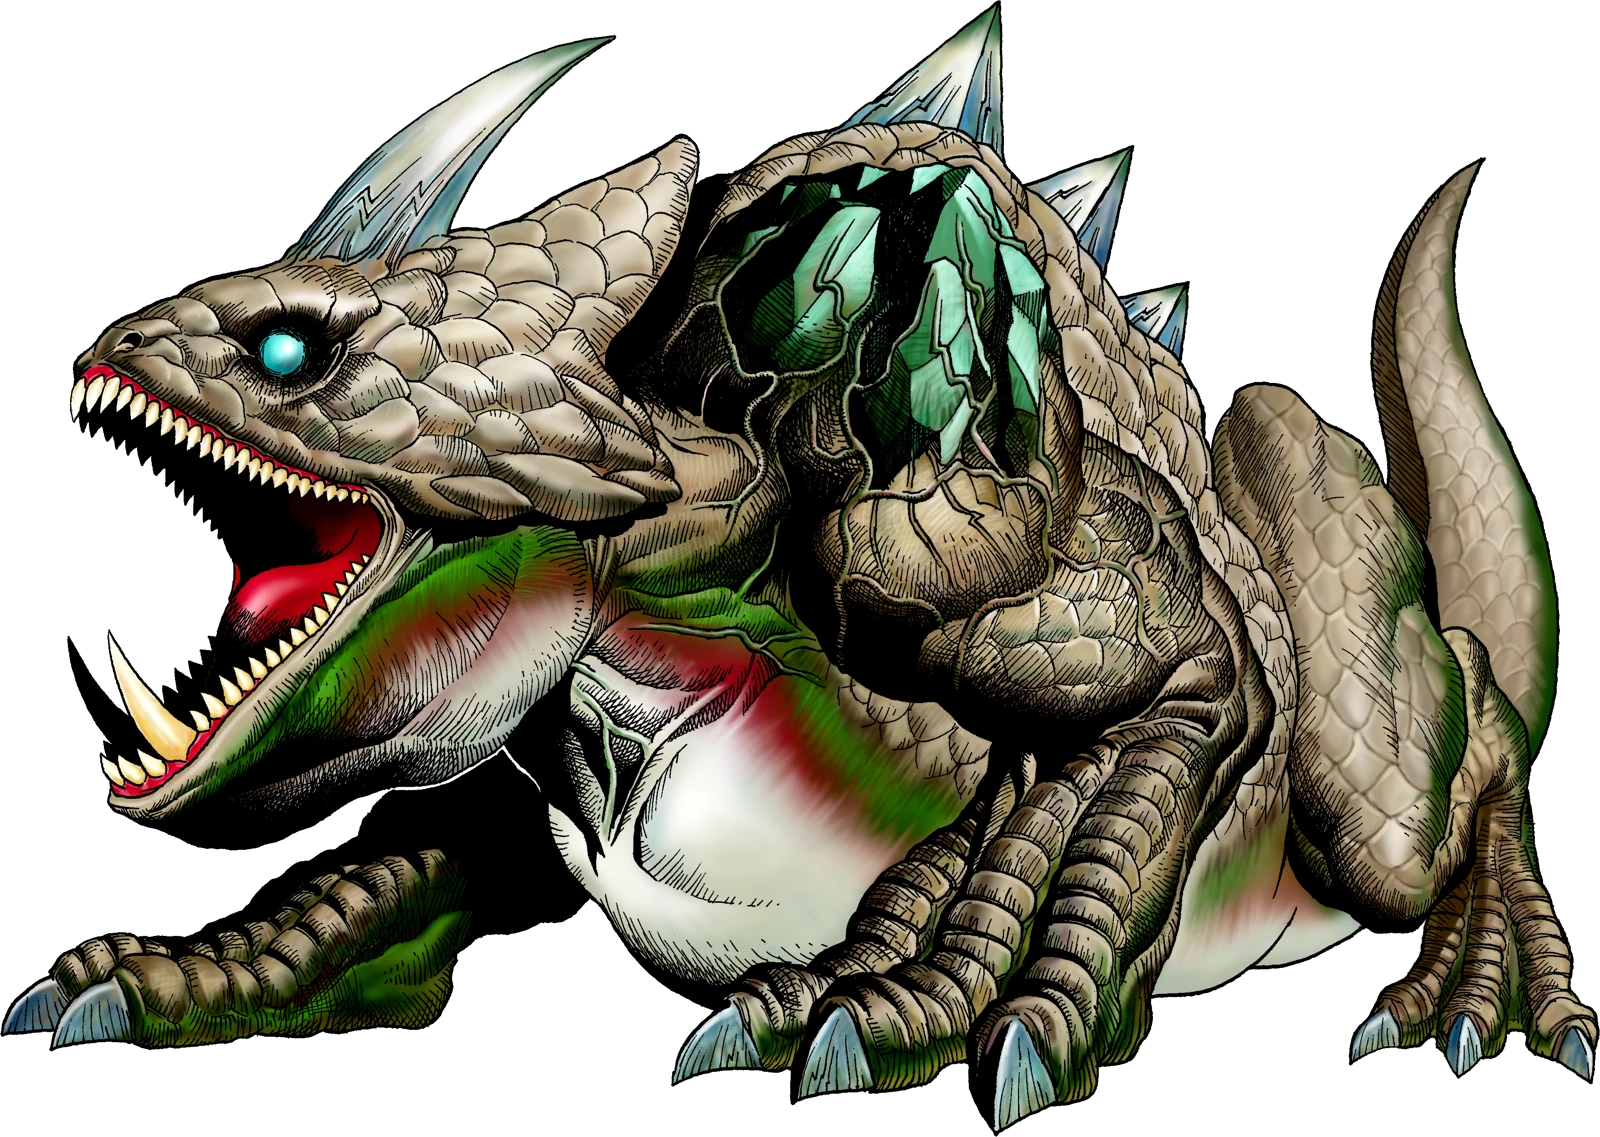
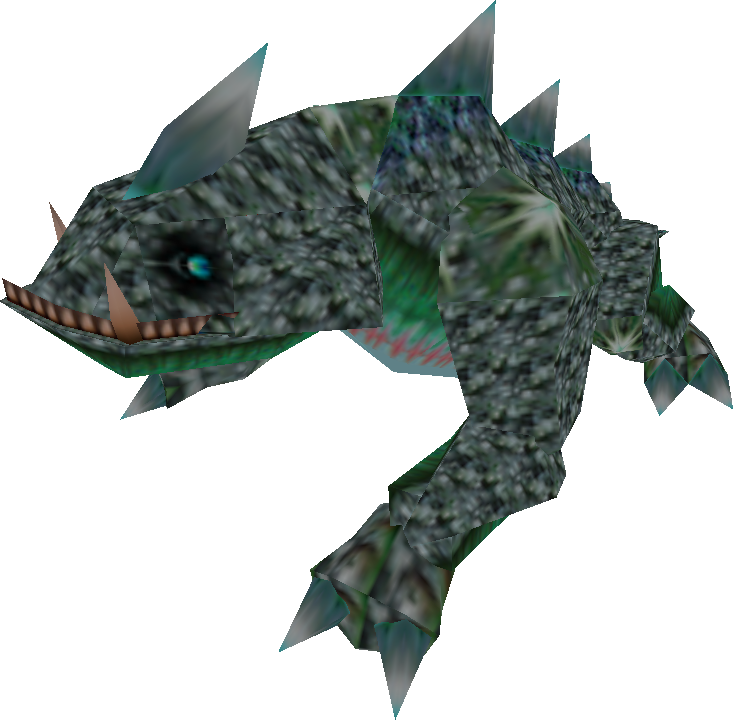
King Dodongo
- Title
- Infernal Dinosaur
- Weak to
- Bombs thrown into his open mouth
- Reward
- Goron’s Ruby + Heart Container
When he stops and starts to inhale, throw a Bomb or a Bomb Flower into his open mouth. It explodes inside him and stuns him; slash his head until he gets up. He then curls up and rolls around the lava ring, so keep clear before repeating.
Barinade
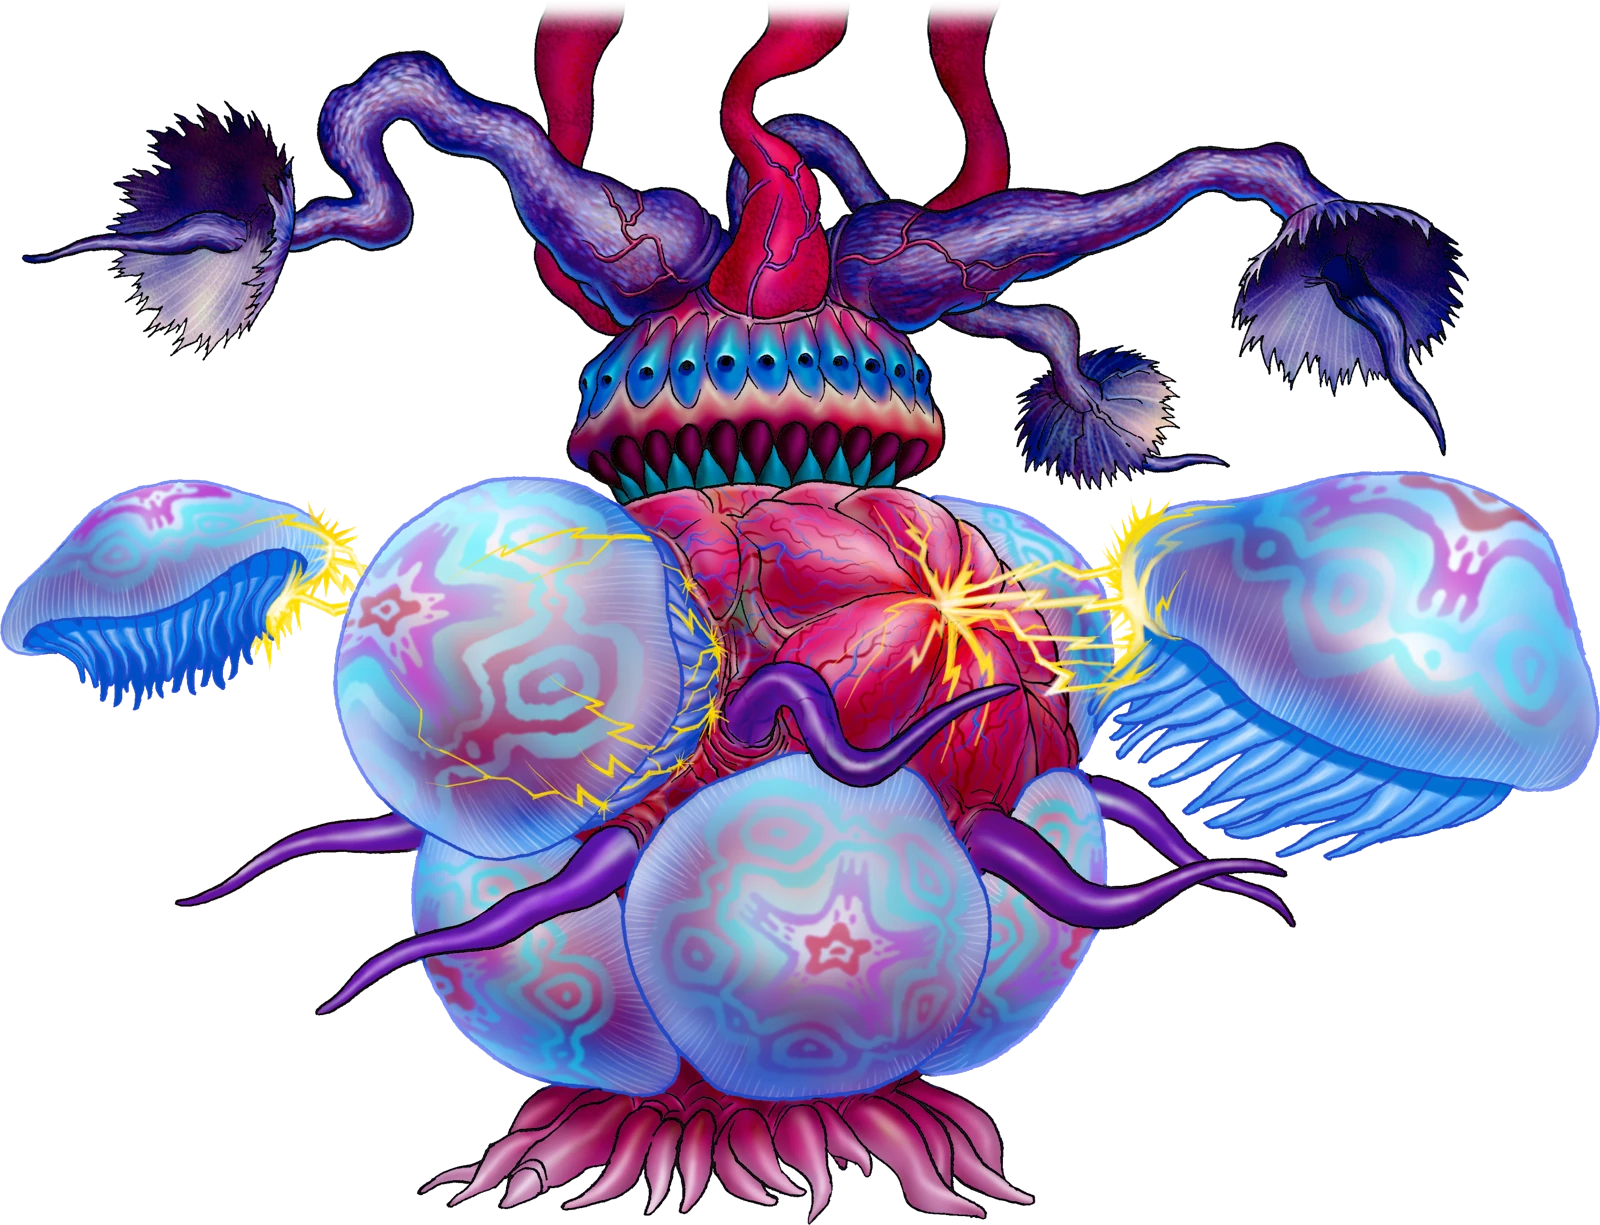
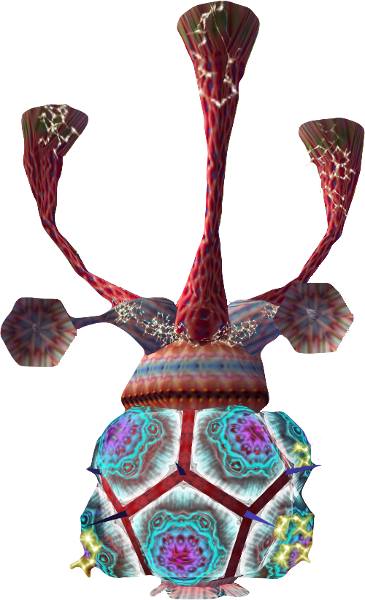
- Title
- Bio-electric Anemone
- Weak to
- Its body, once the jellyfish are gone
- Reward
- Zora’s Sapphire + Heart Container
Use the Boomerang to sever the three tentacles holding Barinade to the ceiling. Next, Boomerang the jellyfish (Biri) spinning around it while they are not sparking. With its shield gone, Boomerang the body to stun it and slash it, keeping clear when it electrifies.
Phantom Ganon
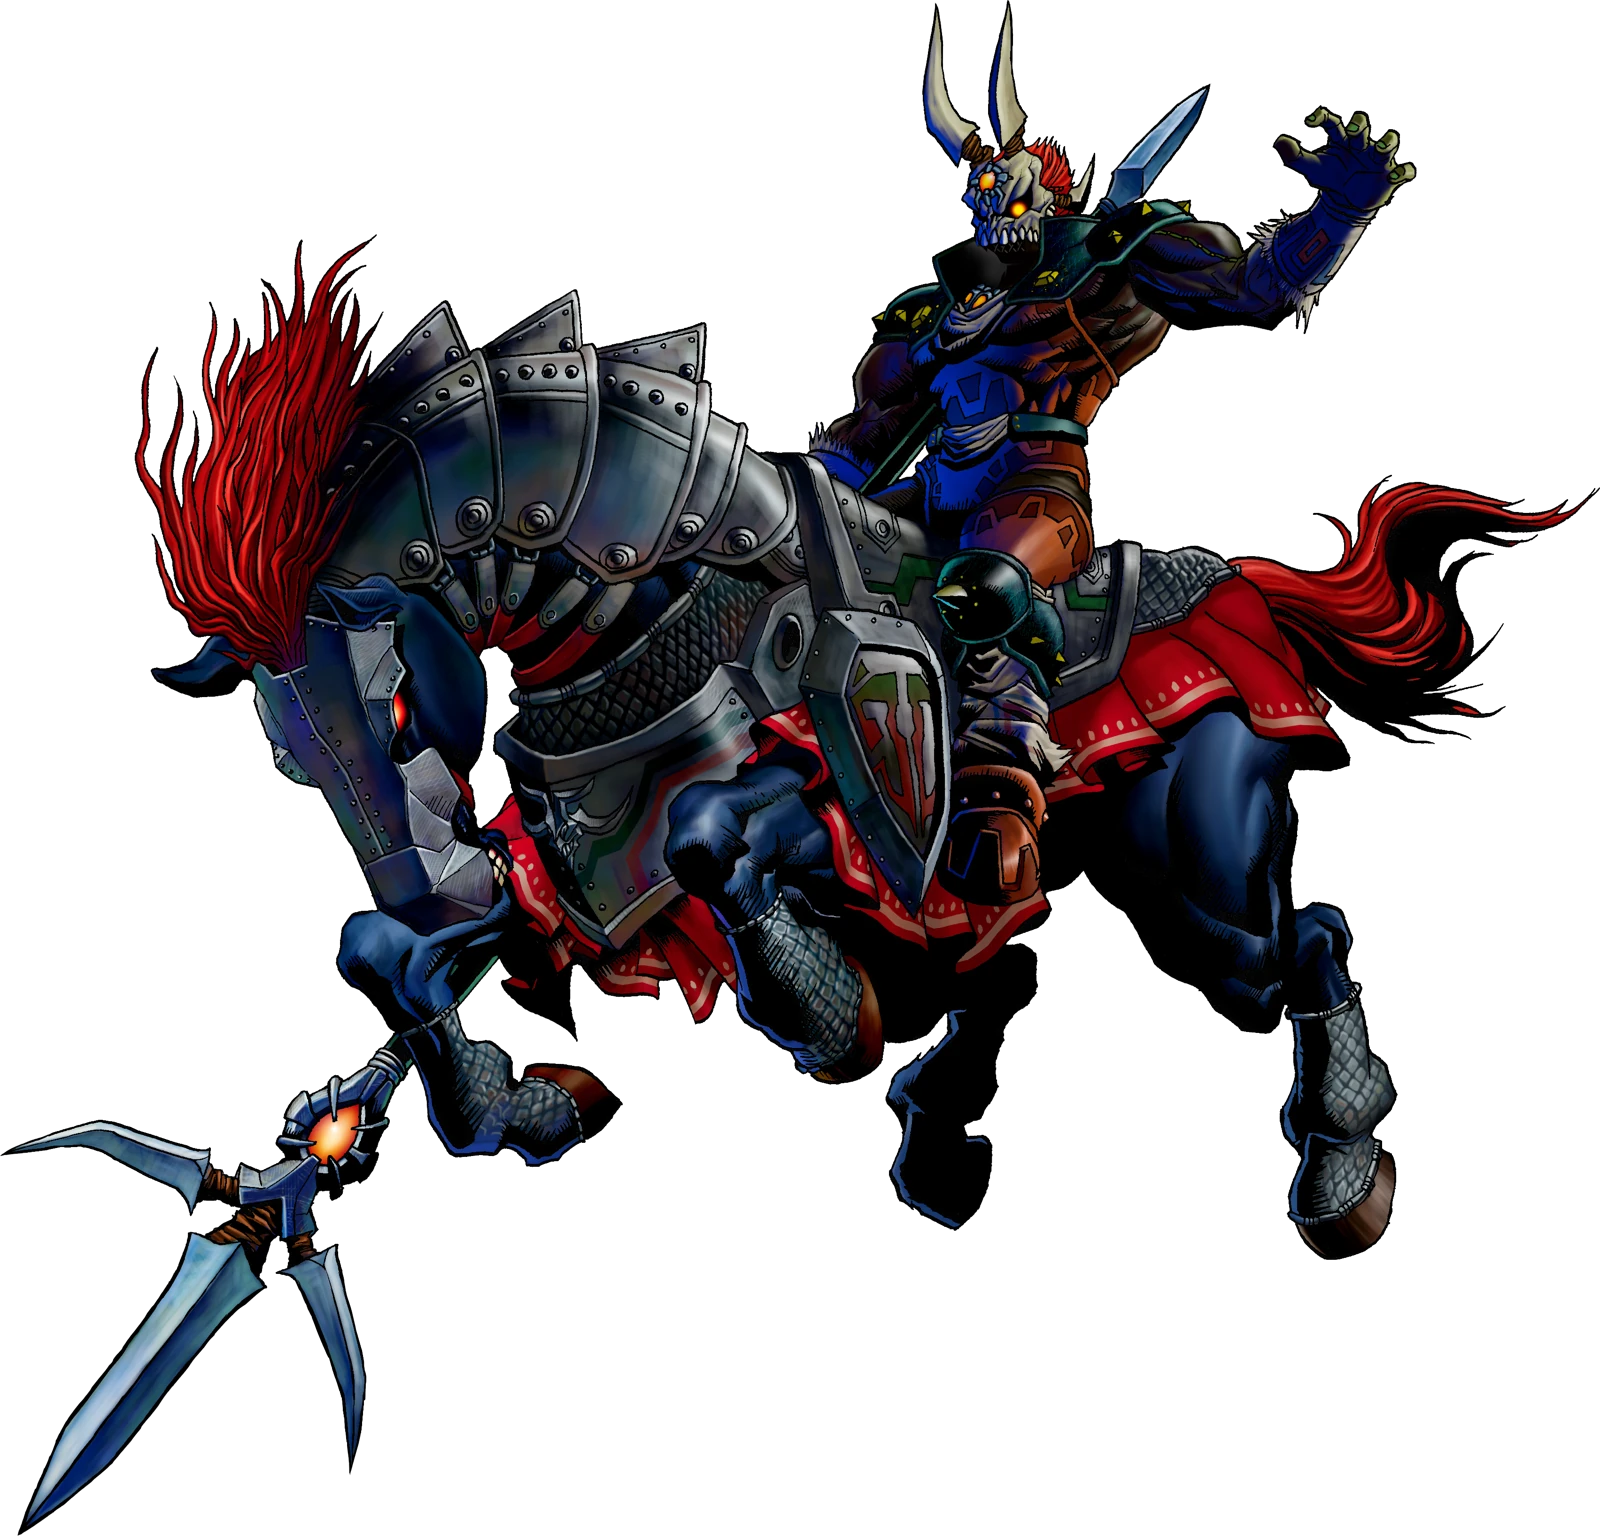
- Title
- Evil Spirit from Beyond
- Weak to
- Arrows, then his own energy balls
- Reward
- Forest Medallion + Heart Container
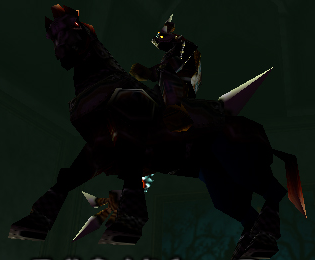
He rides out of the paintings round the room; only the real one comes all the way out, so shoot him with an arrow before he turns back. In the second phase he floats overhead throwing energy balls: hit them back with the sword until one strikes him, then slash him while he is on the ground.
Volvagia
- Title
- Subterranean Lava Dragon
- Weak to
- Its head, with the Megaton Hammer
- Reward
- Fire Medallion + Heart Container
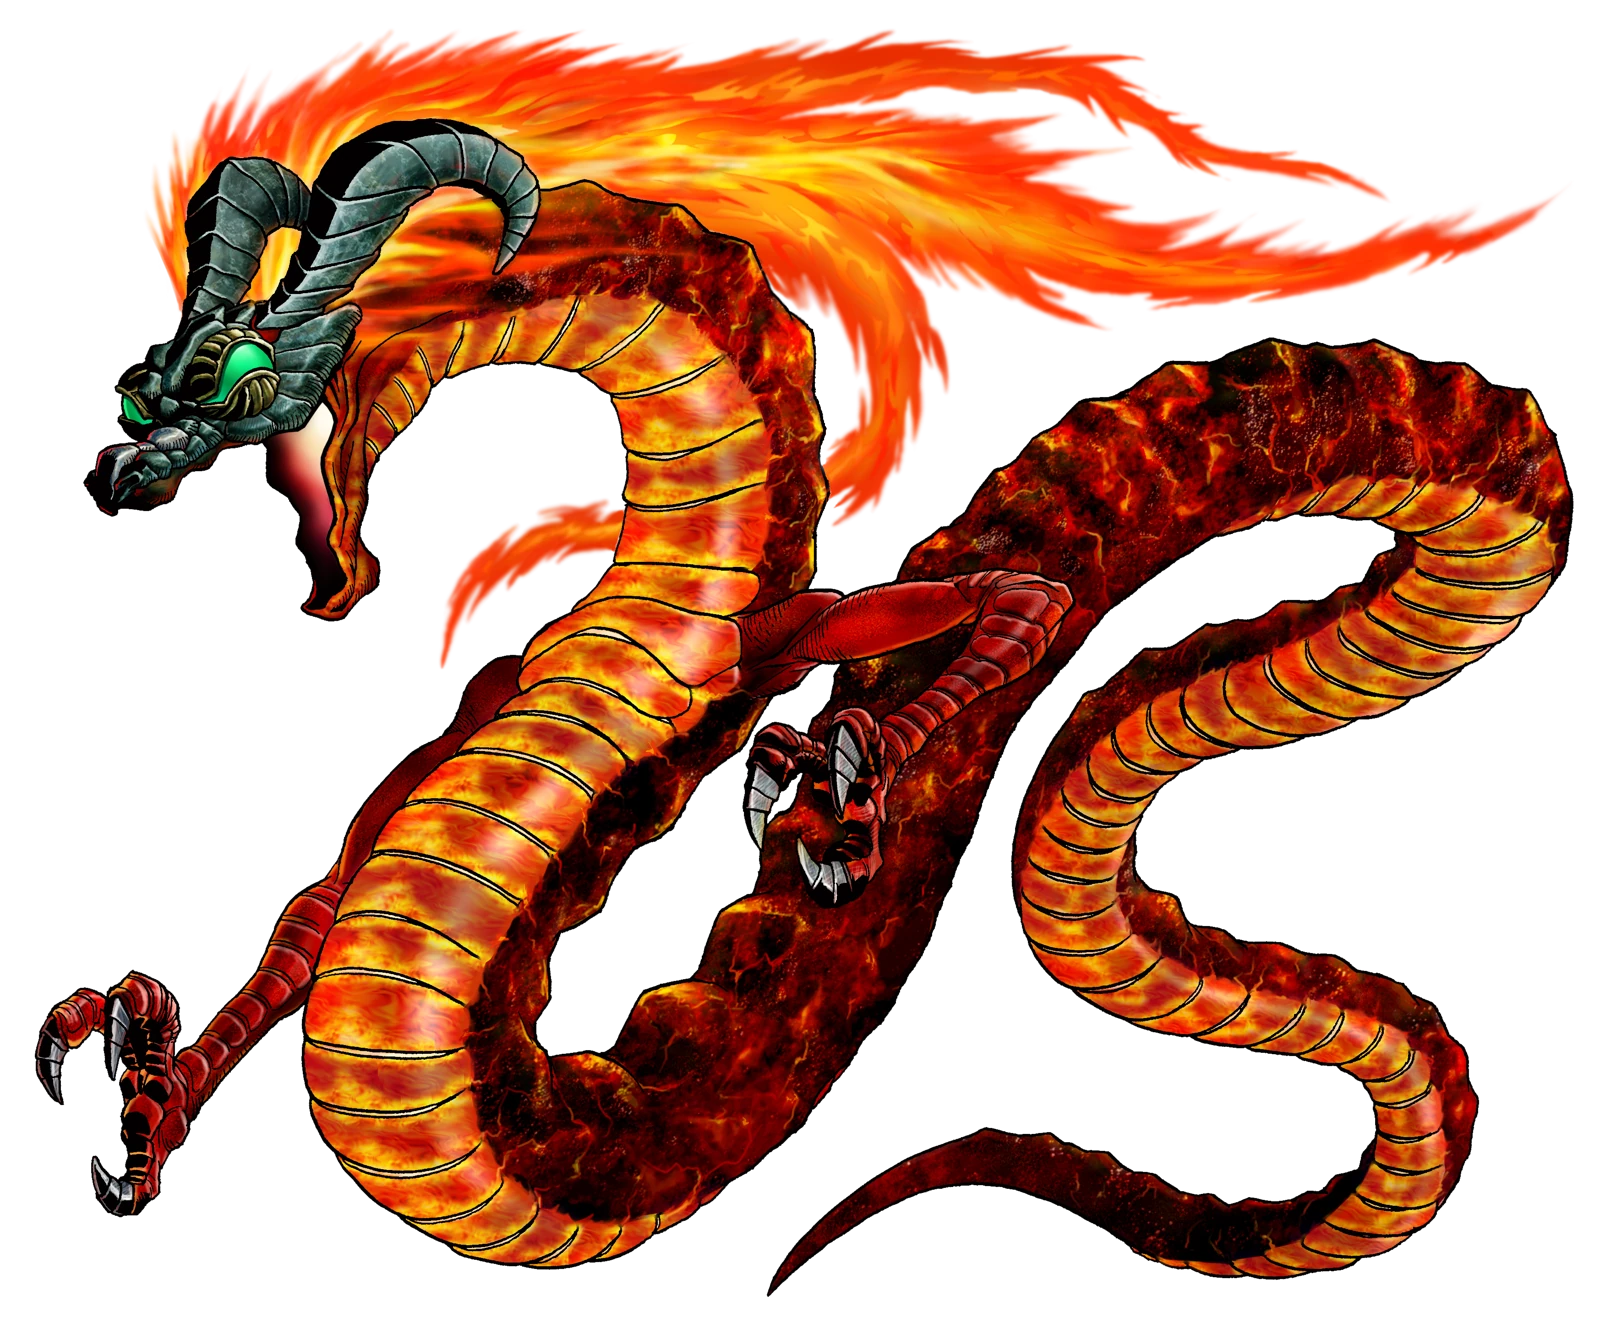
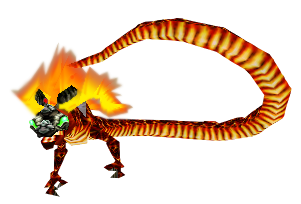
Volvagia bursts out of one of the lava pits around the arena. Wait by the pit that starts to glow and smash its head with the Megaton Hammer the moment it surfaces, then follow up with the sword. When it flies, shoot it with arrows and hang off the platform edge to dodge the falling rocks.
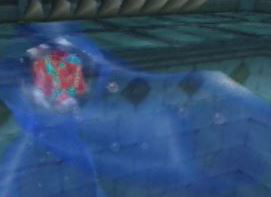
Morpha
- Title
- Giant Aquatic Amoeba
- Weak to
- Its nucleus, pulled out of the water
- Reward
- Water Medallion + Heart Container
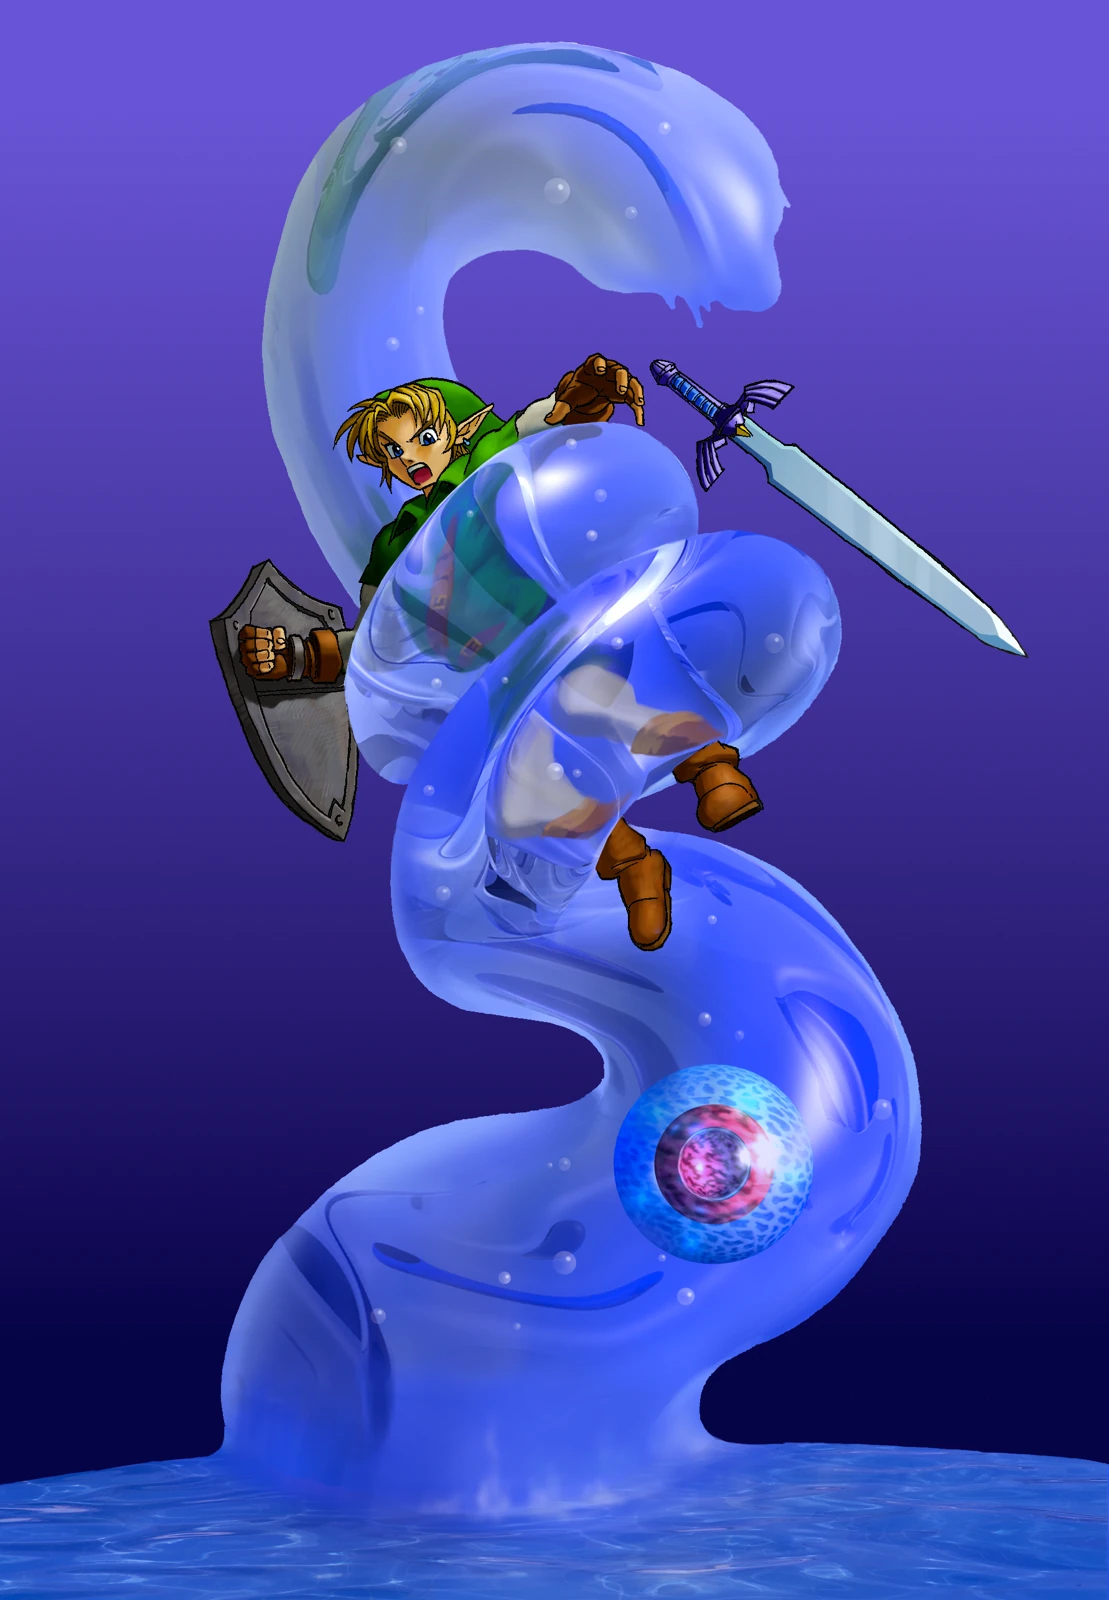
Morpha is a nucleus floating in the pool that forms tentacles of water. Stand back from the edge, Hookshot or Longshot the nucleus out of a tentacle and slash it while it flops about on land. Don’t let a tentacle grab you and throw you around.
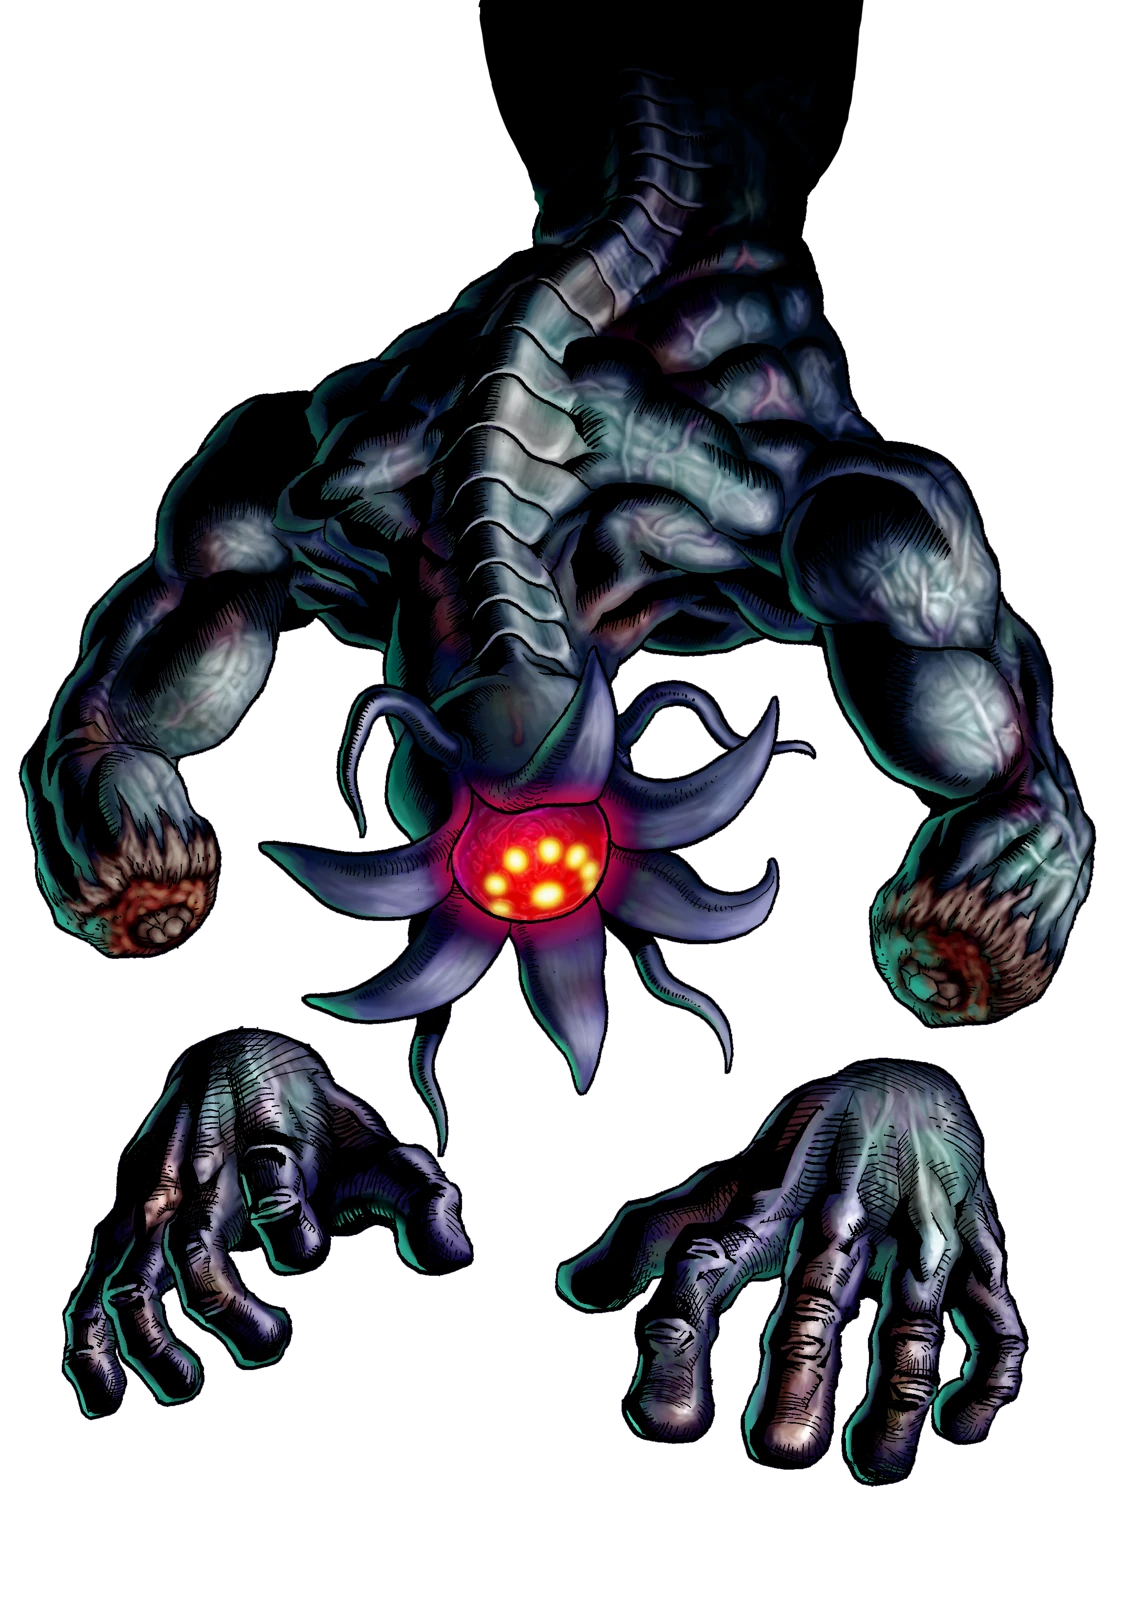
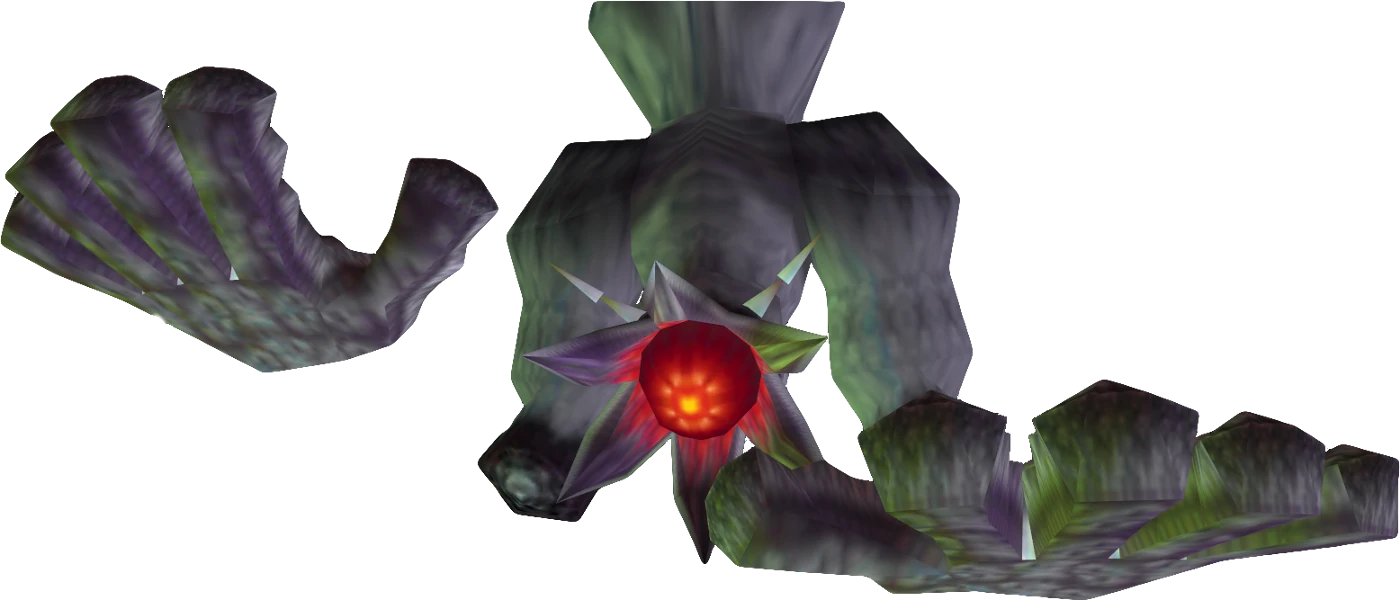
Bongo Bongo
- Title
- Phantom Shadow Beast
- Weak to
- Its single eye, after both hands are stunned
- Reward
- Shadow Medallion + Heart Container
Bongo Bongo drums on the floor with two disembodied hands. Stun both hands with arrows or the Hookshot, then shoot the eye in its body (look through the Lens of Truth to see it) and slash it while it lies stunned. Wear the Hover Boots so the drum doesn’t throw you about.
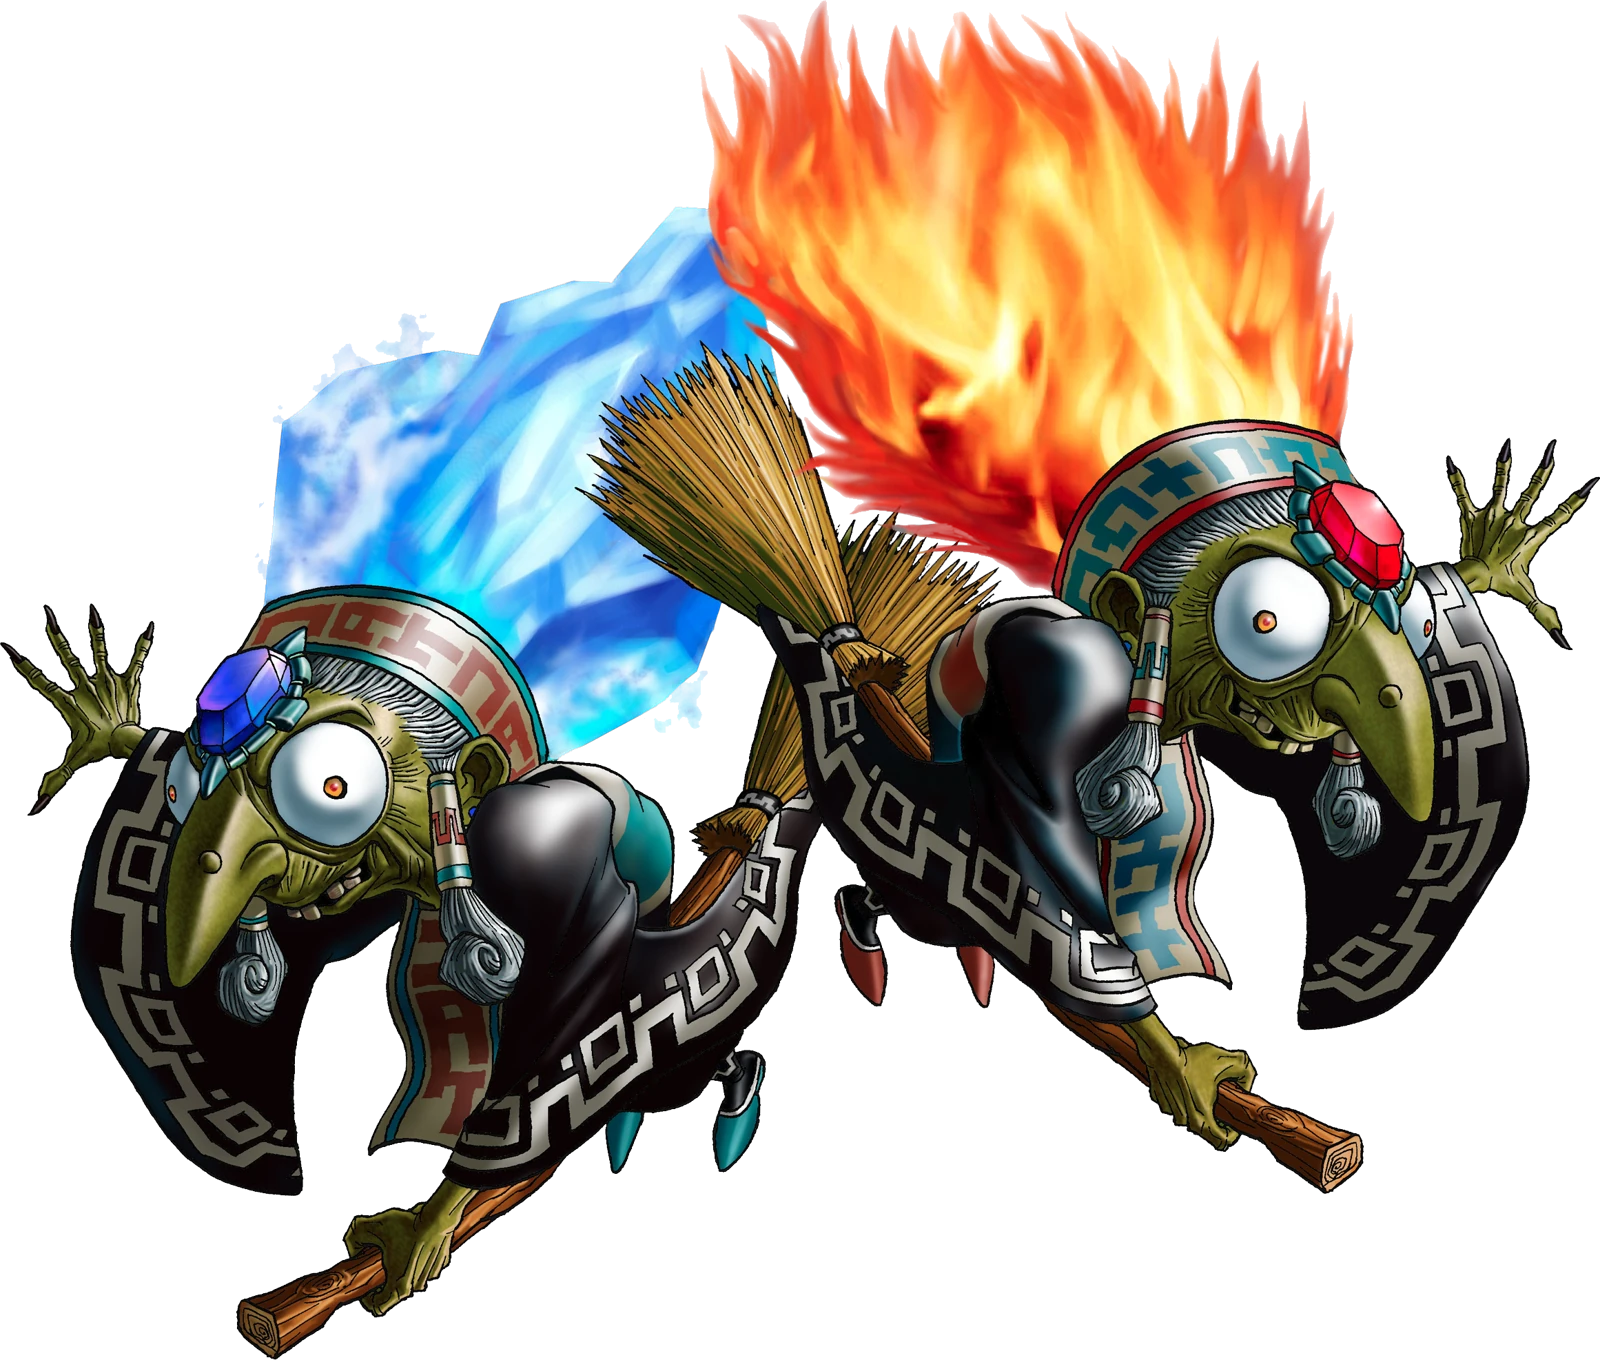
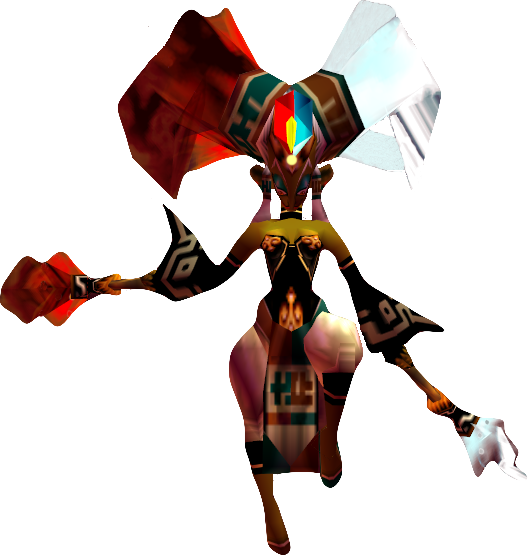
Twinrova
- Title
- Sorceress Sisters
- Weak to
- Their own spells, reflected
- Reward
- Spirit Medallion + Heart Container
First Koume (fire) and Kotake (ice) float on either side: reflect each sister’s beam with the Mirror Shield into the other. When they merge into Twinrova, absorb three blasts of the same element with the shield, then fire the stored energy back at her and slash her while she is down.
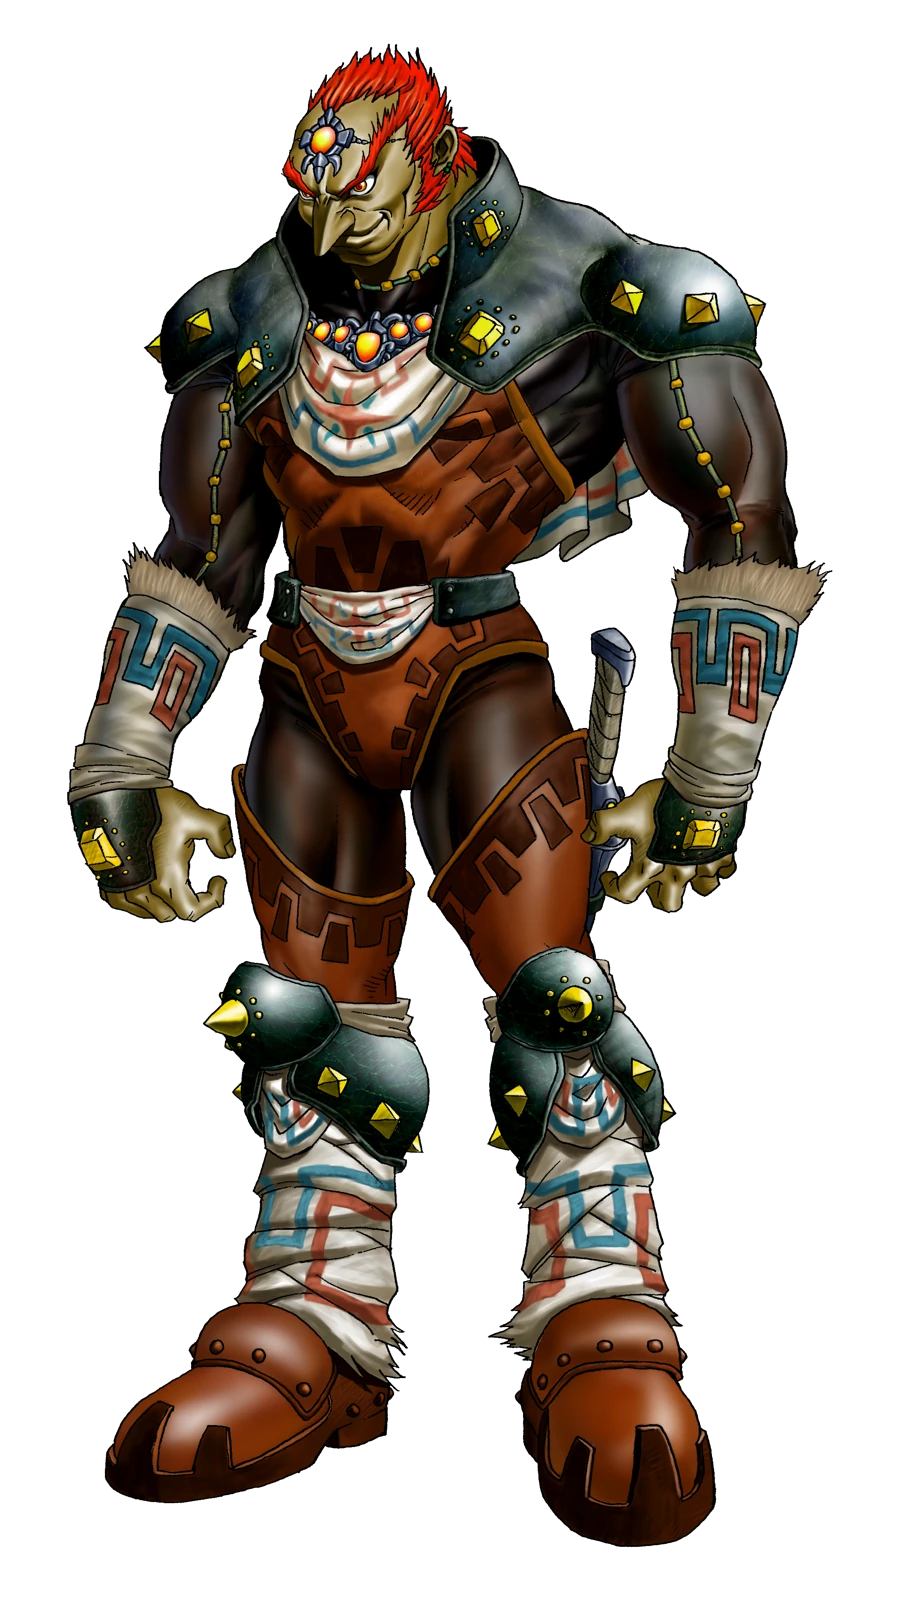
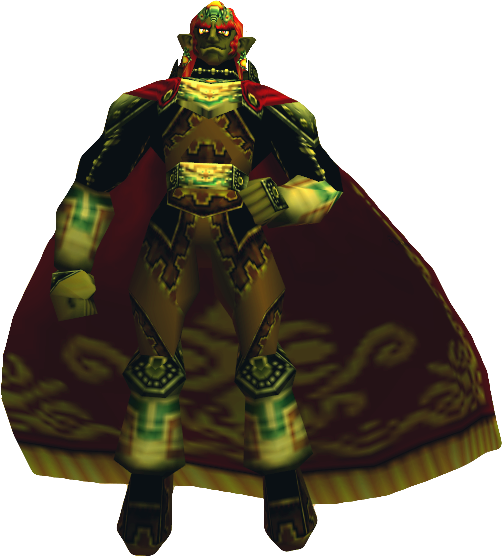
Ganondorf
- Title
- Great King of Evil
- Weak to
- Light Arrows, after his energy is returned
Ganondorf floats above the middle of his arena throwing balls of energy. Hit them back with the sword (or an empty Bottle) until one strikes him, then shoot a Light Arrow while he is stunned, jump to his platform and slash him. Stay on the outer platforms: he breaks the floor tiles.
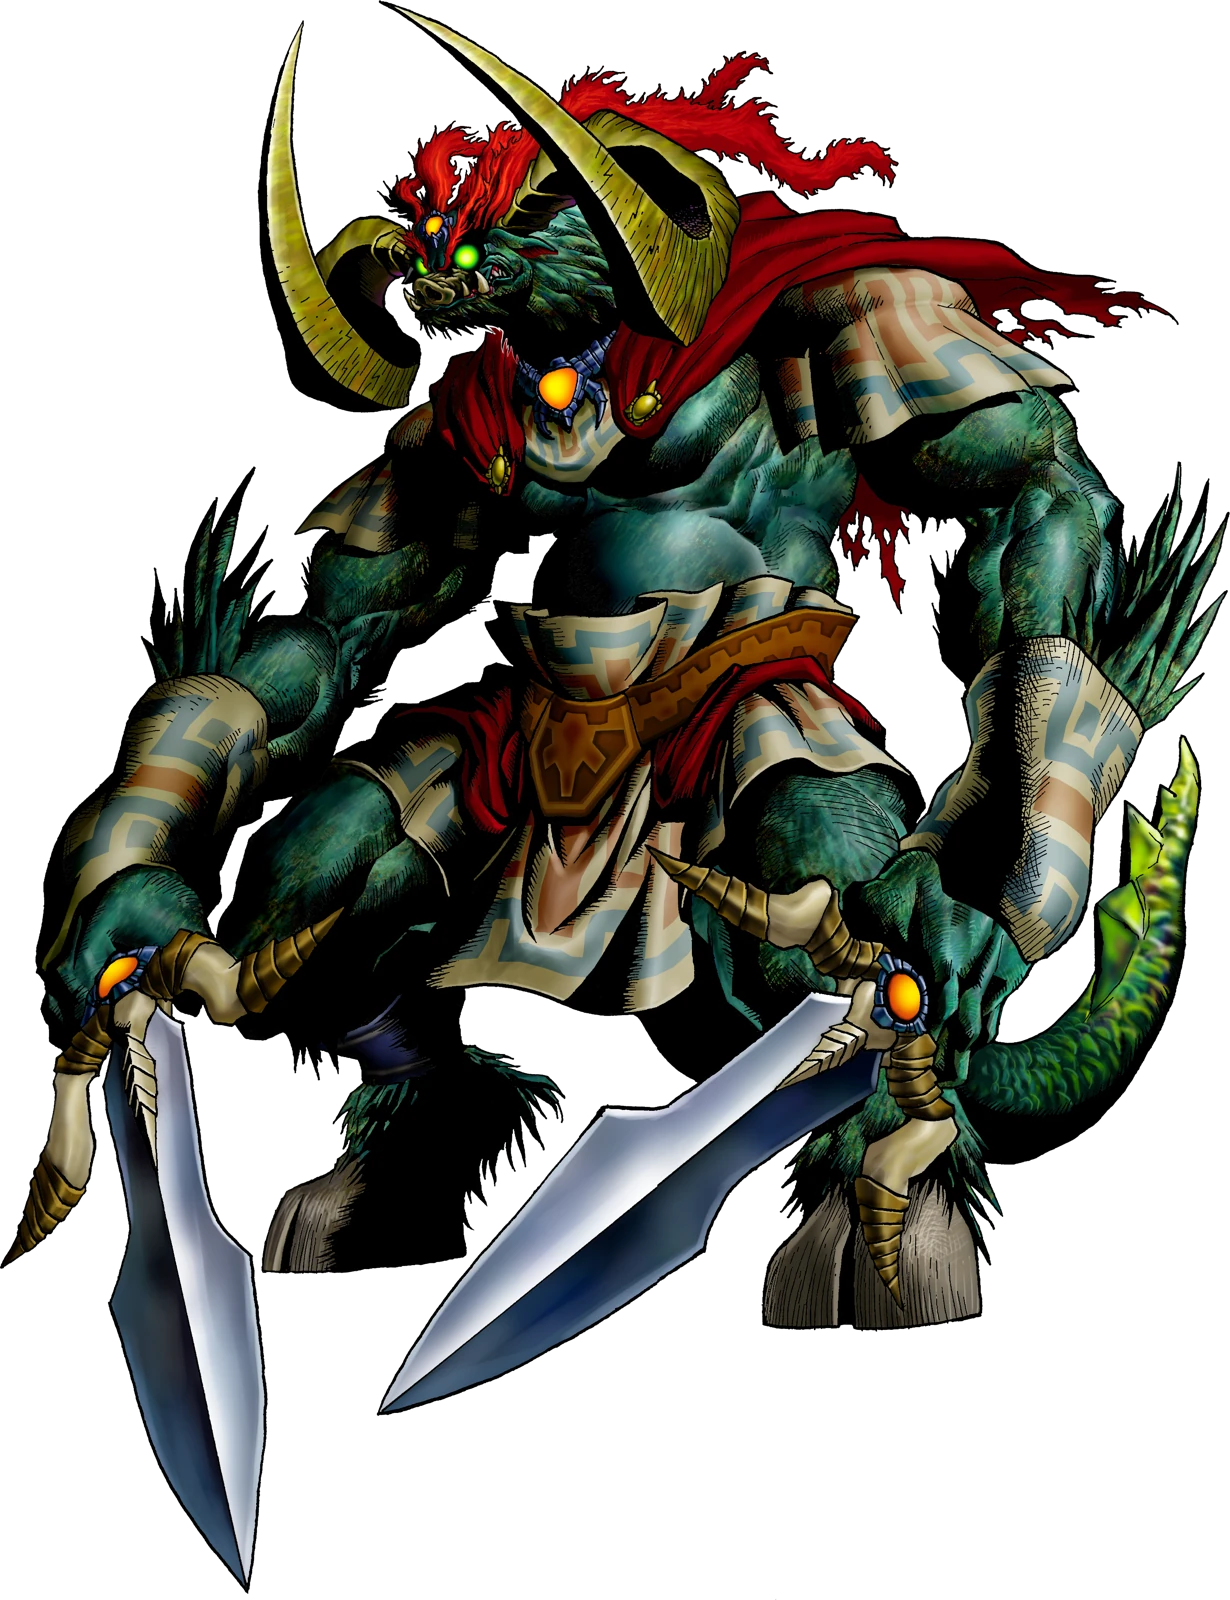
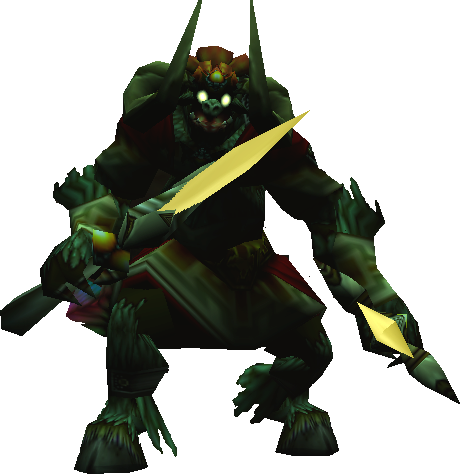
Ganon
- Title
- Ganon
- Weak to
- His tail
Ganon knocks the Master Sword away at the start. Stun him with a Light Arrow to the face (Deku Nuts work too), roll between his legs and hit his tail with Biggoron’s Sword or the Megaton Hammer. Once he falls, grab the Master Sword and keep striking the tail; Zelda then holds him and you deliver the final blow.
Minibosses
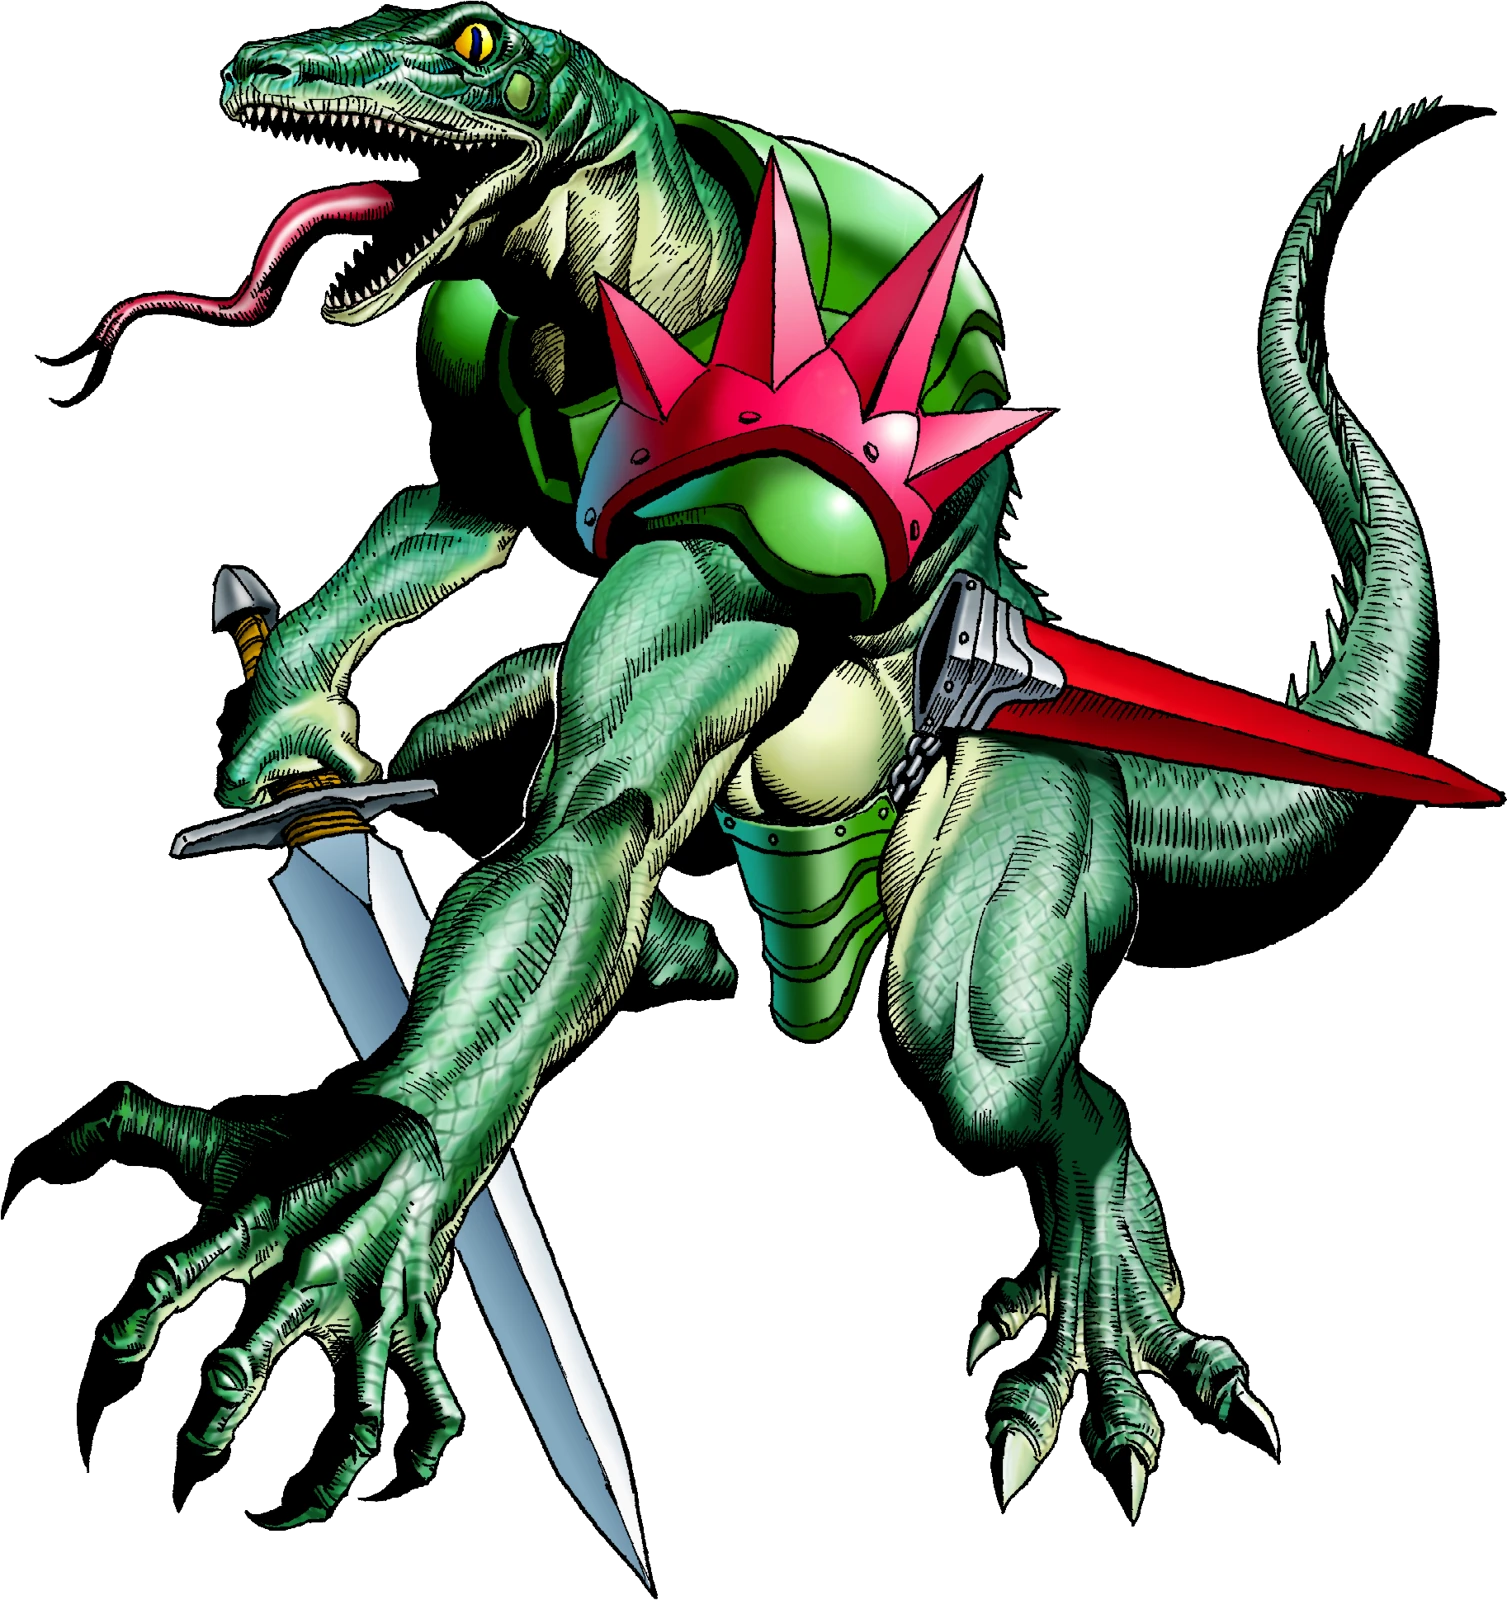
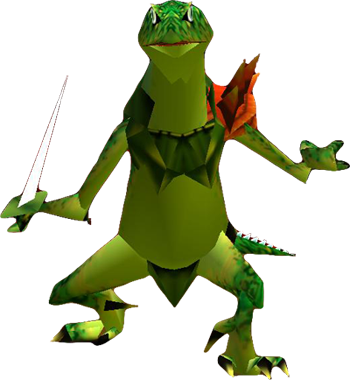
Lizalfos
Two of them fight in turns. Block with the shield, counter with the sword, and stun them with a Deku Nut if they gang up.
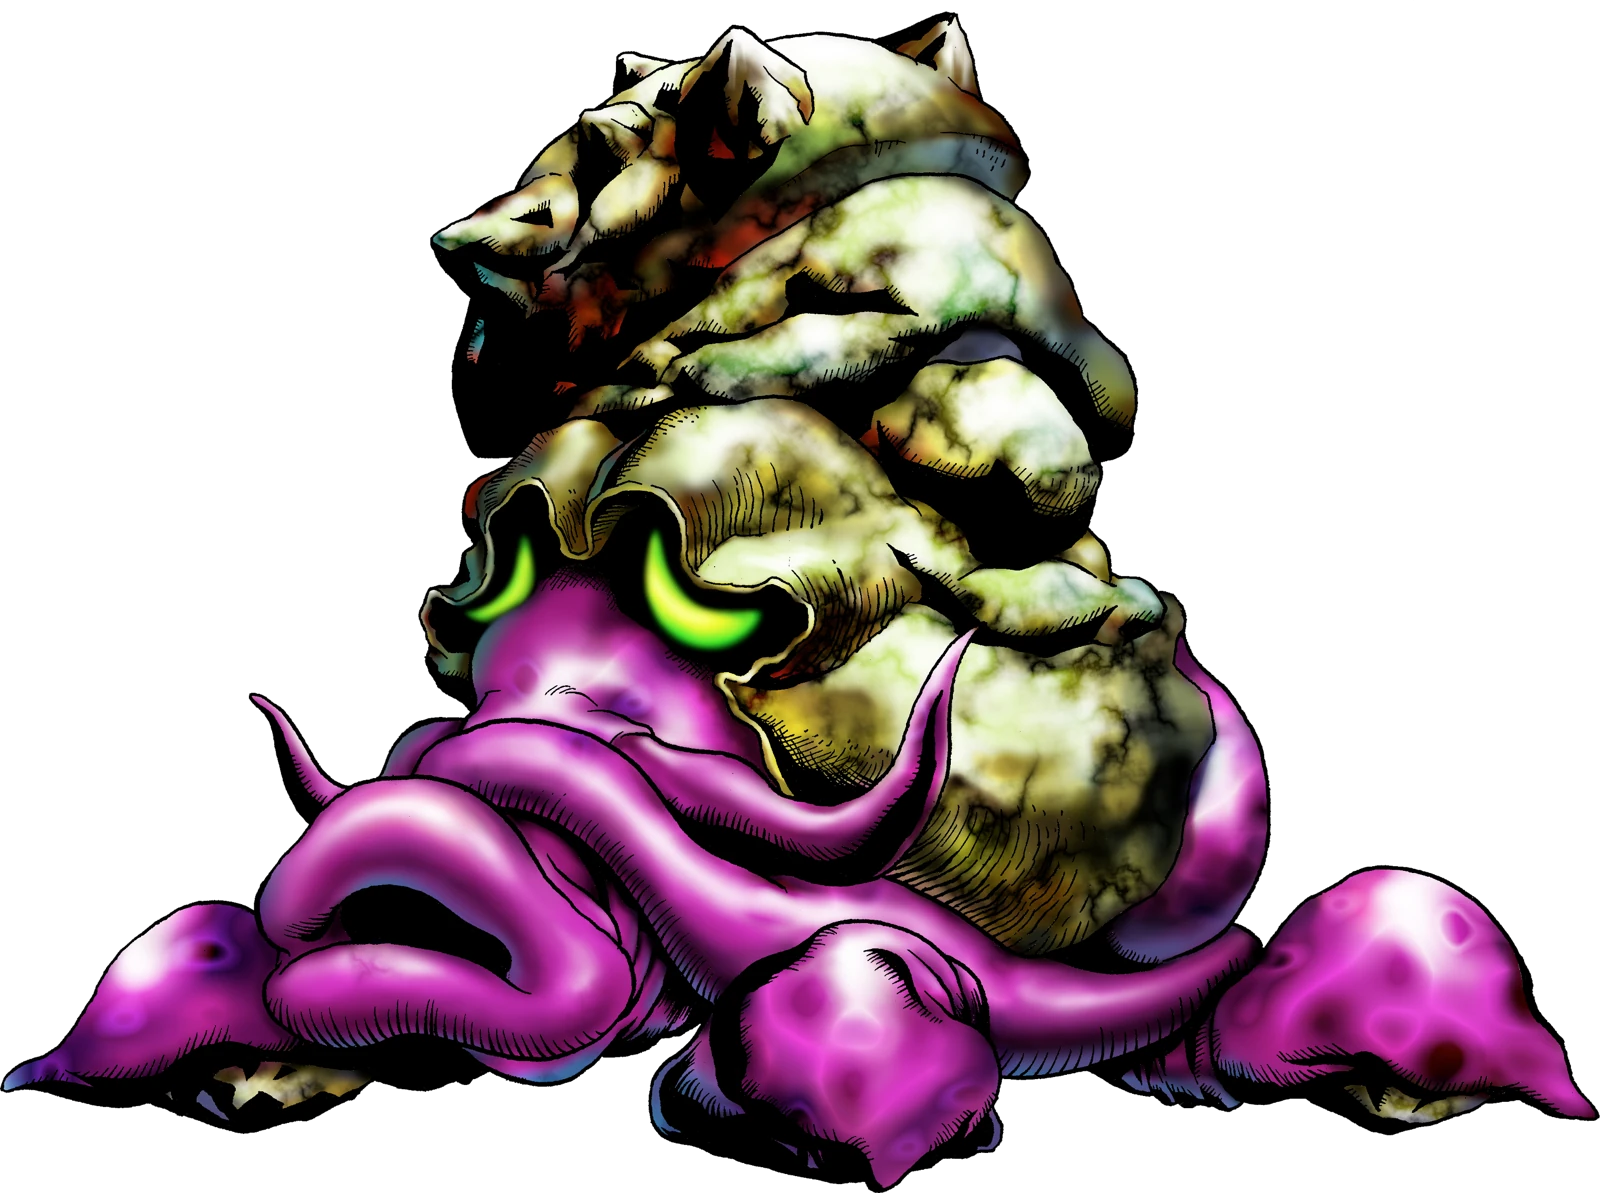
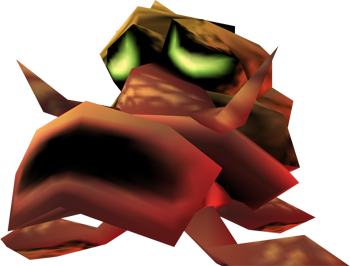
Big Octo
Stun it with the Boomerang or Slingshot so it spins, then run round and cut the weak spot on its back as it turns.
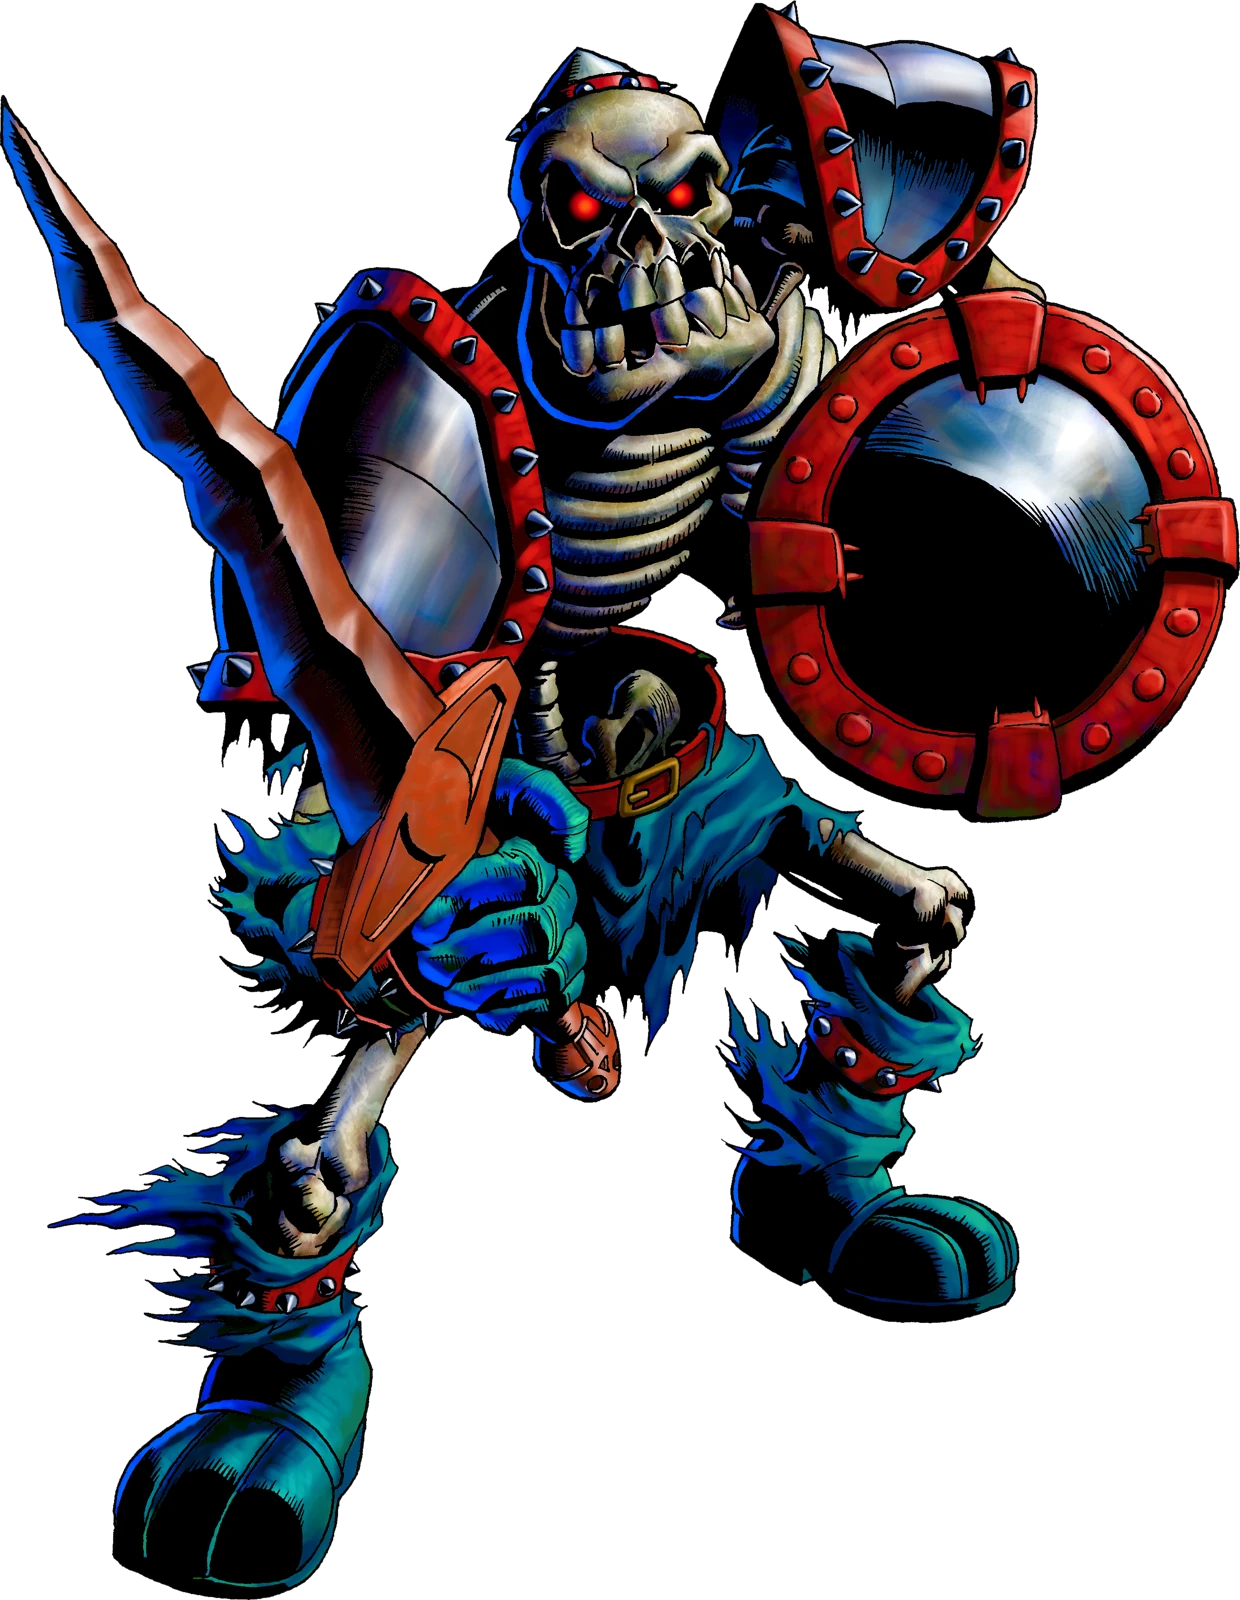
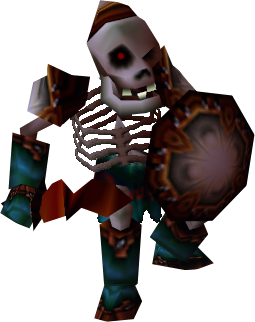
Stalfos
Keep the shield up until it swings, then counter. When two fight together, beat the second soon after the first, or the first rises again.
The Poe Sisters
Joelle and Beth hide in paintings you shoot with the Bow; Amy appears when her block picture is finished; Meg splits into four (three are fakes), and only the real one spins as you approach.
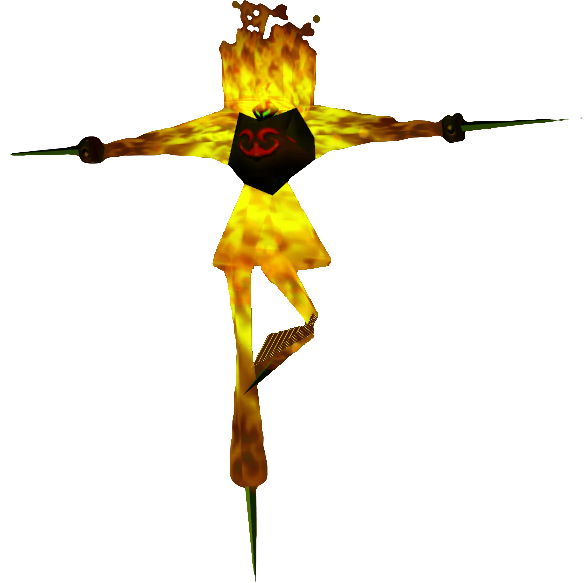
Flare Dancer
Hookshot it or bomb it while it spins to knock the flames off, then chase the bare core and slash it before it reignites. Fought twice.
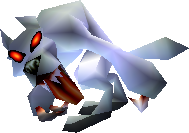
White Wolfos
Wait for it to swipe and miss, then hit its back or side. Its front is always guarded.
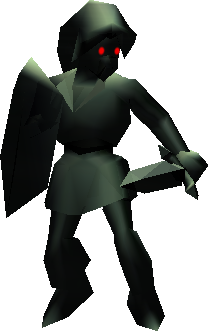
Dark Link
He copies every sword move. Din’s Fire, the Megaton Hammer, Biggoron’s Sword or crouching stabs end the fight quickly.
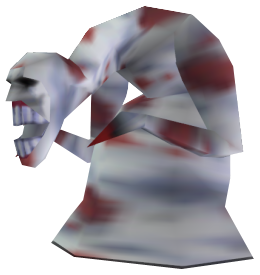
Dead Hand
Let one of the hands grab you so Dead Hand comes over, wriggle free, then slash his head when he bends down. Repeat.
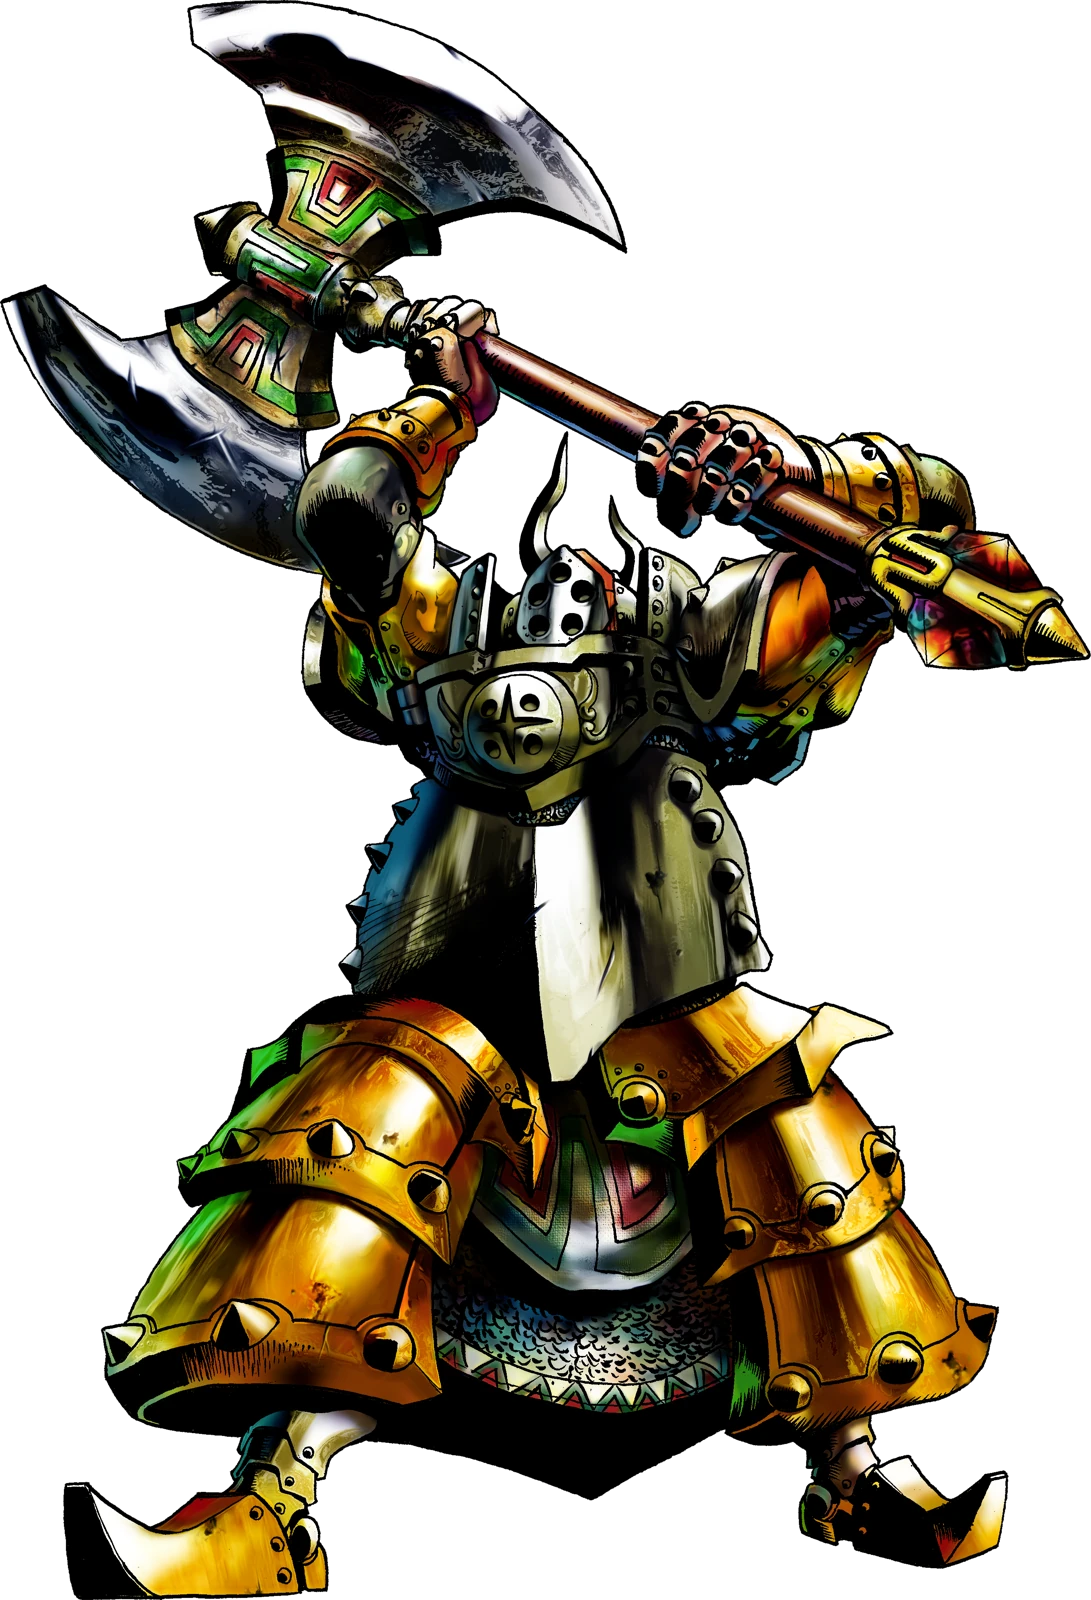
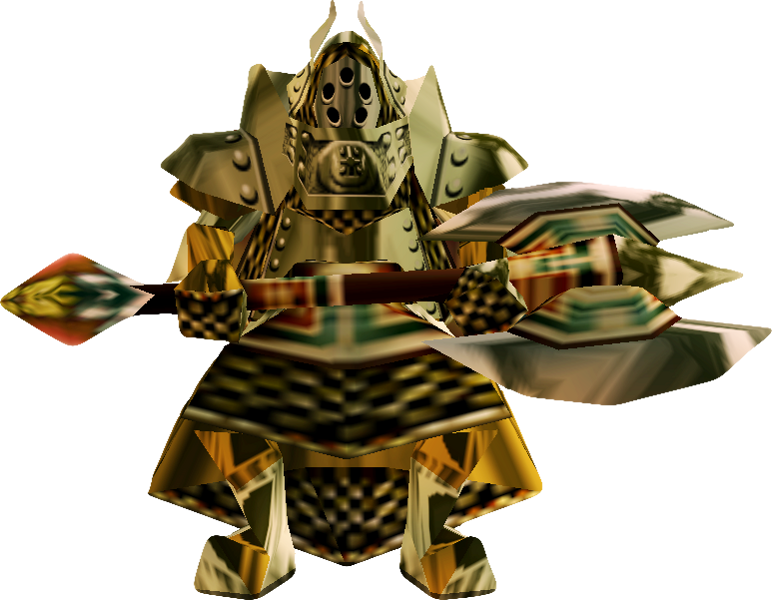
Iron Knuckle
Strike and step back before its axe comes down. After losing its armour it moves faster; bombs and Din’s Fire speed things up. The last one in the Spirit Temple is Nabooru under Twinrova’s spell.
FAQ
How do you beat Ganon in Ocarina of Time?
Ganon knocks the Master Sword away at the start. Stun him with a Light Arrow to the face (Deku Nuts work too), roll between his legs and hit his tail with Biggoron’s Sword or the Megaton Hammer. Once he falls, grab the Master Sword and keep striking the tail; Zelda then holds him and you deliver the final blow.
How do you beat Ganondorf?
Ganondorf floats above the middle of his arena throwing balls of energy. Hit them back with the sword (or an empty Bottle) until one strikes him, then shoot a Light Arrow while he is stunned, jump to his platform and slash him. Stay on the outer platforms: he breaks the floor tiles.
Which bosses give Heart Containers?
The eight dungeon bosses, from Queen Gohma to Twinrova. Ganondorf and Ganon give none.
Sources & picture credits
- Bosses in Ocarina of Time (Zeldapedia)
- Queen Gohma (Zeldapedia)
- King Dodongo (Zeldapedia)
- Barinade (Zeldapedia)
- Phantom Ganon (Zeldapedia)
- Volvagia (Zeldapedia)
- Morpha (Zeldapedia)
- Bongo Bongo (Zeldapedia)
- Twinrova (Zeldapedia)
- Ganondorf (Zeldapedia)
- Ganon (Zeldapedia)
- Lizalfos (Zeldapedia)
- Big Octo (Zeldapedia)
- Stalfos (Zeldapedia)
- The Poe Sisters (Zeldapedia)
- Flare Dancer (Zeldapedia)
- White Wolfos (Zeldapedia)
- Dark Link (Zeldapedia)
- Dead Hand (Zeldapedia)
- Iron Knuckle (Zeldapedia)
- Picture: OoT_Gohma_Model.png
- Picture: OoT_Gohma_Artwork.png
- Picture: OoT_King_Dodongo_Model.png
- Picture: OoT_King_Dodongo_Artwork.png
- Picture: OoT_Barinade_Model.png
- Picture: OoT_Barinade_Artwork.png
- Picture: OoT_Phantom_Ganon_Model.png
- Picture: OoT_Phantom_Ganon_Artwork.png
- Picture: OoT_Volvagia_Model.png
- Picture: OoT_Volvagia_Artwork.png
- Picture: OoT_Morpha_Model.png
- Picture: OoT_Morpha_Artwork.png
- Picture: OoT_Bongo_Bongo_Model.png
- Picture: OoT_Bongo_Bongo_Artwork.png
- Picture: OoT_Twinrova_Model.png
- Picture: OoT_Twinrova_Artwork.png
- Picture: OoT_Ganondorf_Model.png
- Picture: OoT_Ganondorf_Artwork.png
- Picture: OoT_Ganon_Model.png
- Picture: OoT_Ganon_Artwork.png


Guide text is original retrogameindex writing, checked against Zeldapedia and walkthrough guides. Screenshots, models and artwork © Nintendo; local copies archived from Zeldapedia file pages (listed on the image gallery).