A Link to the Past Bosses: How to Beat All 14
Every boss in order, with its weak point and a strategy that works. Each one links to its dungeon guide.

Ball and Chain Trooper
- Weak to
- Sword hits between flail swings; thrown pots; Boomerang to stun
- Reward
- Princess Zelda rescued and taken to the Sanctuary
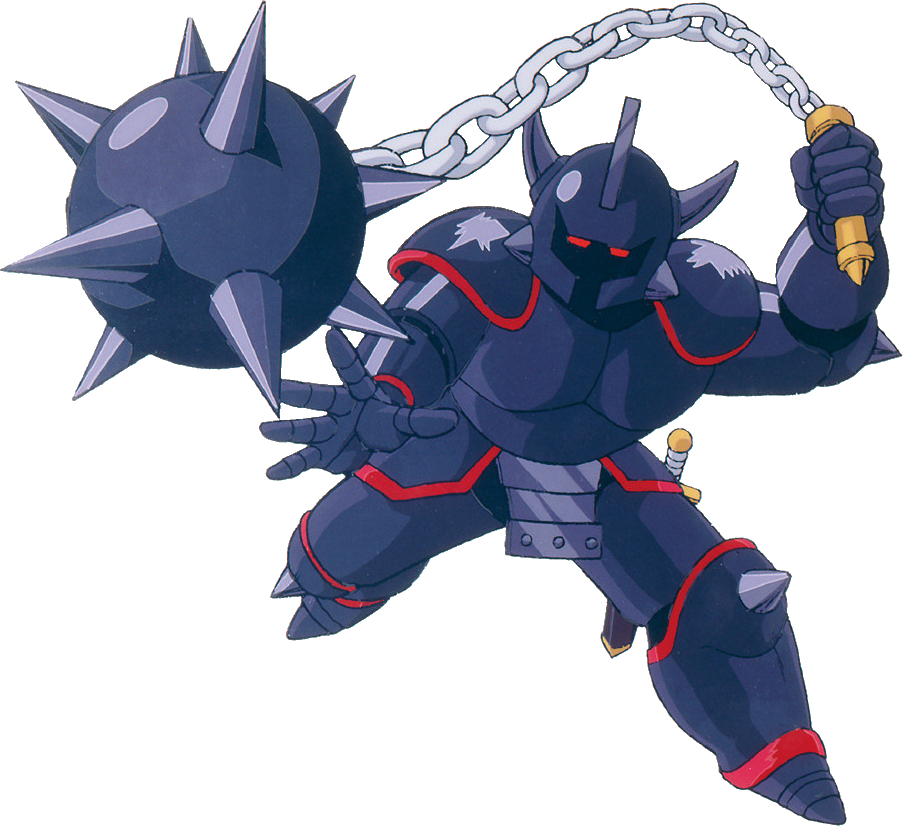
This grey soldier guards the Big Key to Zelda’s cell and swings a spiked ball on a chain when you get close. Wait for a swing to finish, step in and slash, then back off. Two pots thrown from the open cell also finish him, and the Boomerang stuns him for a free hit.
Armos Knights
- Weak to
- Arrows; the sword works but takes longer
- Reward
- Pendant of Courage + Heart Container
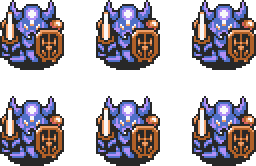
Six statue knights hop around the room in a circle, then line up along the top and slam down at you together. Arrows hurt them quickly and knock them out of formation; the sword works too but takes longer. When only one is left it turns red and stomps after you, so keep moving and keep hitting it.
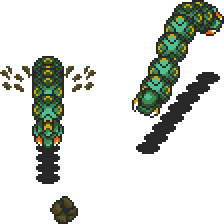
Lanmolas
- Weak to
- Sword; arrows and the Ice Rod also work
- Reward
- Pendant of Power + Heart Container
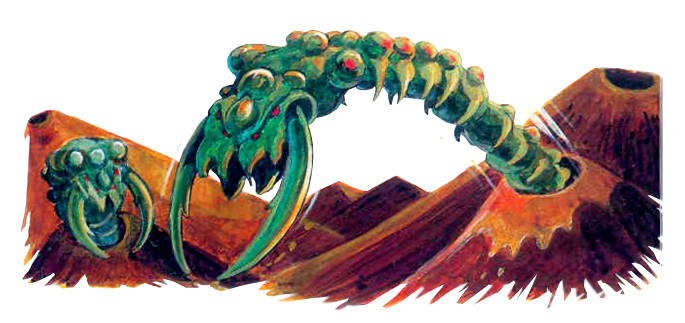
Three giant sandworms burrow under the floor and burst out in an arc, scattering rocks in all directions. Hit each one as it surfaces, then dodge the debris. Once two are gone the last one speeds up and throws out more rocks.

Moldorm
- Weak to
- Sword strikes to the red tip of its tail
- Reward
- Pendant of Wisdom + Heart Container
Moldorm races around a platform with no walls, bouncing Link away whenever they collide. Only the twirling red tip of its tail can be hurt, and it speeds up as it nears defeat. If you fall off, you land on the floor below and must start the fight again with Moldorm back at full health.
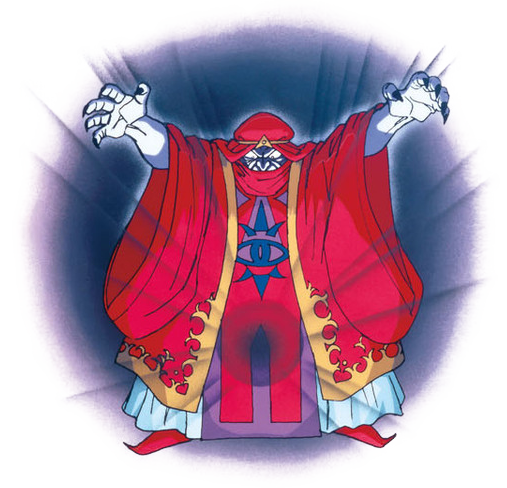

Agahnim
- Weak to
- His own energy balls, reflected with the sword
- Reward
- Agahnim defeated; Link is pulled into the Dark World
Agahnim can’t be hurt by direct sword hits. When he fires a single ball of energy, swing to send it straight back at him. His homing shot splits into fireballs, and the lightning he casts from the top-middle of the room can only be dodged by standing beside him. After his defeat he draws Link into the Dark World.
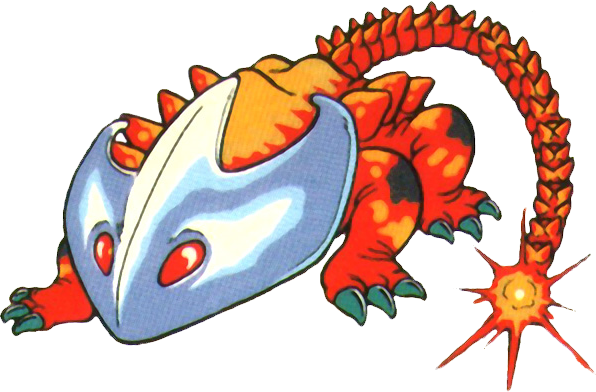
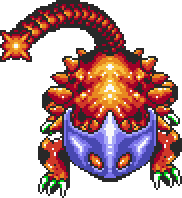
Helmasaur King
- Weak to
- Magic Hammer or Bombs on the mask, then sword or arrows on the gem
- Reward
- Crystal 1 + Heart Container
Break the armoured mask first with the Magic Hammer or Bombs. Once it shatters, hit the green gem on its forehead with the sword or arrows. Stay at right angles to its fireballs, which split diagonally, and keep out of reach of its swinging tail.
Arrghus
- Weak to
- Hookshot to pull off the Arrgi, then sword
- Reward
- Crystal 2 + Heart Container
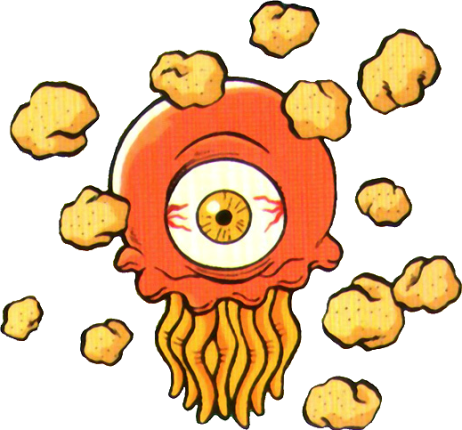
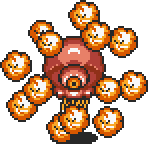
A one-eyed jellyfish shielded by a ring of Arrgi puffballs. Pull the Arrgi off one at a time with the Hookshot and cut them down with the sword. With its shield gone, Arrghus leaps up and crashes down, then skates across the water — hit it whenever you can reach it.

Mothula
- Weak to
- Sword; Fire Rod
- Reward
- Crystal 3 + Heart Container
The room is the real threat: the floor moves under you and Blade Traps slide across it. Mothula flies around firing sets of three beams. A Master Sword or Tempered Sword can finish it before it gets many attacks off; the Fire Rod works too but drains magic fast.

Blind the Thief
- Weak to
- Light to reveal him, then sword
- Reward
- Crystal 4 + Heart Container
Lead the disguised maiden into the sunlight to start the fight. Slash Blind’s body until it collapses; his head then flies loose around the room spitting fire while the body regrows a new head. This repeats three times, and each loose head stays in play, so the room gets busier as the fight goes on.
Kholdstare
- Weak to
- Fire Rod or Bombos Medallion on the shell, then Fire Rod or sword
- Reward
- Crystal 5 + Heart Container
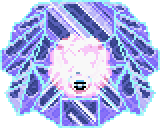
Kholdstare starts sealed in a block of ice on a slippery floor. Melt the shell with the Fire Rod, or in one go with the Bombos Medallion. The creature inside splits into three cloudy eyes that drift around; hit each with the sword or Fire Rod while dodging ice chunks falling from the ceiling.
Vitreous
- Weak to
- Sword (Spin Attack); arrows on the main eye
- Reward
- Crystal 6 + Heart Container
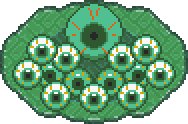
A huge eyeball sits in a pool of acidic slime surrounded by smaller eyes. The small eyes leap out one at a time — stand in a corner and Spin Attack them as they come. The big eye fires lightning more often as its guards fall. Once they’re gone it charges at you; finish it with the sword or keep your distance with arrows.
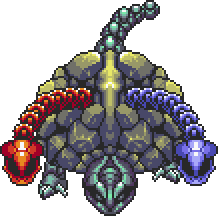
Trinexx
- Weak to
- Fire Rod on the blue head, Ice Rod on the red head, then sword
- Reward
- Crystal 7 + Heart Container
A stone turtle with a fire head and an ice head beside its main head. Freeze the red head with the Ice Rod and burn the blue head with the Fire Rod, then slash each stunned head with the sword until it’s destroyed. With both gone, Trinexx bursts out of its shell as a serpent with a glowing core — keep striking the core while dodging its lunges.
Agahnim (rematch)
- Weak to
- Reflected energy balls
- Reward
- Agahnim defeated for good; Ganon flees to the Pyramid of Power
Agahnim now splits into three: himself and two see-through copies. The copies only fire energy balls, but you can bat those into the real Agahnim too, which makes the fight quicker than it looks. Keep reflecting shots into the solid wizard until he falls.
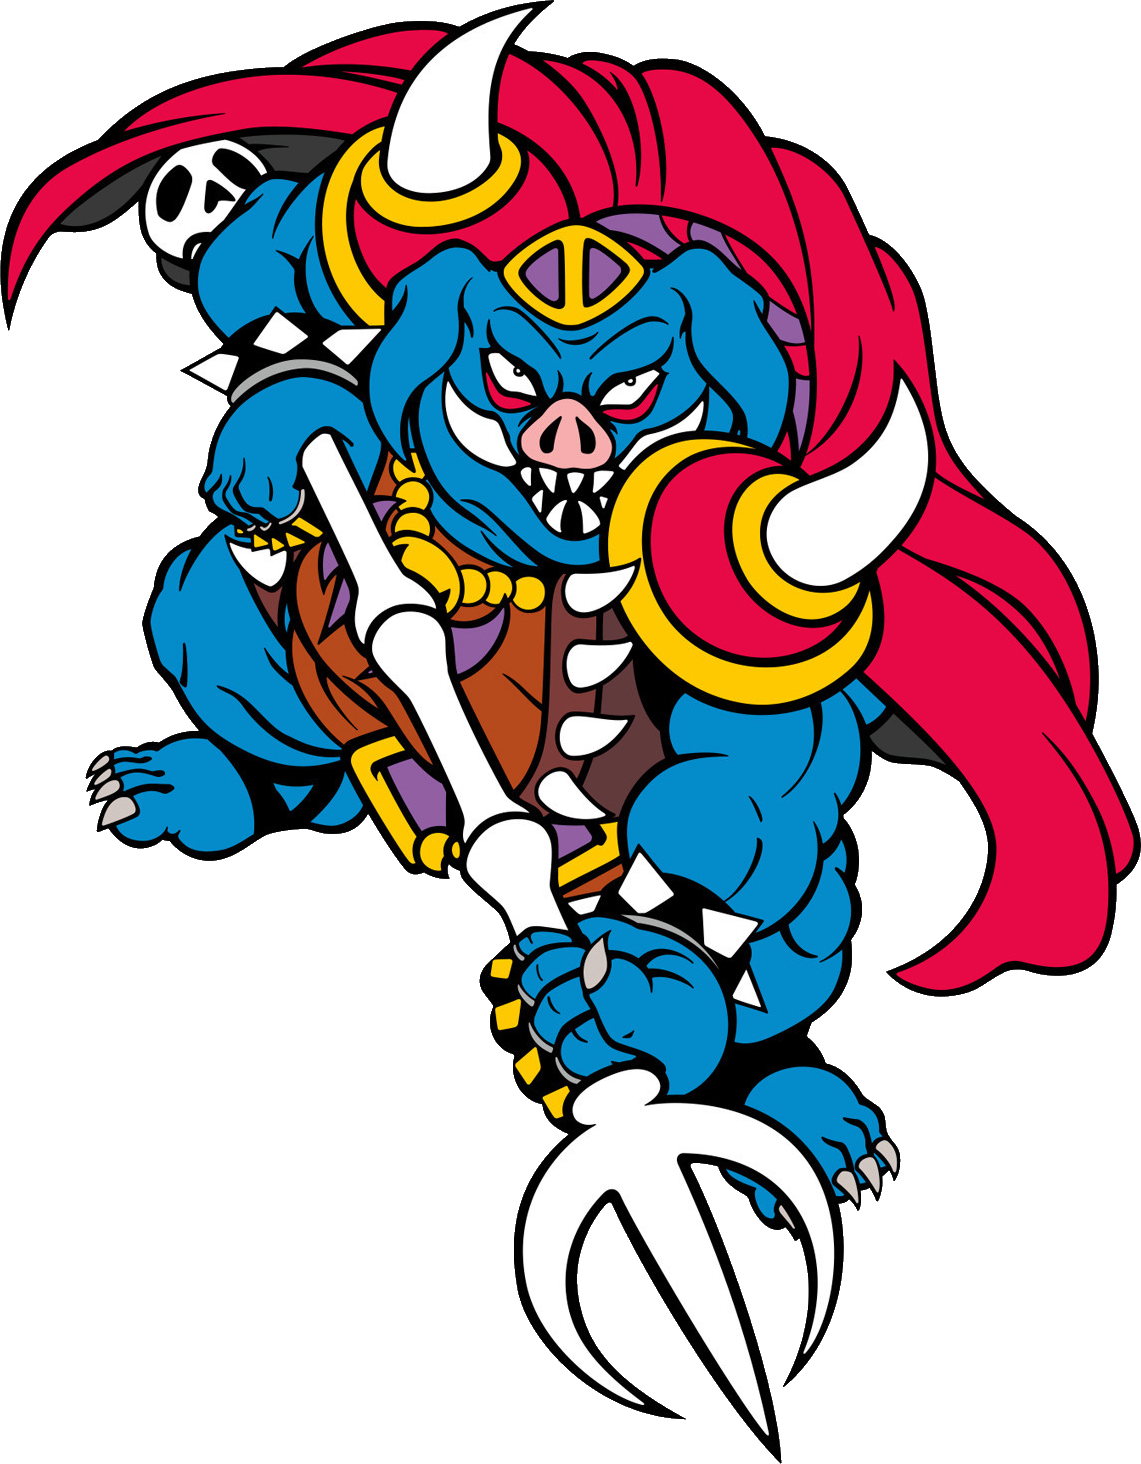
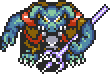
Ganon
- Weak to
- Silver Arrows, after sword hits in the dark phase
Ganon smashes into the Pyramid of Power and Link follows him down. He throws his spinning trident, summons fire bats and makes the floor crumble into pits; falling drops you to the floor below and you must climb back up. In the last phase the room goes dark: light both torches with the Lamp or Fire Rod, hit Ganon with the sword until he flashes blue, then shoot him with Silver Arrows. Relight the torches whenever they go out.
FAQ
How do you beat Ganon in A Link to the Past?
Ganon smashes into the Pyramid of Power and Link follows him down. He throws his spinning trident, summons fire bats and makes the floor crumble into pits; falling drops you to the floor below and you must climb back up. In the last phase the room goes dark: light both torches with the Lamp or Fire Rod, hit Ganon with the sword until he flashes blue, then shoot him with Silver Arrows. Relight the torches whenever they go out.
How do you beat Agahnim?
Bat his single energy balls back at him with the sword (or the Bug-Catching Net). Direct sword hits don’t hurt him, and you must step aside to dodge his lightning.
Which bosses give Heart Containers?
Every boss from the Armos Knights to Trinexx. Agahnim and Ganon give none.
Sources & picture credits
- Bosses (Zeldapedia)
- Ball and Chain Trooper (Zeldapedia)
- Armos Knights (Zeldapedia)
- Lanmolas (Zeldapedia)
- Moldorm (Zeldapedia)
- Agahnim (Zeldapedia)
- Helmasaur King (Zeldapedia)
- Arrghus (Zeldapedia)
- Mothula (Zeldapedia)
- Blind the Thief (Zeldapedia)
- Kholdstare (Zeldapedia)
- Vitreous (Zeldapedia)
- Trinexx (Zeldapedia)
- Ganon (Zeldapedia)
- Picture: ALttP_Ball_and_Chain_Trooper_Sprite.png
- Picture: ALttP_Ball_and_Chain_Trooper_Artwork.png
- Picture: ALttP_Armos_Knights_Sprite.png
- Picture: ALttP_Lanmolas_Sprite.png
- Picture: ALttP_Lanmolas_Artwork.png
- Picture: ALttP_Moldorm_Sprite.png
- Picture: ALttP_Agahnim_Sprite.png
- Picture: ALttP_Agahnim_Artwork.png
- Picture: ALttP_Helmasaur_King_Sprite.png
- Picture: ALttP_Helmasaur_King_Artwork.png
- Picture: ALttP_Arrghus_Sprite.png
- Picture: ALttP_Arrghus_Artwork.png
- Picture: ALttP_Mothula_Sprite.png
- Picture: ALttP_Blind_the_Thief_Sprite.png
- Picture: ALttP_Kholdstare_Sprite.png
- Picture: ALttP_Vitreous_Sprite.png
- Picture: ALttP_Trinexx_Sprite.png
- Picture: ALttP_Ganon_Sprite.png
- Picture: ALttP_Ganon_Artwork.png


Guide text is original retrogameindex writing, checked against Zeldapedia. Screenshots, sprites and artwork © Nintendo; local copies archived from Zeldapedia file pages (listed on the image gallery).