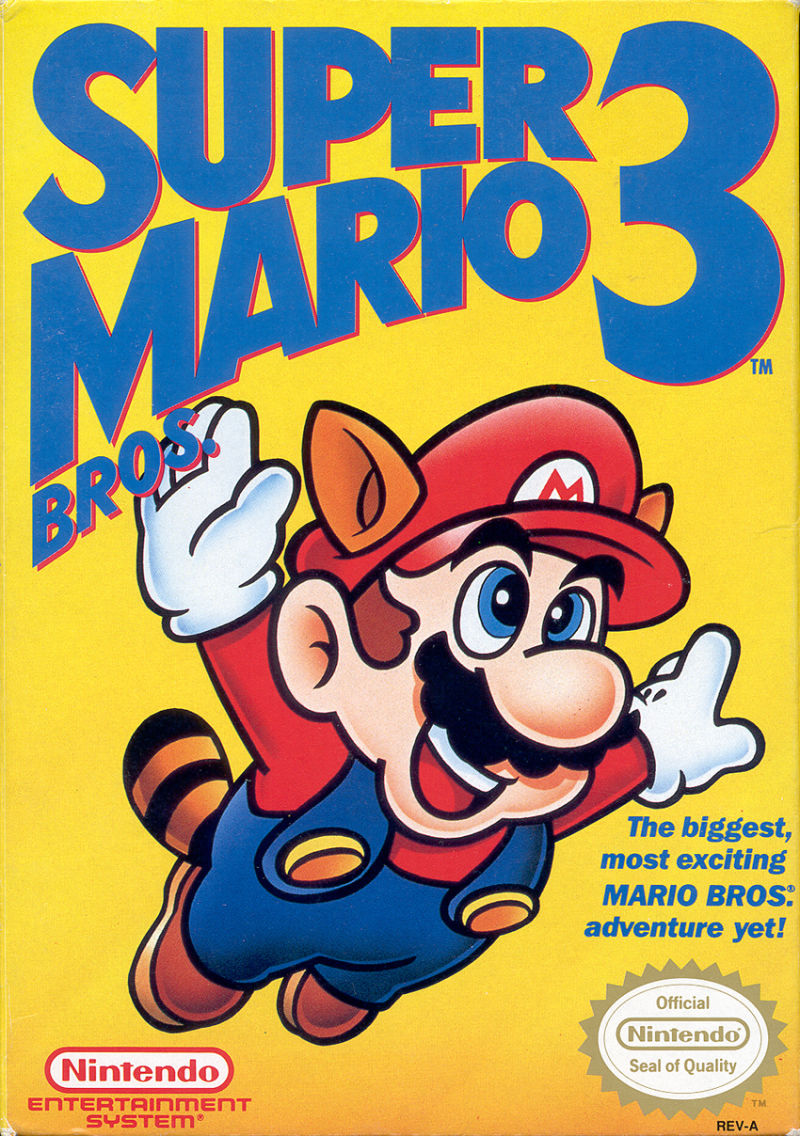
Super Mario Bros. 3 Bosses: Koopalings, Boom Boom & Bowser
Every boss pattern in one table. Koopalings take three head stomps; Bowser has to fall through his own floor.

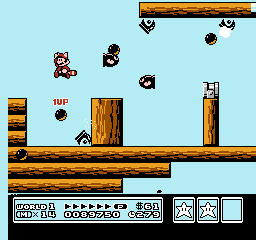
Larry Koopa
Larry fires wand shots and retreats into a moving shell after a stomp. Wait until he comes out before aiming the next jump. Three head stomps win the fight.
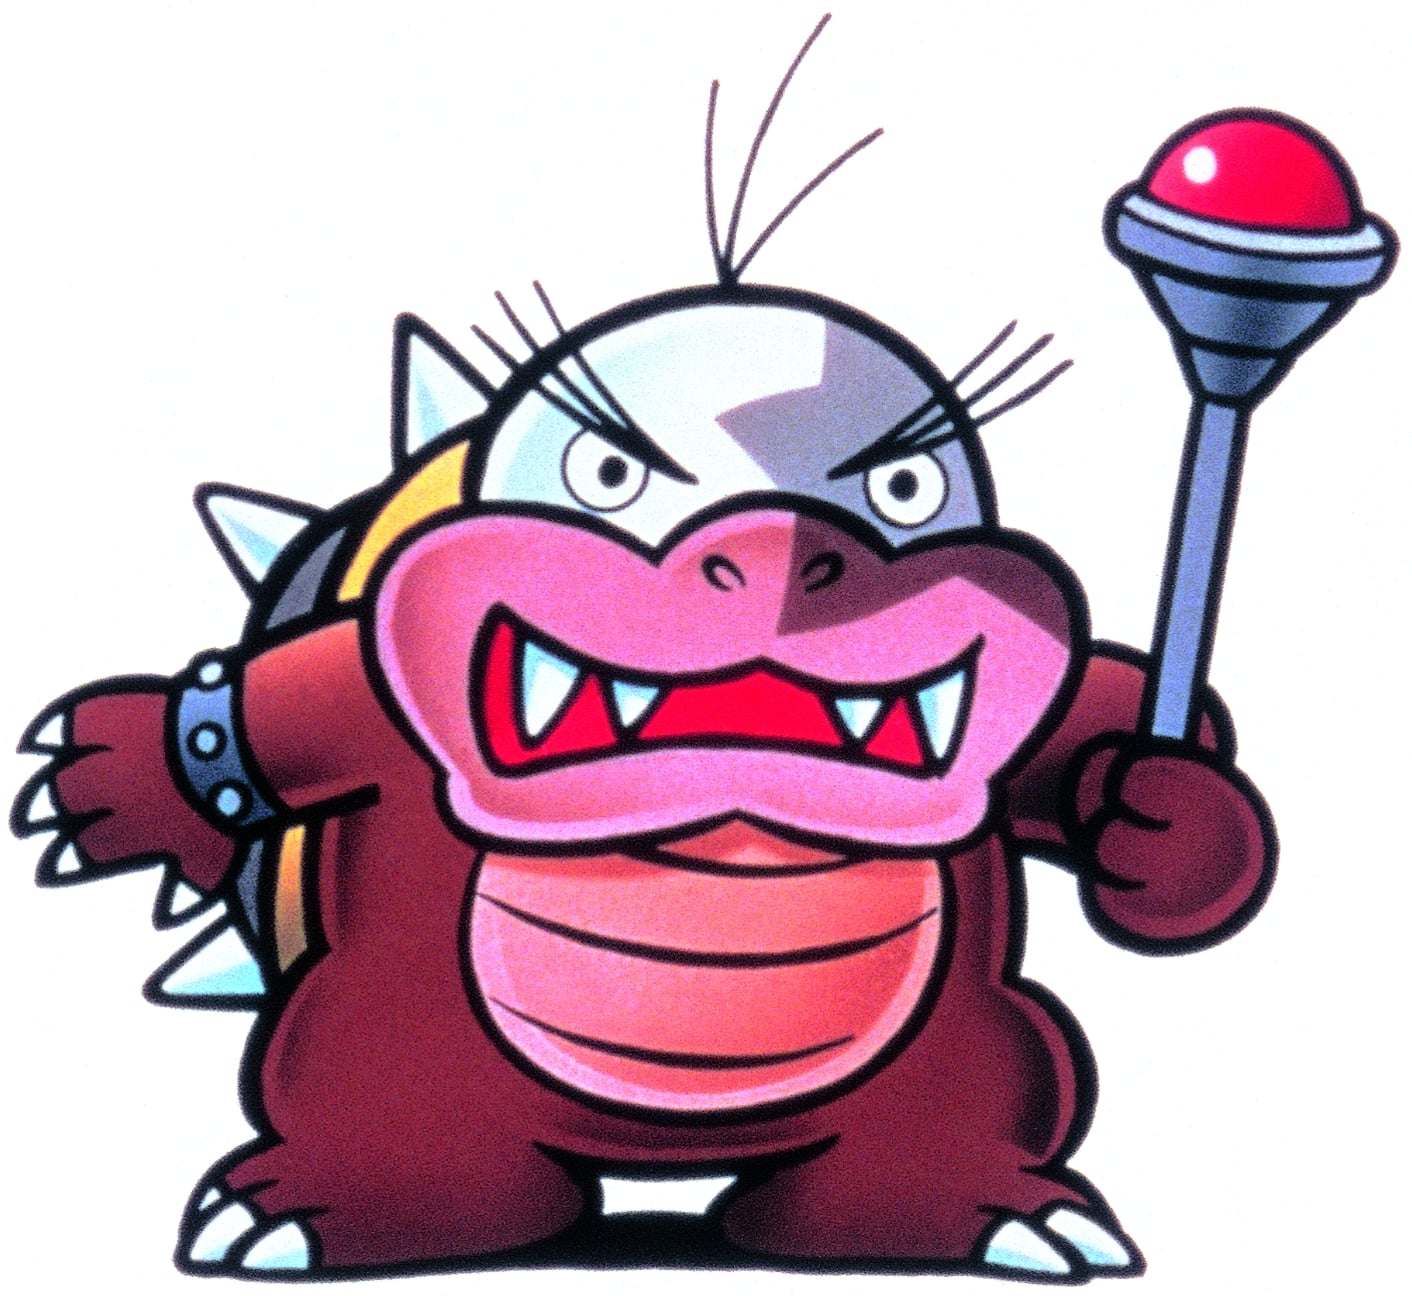
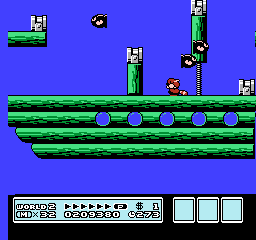
Morton Koopa Jr.
Morton moves more slowly than Larry but fires his wand more often. Leave space to dodge a shot, then jump onto his head. Three stomps recover the wand.
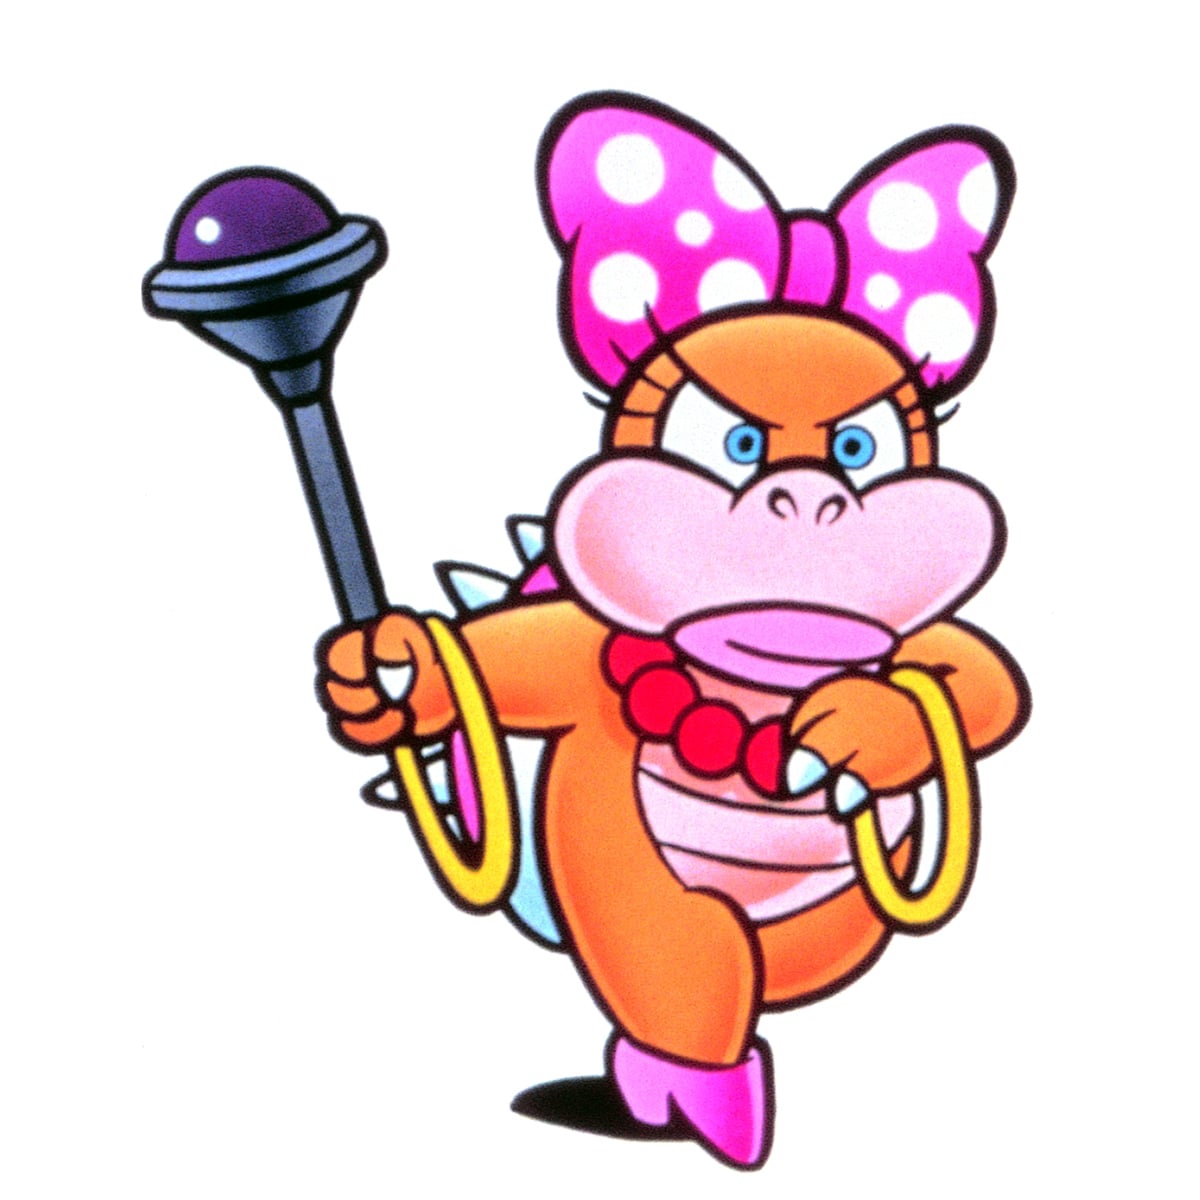
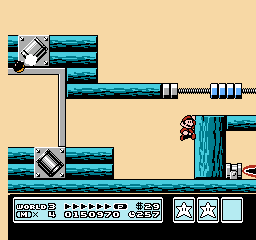
Wendy O. Koopa
Wendy’s rings bounce off the arena’s walls, floor and ceiling. Watch the ring’s next bounce as well as Wendy’s position. Three head stomps end the battle.

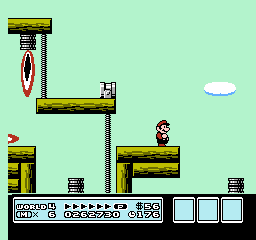
Iggy Koopa
Iggy moves quickly and fires frequent wand shots in an uneven arena. Aim for a clean landing on his head, then reset your position for the next vulnerable phase. Three stomps win.

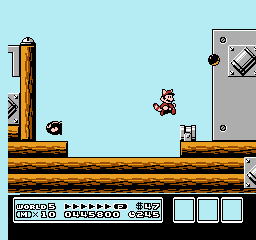
Roy Koopa
Roy’s heavy landing can stun Mario on the ground. Jump just before he touches down, then position for a stomp rather than landing beside his moving shell.

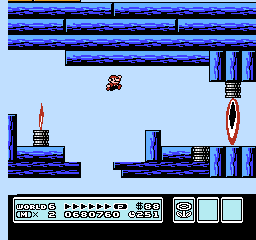
Lemmy Koopa
Lemmy balances on a ball and sends bouncing balls across a flat arena. Aim for his head rather than the ball under him; leave a clear landing space after each hit.
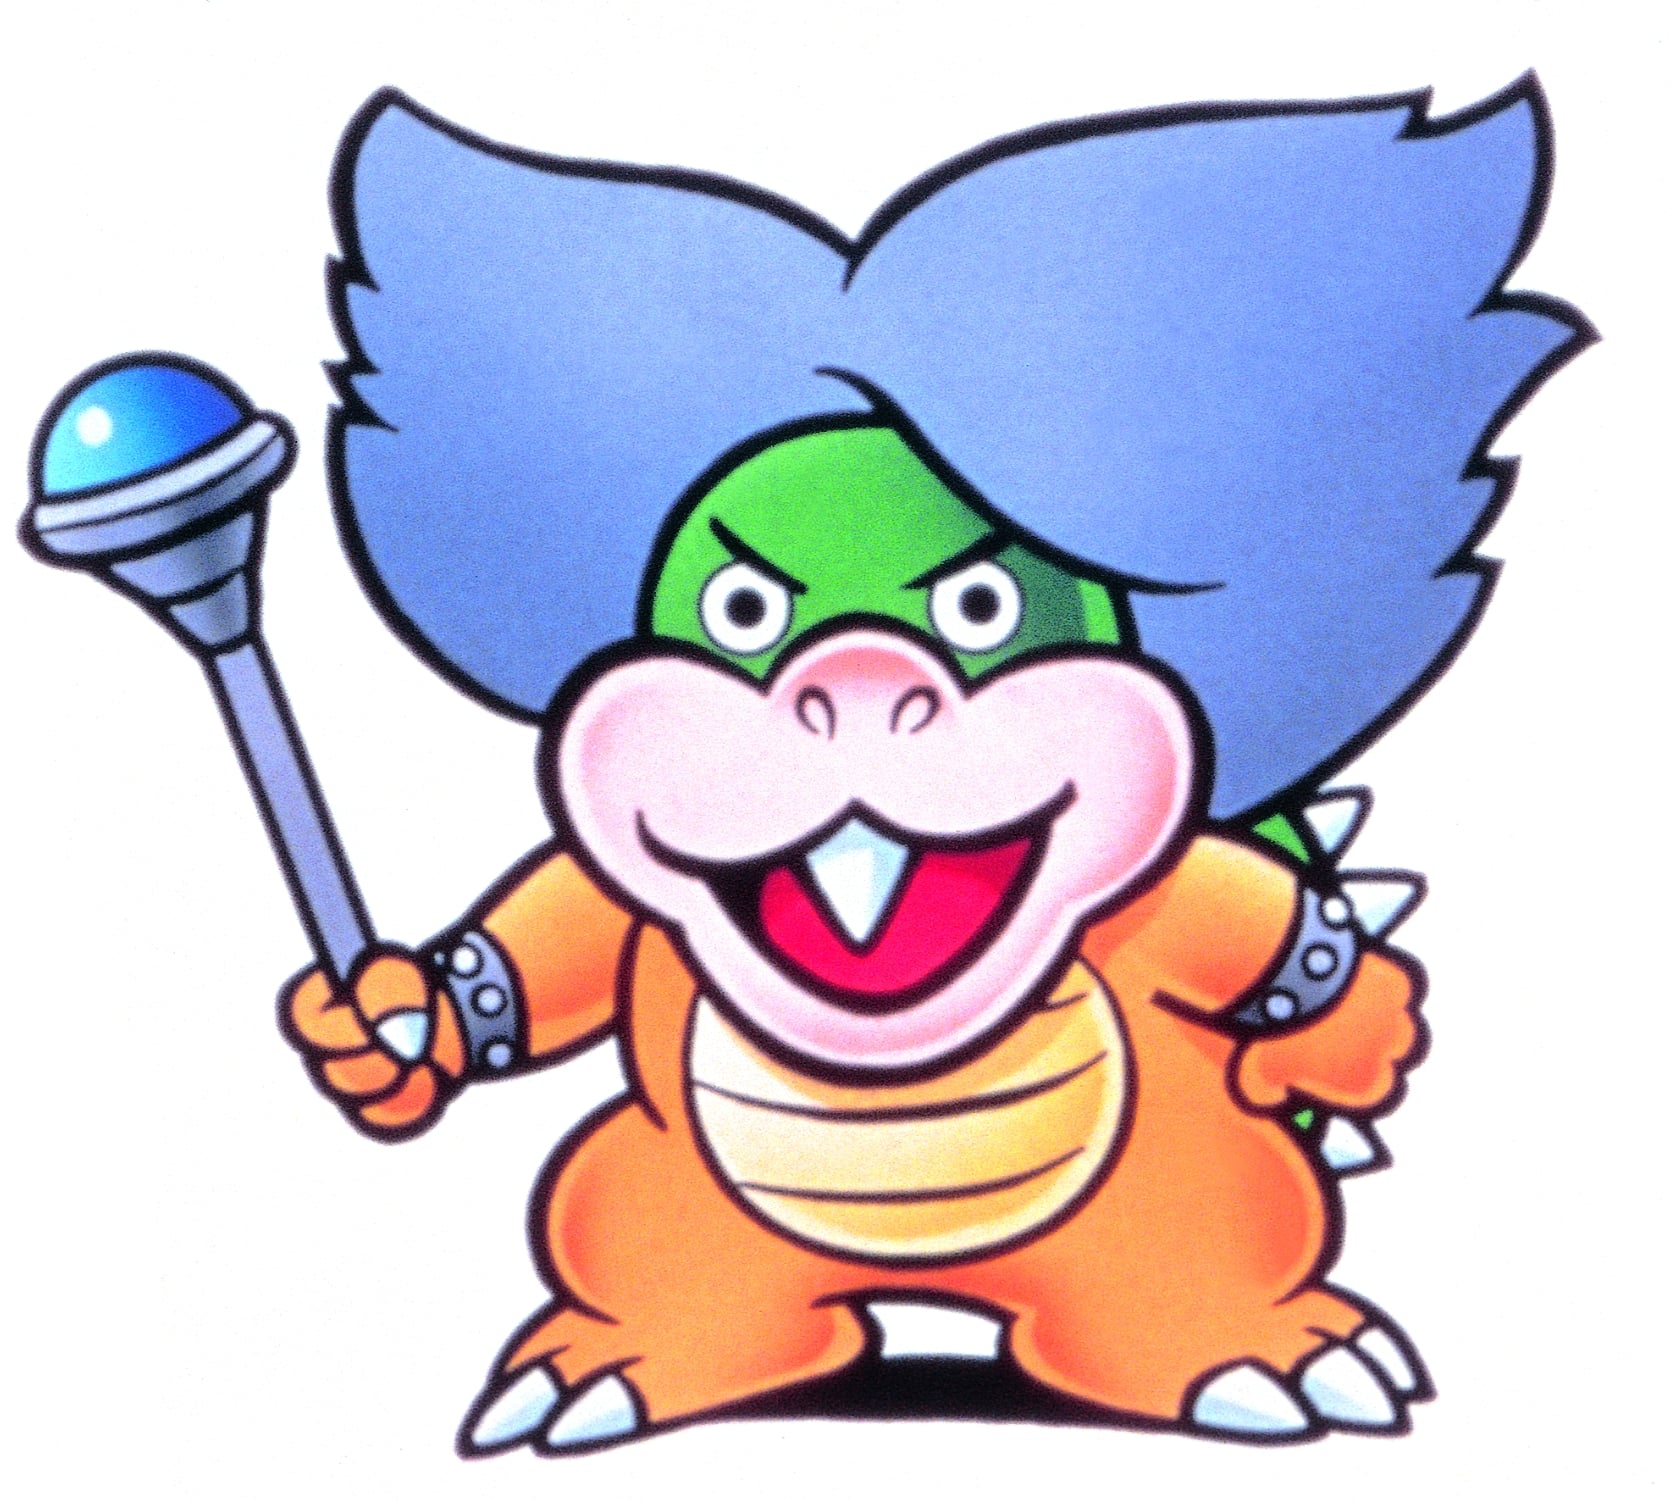
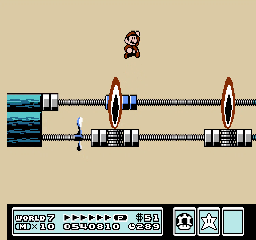
Ludwig von Koopa
Ludwig combines frequent wand shots, stunning landings and a fast shell response. Stay airborne when he lands and leave space for his charge after a stomp. Three head stomps win.
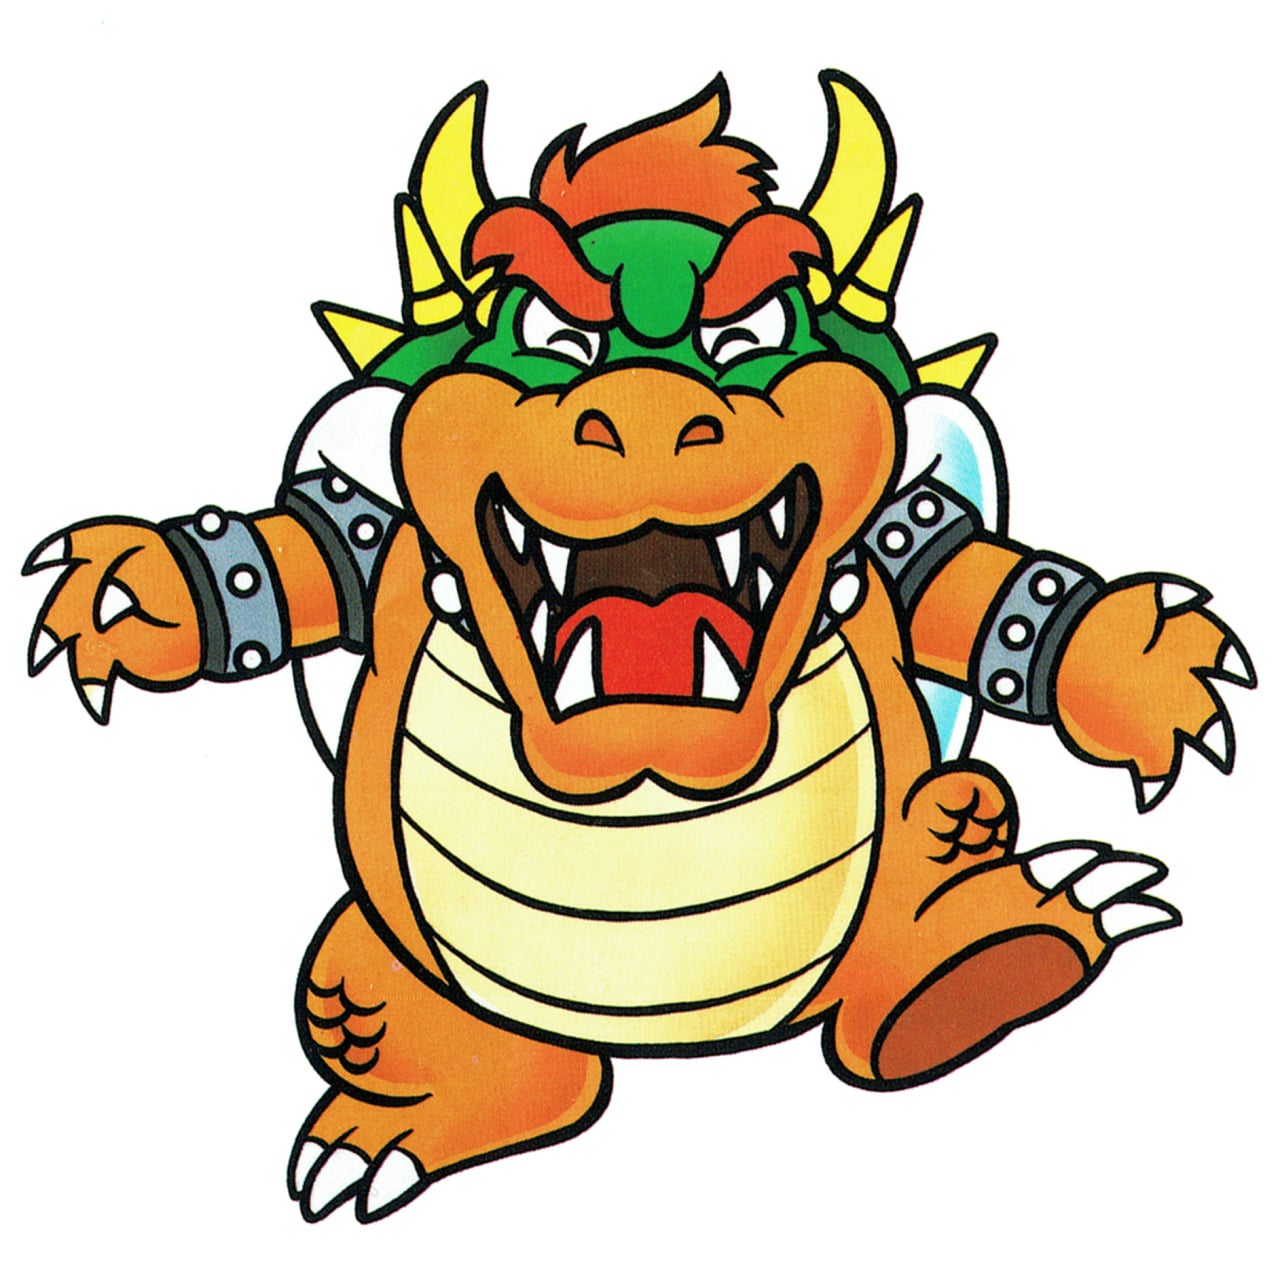
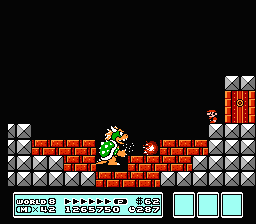
Bowser
Avoid Bowser’s fire, lure his downward jumps onto the same brick column, and step clear. Ordinary head stomps are not the standard solution; let him fall through the floor.
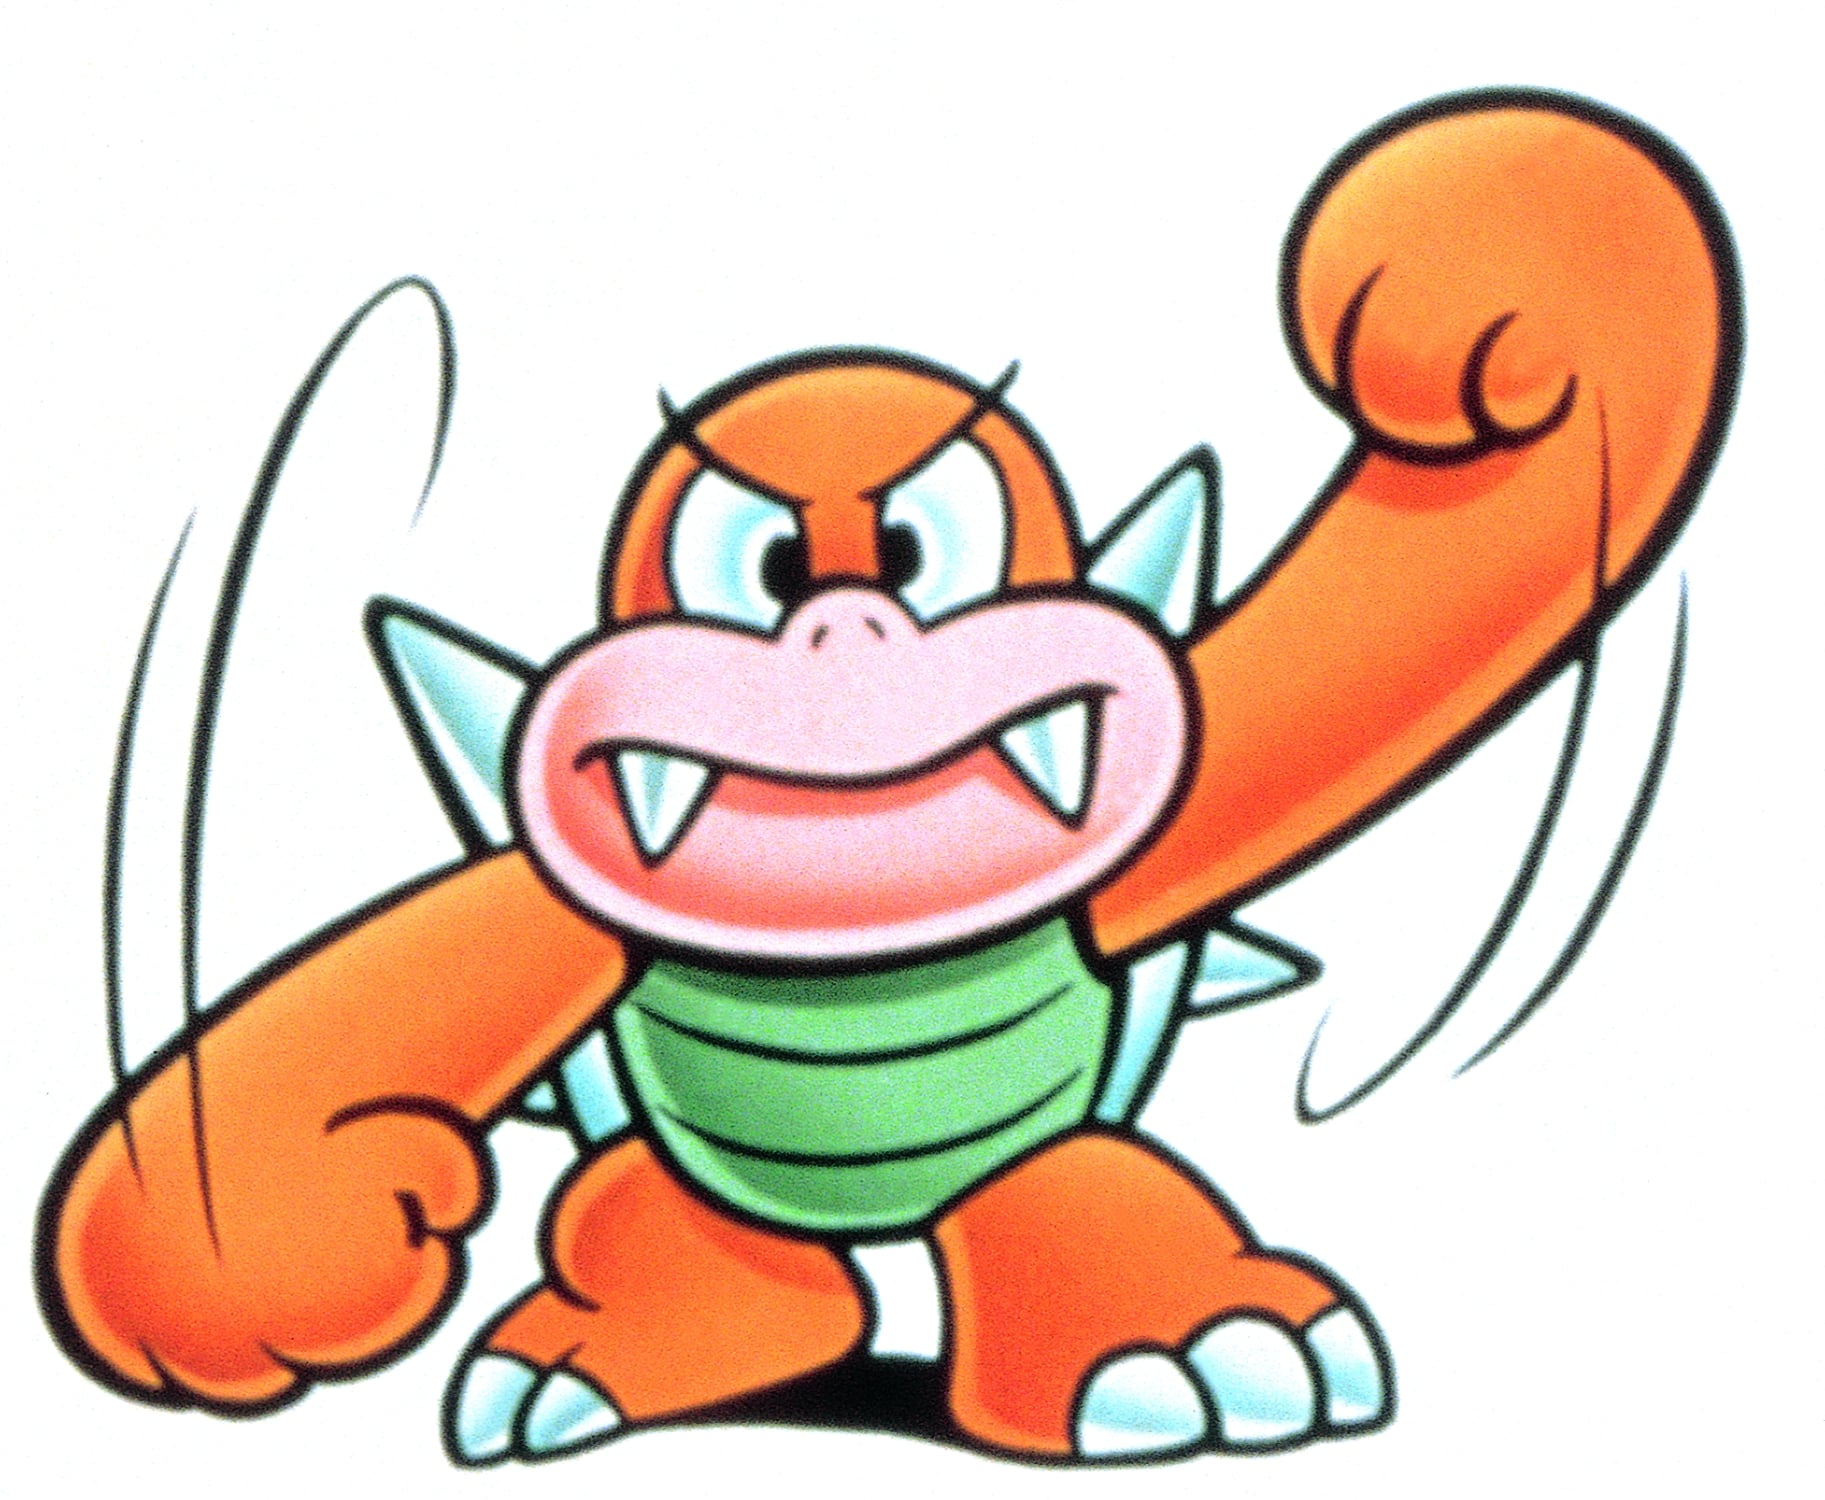
Boom Boom (every fortress)
Three head stomps. He is safe while spinning after a hit, so wait for him to stand. Later fights add high jumps, flight and, in World 8, a conveyor floor. Beating him removes the fortress’s map lock.
Fortress puzzles that stop people
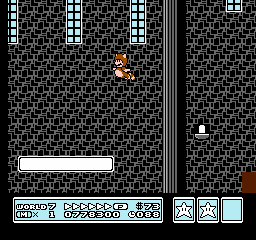
- Hit the 4th upper brick right of the stone platform for a P-Switch; it opens a door to a Tanooki Suit.
- In the long hall, fly into the ceiling pipe above the second Roto-Disc from the left.
- That pipe leads to a flying Boom Boom.
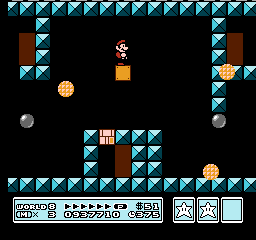
- Work through the lava and conveyor rooms to the stairway and far-right drop.
- Hit the brick nearest the conveyor for a P-Switch.
- Take the white door on the far-right ledge to Boom Boom.
How to beat Bowser
- Dodge his fire and pick one column of floor bricks.
- Stand on it so he aims his jump there.
- Step aside before he lands; the bricks break.
- Repeat on the same column until he falls through.
Head stomps don’t work. The route past the sliding Thwomp reaches an arena with a thinner floor.
Sources & picture credits
- Boom Boom
- World 7-Fortress 1
- World 8-Fortress
- World 8 castle
- Larry Koopa airship
- Morton Koopa Jr. airship
- Wendy O. Koopa airship
- Iggy Koopa airship
- Roy Koopa airship
- Lemmy Koopa airship
- Ludwig von Koopa airship
Guide text is original retrogameindex writing. Maps, screenshots, sprites and artwork © Nintendo; local copies archived from Super Mario Wiki file pages (listed on the image gallery).