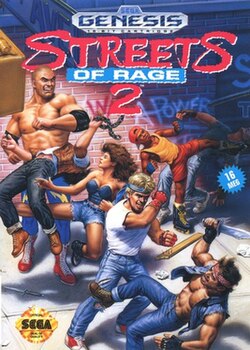
Downtown, bridge, amusement park and stadium
Recognise selected original stage scenery and learn how the first half of the rescue changes the fighting lane.
Original 1992 Genesis / 1993 Mega Drive game. The Master System and Game Gear conversions and later-series special-attack recovery systems are outside this guide. Pickup and cast pictures preserve the original manual scan’s monochrome treatment.
Illustrated reference
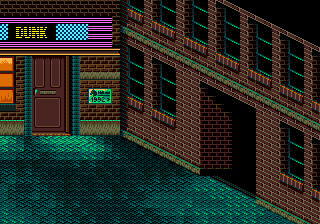
Stage 1: Downtown
The rescue begins on downtown streets. Use the opening groups to learn a fighter’s reach and pickup controls, then watch for enemies arriving from the opposite side while a combo is committed.
Original Genesis Stage 1 scenery. This screen-sized stitched-map crop preserves DarkWolf’s assembly of original game graphics; characters and pickups are absent. It is not an intact single gameplay frame.
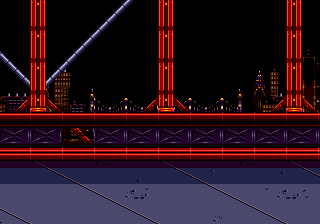
Stage 2: Bridge Construction
The bridge construction stage follows downtown. Recognise the changing scenery, but rely on the active enemies and lane alignment to decide when a normal combo or throw is safe.
Original Genesis Stage 2 scenery. This screen-sized stitched-map crop preserves DarkWolf’s assembly of original game graphics; characters and pickups are absent. It is not an intact single gameplay frame.
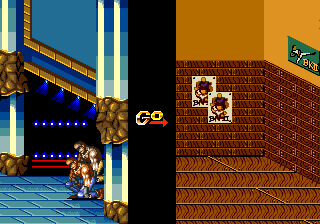
Stage 3: Amusement Park
The amusement park stage changes the campaign’s setting and corridor appearance. Clear enough space around containers before reaching for food, and avoid committing to an attack with an enemy waiting behind.
Original Genesis Stage 3 scenery. This screen-sized stitched-map crop preserves DarkWolf’s assembly of original game graphics; characters and pickups are absent. It is not an intact single gameplay frame.
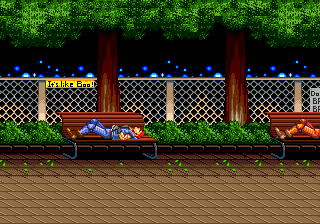
Stage 4: Stadium
The stadium marks the fourth stage of the original campaign. Bring the crowd-control habits learned downtown and protect enough health to observe its boss rather than spending every approach on a special.
Original Genesis Stage 4 scenery. This screen-sized stitched-map crop preserves DarkWolf’s assembly of original game graphics; characters and pickups are absent. It is not an intact single gameplay frame.
Begin with the downtown street
The opening stage starts downtown, where the street gives you an accessible space to practise attacks and pickups. Watch for enemies arriving while you are breaking a container or finishing a combo. The location image shows original scenery from an archived stitched map; it intentionally omits the moving enemies. Read the live screen for combat timing rather than treating an empty background reference as a promise of safety.
Reassess the bridge and amusement park
Stage two moves the campaign to bridge construction and stage three to an amusement park. New scenery can make an enemy’s approach harder to read, especially when a corridor leaves less apparent space around the fighter. Pause at the start of each group long enough to identify both sides of the lane. Use the same reliable basic attacks, then adapt spacing to the local width and the enemies actually present.
Make a plan beyond the stadium
Stage four brings the rescue to a stadium. Its boss and preceding groups reward a player who can create space without spending the whole life gauge on special moves. The ship, jungle, munitions plant and Syndicate stronghold follow later. This illustrated directory covers the first four stages only; the later half remains part of the same eight-stage original campaign and should be approached with enough lives and health for new encounters.
These original-game location pictures are screen-sized crops of credited stitched stage maps, not intact single gameplay frames.
Picture details
Game artwork belongs to its respective rights holders.