
Sacred Gold runes, combat-art regeneration and combos
Improve skills without turning a reliable attack into a long wait.
Edition covered
Sacred Gold combines Sacred, Sacred Plus and the Underworld expansion. Pictures include the Underworld-only Dwarf and Daemon classes. Base Sacred has six classes; Gold has eight. This guide does not cover Sacred 2 or Sacred 3.
Check regeneration before reading a rune
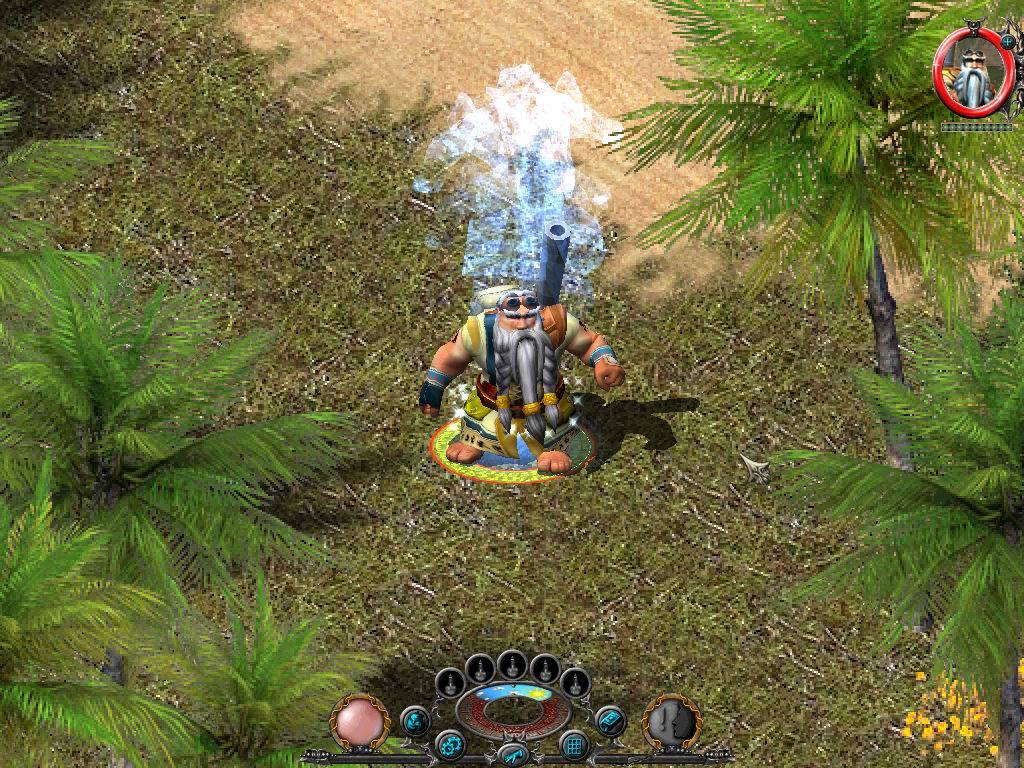
Combat-art runes raise the corresponding art when consumed. Increased power can also increase its regeneration time, so inspect the displayed delay before using every duplicate rune immediately.
| Action | Effect | Check first |
|---|---|---|
| Read a class rune | Raises that combat art | New regeneration time |
| Keep a spare rune | Preserves a future choice | Whether the art needs a higher level now |
| Exchange runes | Obtains a more useful rune through the Combo Master | Exchange terms shown by the NPC |
| Create a combo | Links selected arts | Sequence and recovery time |
| Socket a rune | Adds its item-related benefits | Socket choice and item tooltip |
Use the Combo Master
Combo Masters combine arts into a sequence and exchange unwanted runes. A combo has its own recovery behavior, making it useful for a planned burst rather than automatically replacing every individual art.
| Skill | Associated use | Build note |
|---|---|---|
| Concentration | Combat-art regeneration | Useful for weapon-based arts |
| Fire Magic | Fire spell casting and regeneration | Battle Mage specialization |
| Air Magic | Air spell casting and regeneration | Battle Mage specialization |
| Heavenly Magic | Seraphim magic | Class-specific investment |
| Dwarven Lore | Dwarf technical abilities | Underworld class skill |
| Hell Power | Daemon spell recovery | Underworld class skill |
Support the arts you actually use
Concentration supports combat-art recovery, while magical schools and class-specific skills support their associated abilities. Select skills that match the character instead of spreading points across every available option.
Test one change at a time
Equipment, rune levels and skills can all affect the displayed recovery. Change one part of the build, check the new timing and test against ordinary enemies before spending more permanent resources.
Equipment, rune levels and skills can all affect the displayed recovery. Change one part of the build, check the new timing and test against ordinary enemies before spending more permanent resources.
References
| Reference | Website |
|---|---|
| Publisher game and edition listing | store.steampowered.com |
| Publisher manual | shared.fastly.steamstatic.com |