Mass Effect 3 Powers and defenses: shields, barriers and armor
Match squad powers to protection layers and set up useful combinations.
Edition covered
Original Mass Effect 3 single-player campaign. Pictures come from the original PC N7 Digital Deluxe store listing and include DLC promotional scenes. Legendary Edition changes to Galactic Readiness and ending requirements are outside this reference.
Read the protection bar
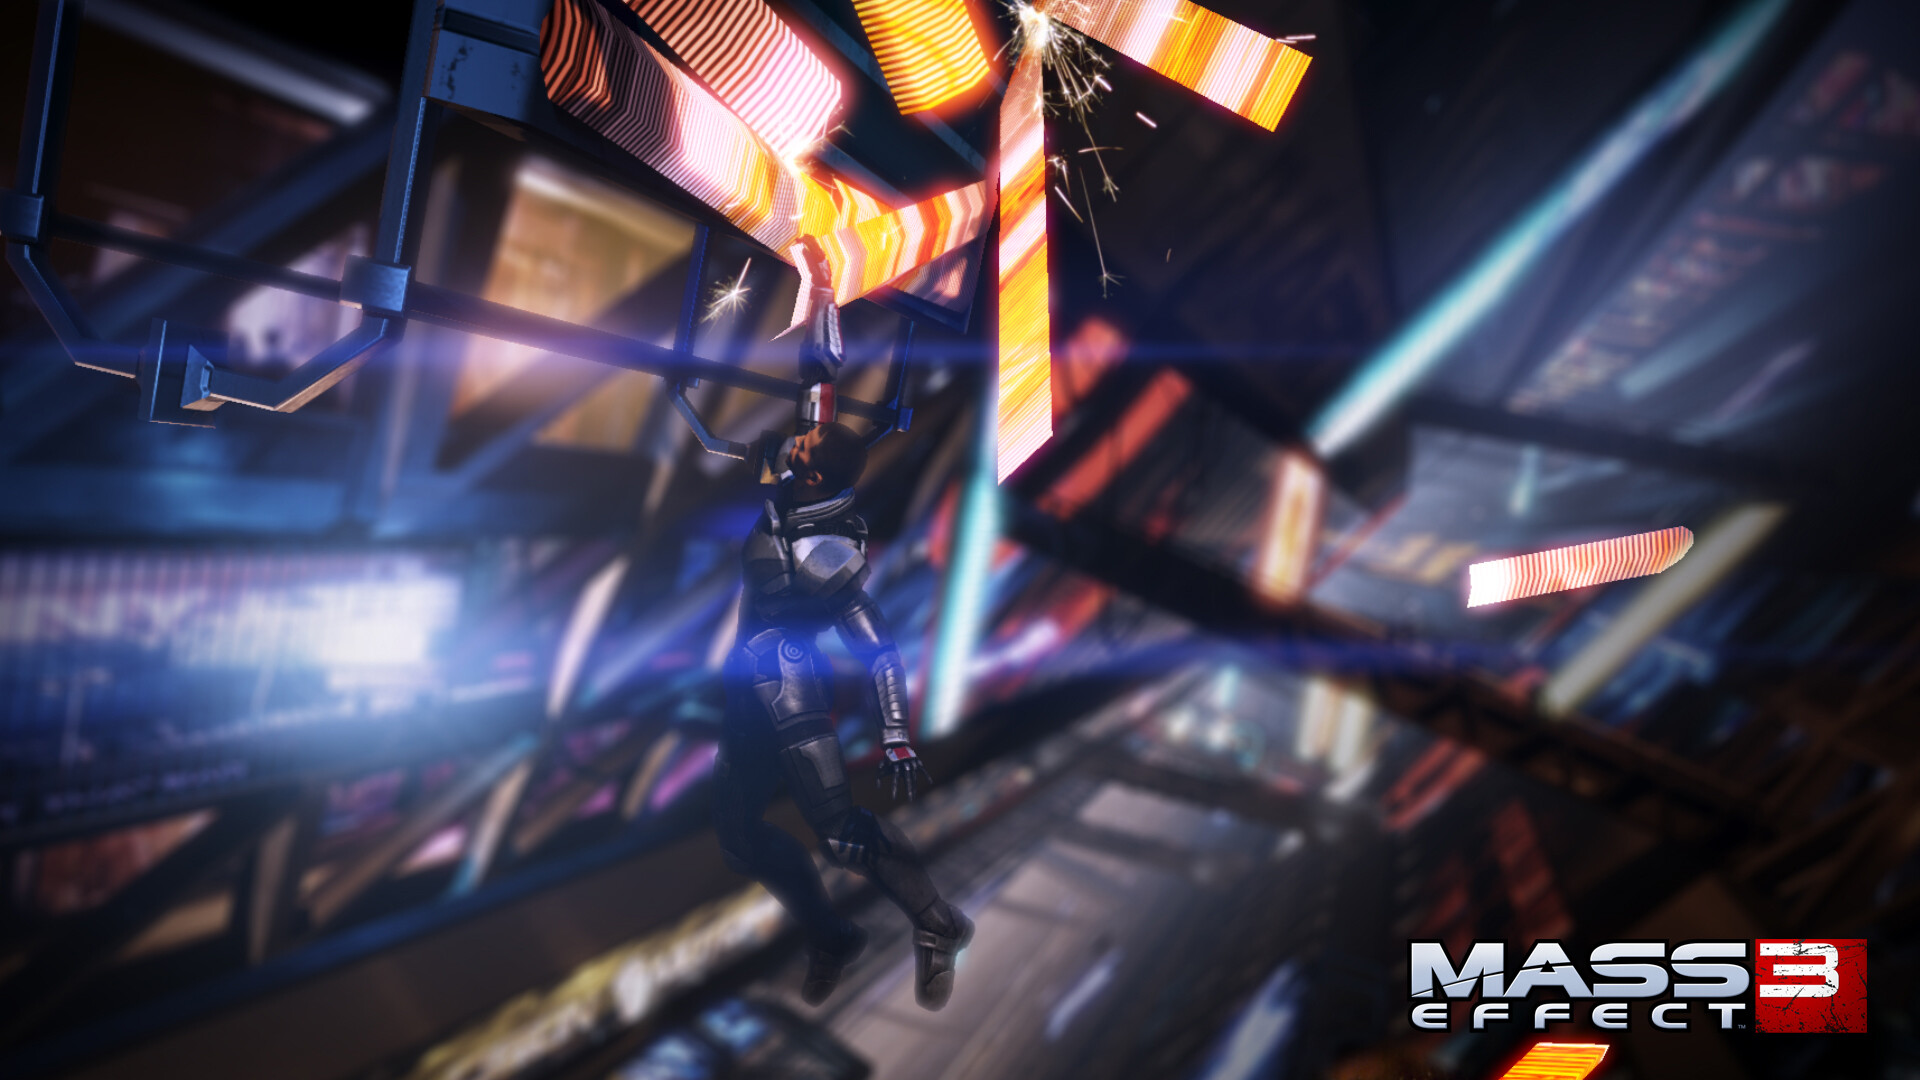
Shields, biotic barriers and armor are different defenses. Removing the outer layer makes a target easier to control; an enemy that resists Pull is not necessarily immune once its protection is gone.
| Defense | Useful counter family | Reason |
|---|---|---|
| Shields | Overload or Disruptor Ammo | Tech damage attacks electrical protection |
| Barriers | Warp or suitable biotic damage | Counters biotic protection |
| Armor | Incinerate or armor-effective weapons | Damages hardened targets |
| Unprotected health | Pull, Singularity or weapon damage | Control becomes easier without protection |
Combine a primer and detonator
Power combinations require compatible effects in sequence. Pull followed by Warp is a straightforward biotic example on a vulnerable target; ordering both attacks together is more reliable than firing them without watching the target.
| Threat | Response | Watch for |
|---|---|---|
| Cerberus engineer | Interrupt or eliminate early | Deployed turret pressure |
| Guardian | Flank or exploit the shield opening | Shooting the shield wastes time |
| Husk | Control before it reaches cover | Groups can force Shepard out |
| Atlas | Use cover and concentrated damage | Nearby infantry can flank during the duel |
Separate dangerous enemy roles
Cerberus engineers, shield-bearing Guardians and charging husks create different problems. Destroy a turret threat or control a flanker before spending a long burst on the largest distant enemy.
Use the power wheel for coordination
Pause to inspect the target, choose the intended squad power and keep a follow-up ready. A power that is recharging cannot supply the missing half of a planned combination.
References
| Reference | Website |
|---|---|
| Mass Effect 3 publisher listing | store.steampowered.com |
| Publisher game manual | eaassets-a.akamaihd.net |
| BioWare Legendary Edition comparison | www.ea.com |
| Grissom Academy deadline reference | masseffect.fandom.com |
| Tuchanka Bomb mission-window reference | masseffect.fandom.com |
| Cerberus Headquarters departure reference | masseffect.fandom.com |