
Equipment slots and useful auto-abilities
Read abilities and empty slots when choosing weapons and armour.
Core Final Fantasy X systems, with HD Remaster grid choices explicitly labelled. Original regional releases do not all offer identical options.
8 items · one picture per entry · open a picture for full size.
Item directory
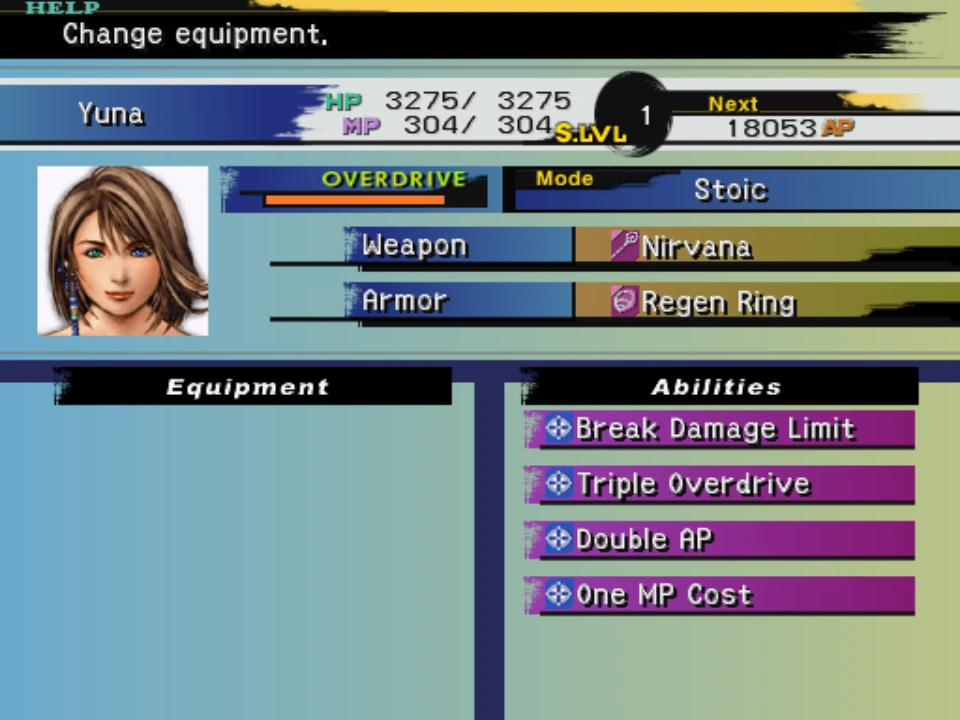
Weapon and armour slots
Equipment value comes largely from its abilities and available slots. Identical-looking names are not enough to judge whether two pieces support the same build.
Sensor
Reveals useful battle details for many opponents. Keep access to it while learning enemy weaknesses and patterns, even if another weapon offers more direct damage.
Piercing
Useful against armoured targets. It is a weapon property, so check the equipped weapon rather than assuming every attack by a strong character bypasses armour.
Elemental strikes and wards
A weapon element can help or backfire depending on the enemy. Armour resistance solves a different problem; verify which slot contains the ability.
Status Ward and Statusproof
Partial resistance and complete protection are not interchangeable. Read the exact ability before basing a boss plan on avoiding a disabling status.
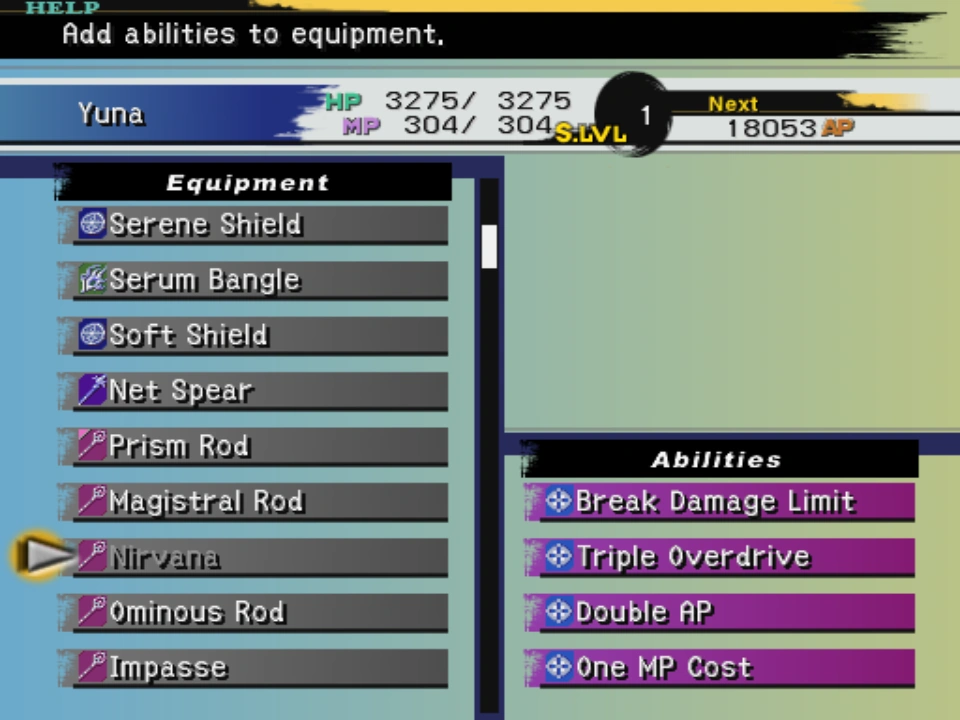
Customization
Available after the relevant story unlock. Review item costs and remaining slots before committing resources to equipment you may soon replace.
Auto-Haste and Auto-Phoenix
Powerful optional preparation goals with resource costs. Auto-Phoenix also depends on having Phoenix Downs, so maintain the supply after repeated battles.
Capture weapons
Use the Capture property for eligible finishing blows when collecting fiends. Summons and unrelated damage sources do not automatically count just because a Capture weapon is equipped.
Quick notes
- Read an ability instead of only the weapon model. Final Fantasy X equipment is defined substantially by its abilities and slots.