
Command & Conquer 3: Tiberium Wars base defense, engineers and support powers
Protect the economy while using capture and support tools at the right moment.
Edition covered
Original Tiberium Wars, excluding Kane's Wrath subfactions and units. Exact costs and combat balance depend on the installed patch; guides focus on shared systems.
Defend harvesters as well as buildings
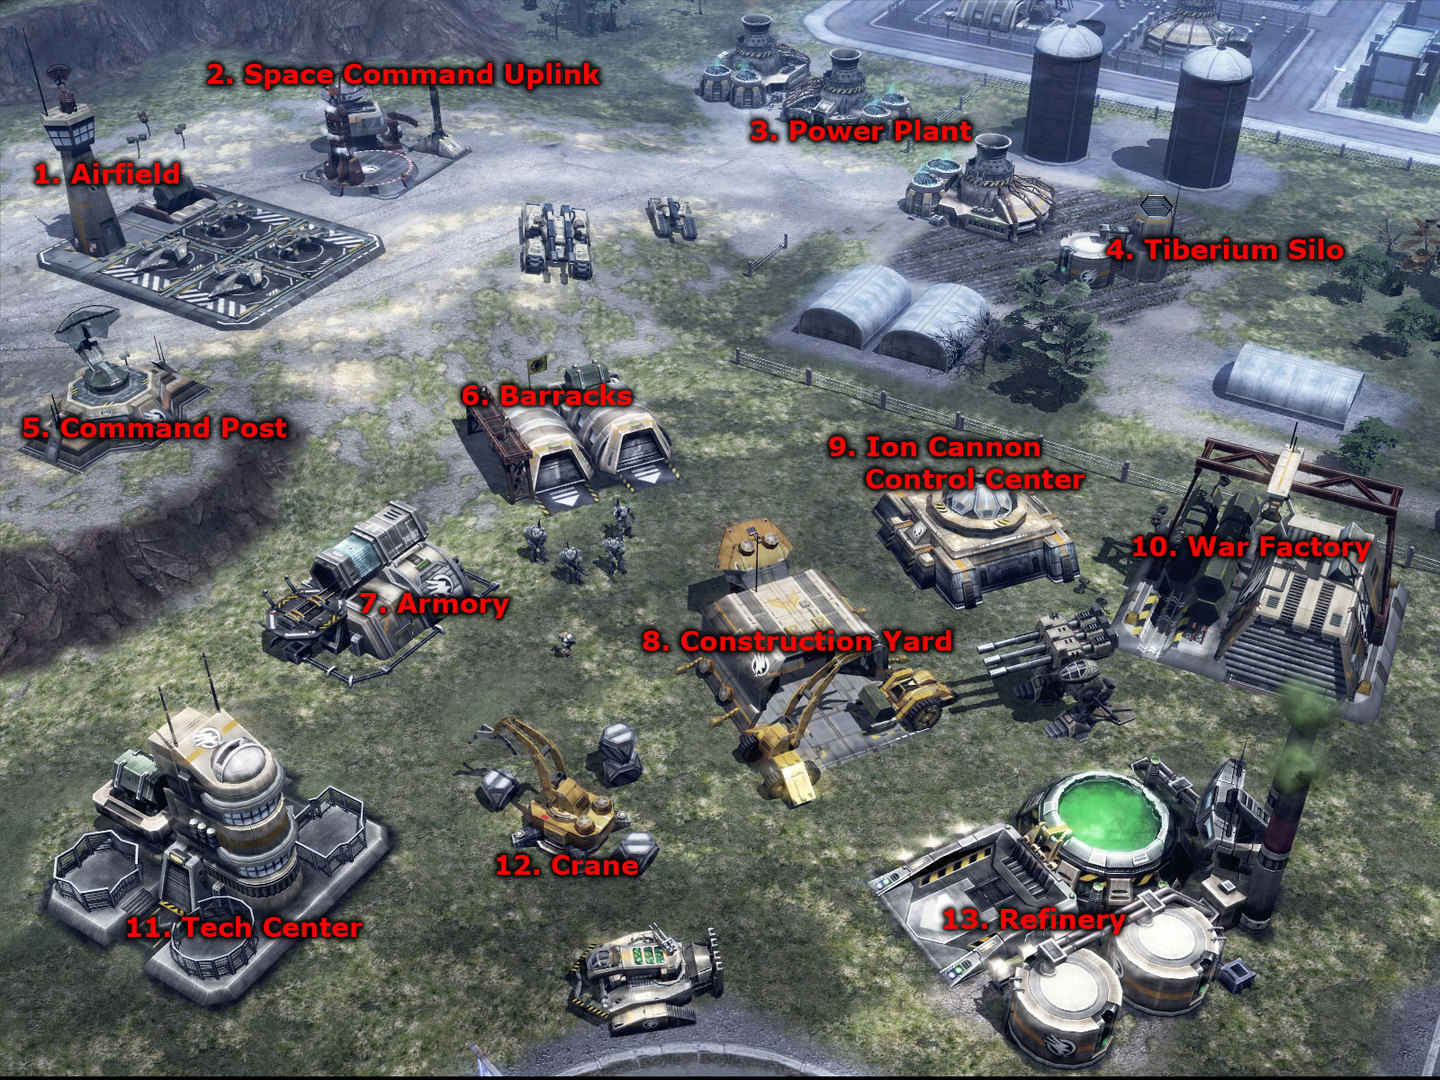
A wall of base defenses does little for workers gathering beyond its range. Place mobile defenders where they can respond to raids and scout the route into the next field.
| Asset | Threat | Useful response |
|---|---|---|
| Harvester | Fast raiding units | Mobile escort and scouting |
| Power structures | Bombing or focused attack | Spread critical infrastructure |
| Production | Raids that stop reinforcements | Layered counters and repair |
| Expansion | Isolated refinery and build access | Secure the approach first |
Use capture units with an escort
Engineers and faction equivalents can take eligible structures. Clear nearby enemies or use a safe transport route; sending an unprotected capture unit through a contested battlefield usually wastes its cost.
| Tool | Use | Check first |
|---|---|---|
| Capture unit | Take eligible buildings | Defenders and approach route |
| Repair | Preserve useful structures | Available credits |
| Support power | Situational battlefield effect | Cost, cooldown and targeting |
| Power down | Reduce power demand temporarily | The building becomes inactive |
Budget for support powers
Support powers can consume credits and have cooldowns. Check the targeting requirements and current cash before relying on a power to rescue a fight that the army cannot otherwise survive.
Keep the power network resilient
Losing one cluster of generators can disable defenses just when the base is attacked. Leave a power margin and avoid placing all critical infrastructure in one easily bombarded group.
References
| Reference | Website |
|---|---|
| Publisher game and edition listing | store.steampowered.com |
| EA original manual scan | static.wikia.nocookie.net |