Connect Brinstar, Norfair and the two hideouts
Use authentic original room images to recognize the branches of Zebes.
Original 1986 Metroid as adapted for the international NES release in 1987. These guides use the NES password system and original Zebes areas. The Famicom Disk System save menu, Zero Mission remake, later Metroid movement abilities and sequence-breaking glitches are excluded.
Illustrated reference
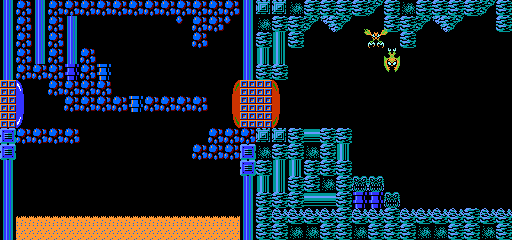
Brinstar
The opening region contains the routes that teach mapping and early equipment use. Mark doors and shafts here so later revisits have an understandable purpose.
Actual original NES Brinstar corridor, cropped from stitched game screens.
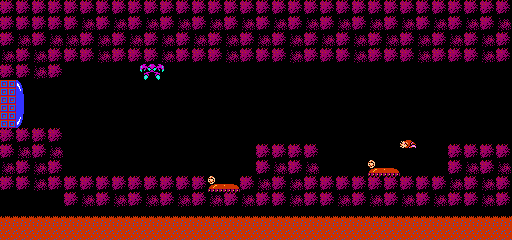
Norfair
A deeper region with more demanding exploration and further equipment. Bring energy, record the elevator back and evaluate each floor and enemy group before advancing.
Actual original NES Norfair corridor, cropped from stitched game screens.
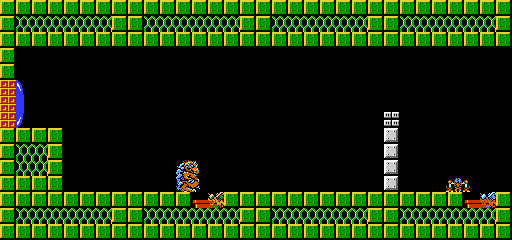
Kraid’s Hideout / Hideout I
This boss region is connected below Brinstar. Map the route to the real Kraid and preserve a usable supply for both the encounter and the return trip.
Actual original NES Kraid’s Hideout corridors, cropped from stitched game screens.
Ridley’s Hideout / Hideout II
This boss region is reached through Norfair. Keep its approach and exit connected to your route notes, then replenish before turning toward Tourian.
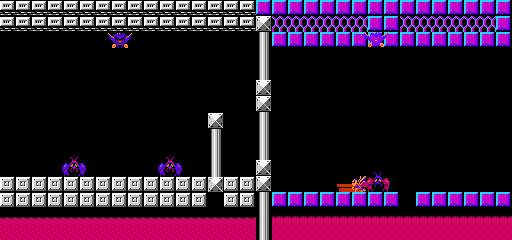
Actual original NES Ridley’s Hideout corridors, cropped from stitched game screens.
Let Brinstar establish the map’s structure
Brinstar contains the starting routes and early upgrades. Its corridors and vertical shafts make a useful place to learn your own map notation. Record door directions, elevator positions and the obstacle that stopped a branch. When new equipment opens an old route, update the same note so the area remains a connected place instead of several separate memories of visits.
Treat Norfair as a prepared expedition
Norfair extends the route into more dangerous rooms and additional equipment. Enter with a useful energy reserve and a clear understanding of the elevator back. Read the floor and moving enemies before stepping off a safe platform. The original game’s region rules differ from the later remakes, so base the route on the rooms and equipment shown in this edition.
Keep the hideouts connected to their approach
Kraid’s Hideout branches below Brinstar, while Ridley’s Hideout is reached through Norfair. Mark the connecting elevator and return route as carefully as the boss chamber. After a successful fight, you still have ordinary rooms to cross and supplies to refill. Defeating both guardians opens the path to Tourian, so keep their completion status together with your area notes.
Label a boss hideout by its connecting elevator; the path back matters after the fight.
Picture details
Game artwork belongs to its respective rights holders.