FZERO adventure archiveF-ZeroGUIDES

F-Zero Guide

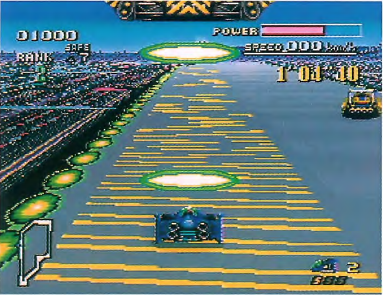
Actual original F-Zero gameplay showing the yellow pit strip and recharge craft, reproduced in Nintendo’s original manual, printed page 13.

Actual original F-Zero gameplay showing the yellow pit strip and recharge craft, reproduced in Nintendo’s original manual, printed page 13.

Super Nintendo · 1990 · 6 guides & references

Key characters
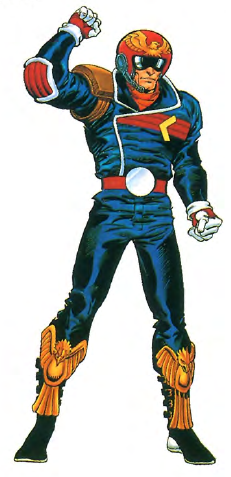
Captain Falcon’s official illustration from the original F-Zero manual, printed page 14.
Blue Falcon pilot

Captain Falcon

Captain Falcon drives the balanced Blue Falcon. The original manual also presents him as a bounty hunter; his machine is a useful starting point for learning unfamiliar courses.

Captain Falcon’s official illustration from the original F-Zero manual, printed page 14.
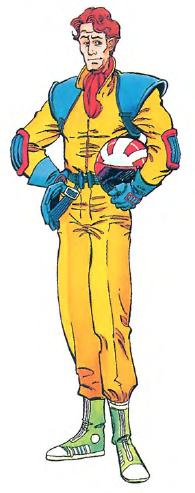
Dr. Stewart’s official illustration from the original F-Zero manual, printed page 15.
Golden Fox pilot

Dr. Stewart

Dr. Stewart drives the light Golden Fox. Its acceleration helps it recover speed, while careful steering and collision avoidance matter when preserving its relatively fragile body.

Dr. Stewart’s official illustration from the original F-Zero manual, printed page 15.
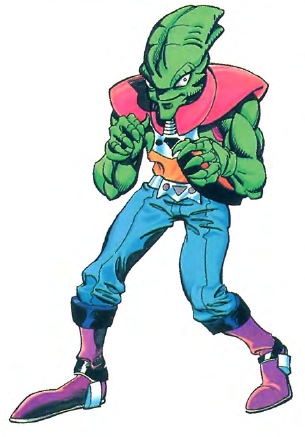
Pico’s official illustration from the original F-Zero manual, printed page 16.
Wild Goose pilot

Pico

Pico pilots the durable Wild Goose. Its design supports rougher contact, but a sturdy body does not remove the need to learn safe lines through narrow corners.

Pico’s official illustration from the original F-Zero manual, printed page 16.
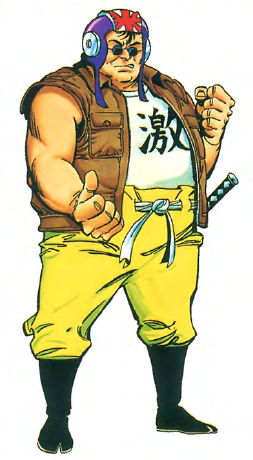
Samurai Goroh’s official illustration from the original F-Zero manual, printed page 17.
Fire Stingray pilot

Samurai Goroh

Samurai Goroh drives the Fire Stingray, which combines high top speed and stable cornering with slow acceleration. Losing speed to a collision therefore has a noticeable recovery cost.

Samurai Goroh’s official illustration from the original F-Zero manual, printed page 17.

Characters

Artwork & pictures

Actual original F-Zero gameplay showing the yellow pit strip and recharge craft, reproduced in Nintendo’s original manual, printed page 13.
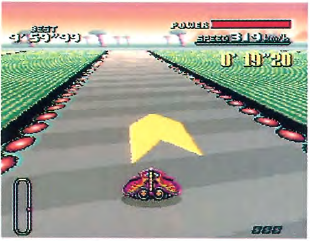
Actual original F-Zero Death Wind gameplay showing a yellow arrow Dash Zone; original manual screenshot, printed page 19.
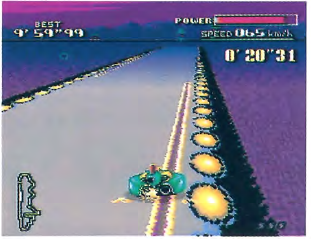
Actual original F-Zero Port Town gameplay showing the magnetic pull near the track edge; original manual screenshot, printed page 19.
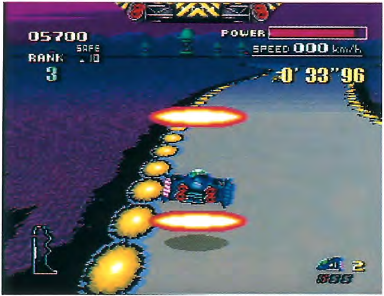
Actual original F-Zero gameplay showing the official guide beam returning a machine after a shortcut foul; original manual, printed page 13.

Pictures & sources

References