
Sanctuaries
The eight Your Sanctuary locations and their guardians. Contains spoilers.
Visit all eight with the Sound Stone. Contains spoilers.
| Sanctuary | Where | Guardian | Picture |
|---|---|---|---|
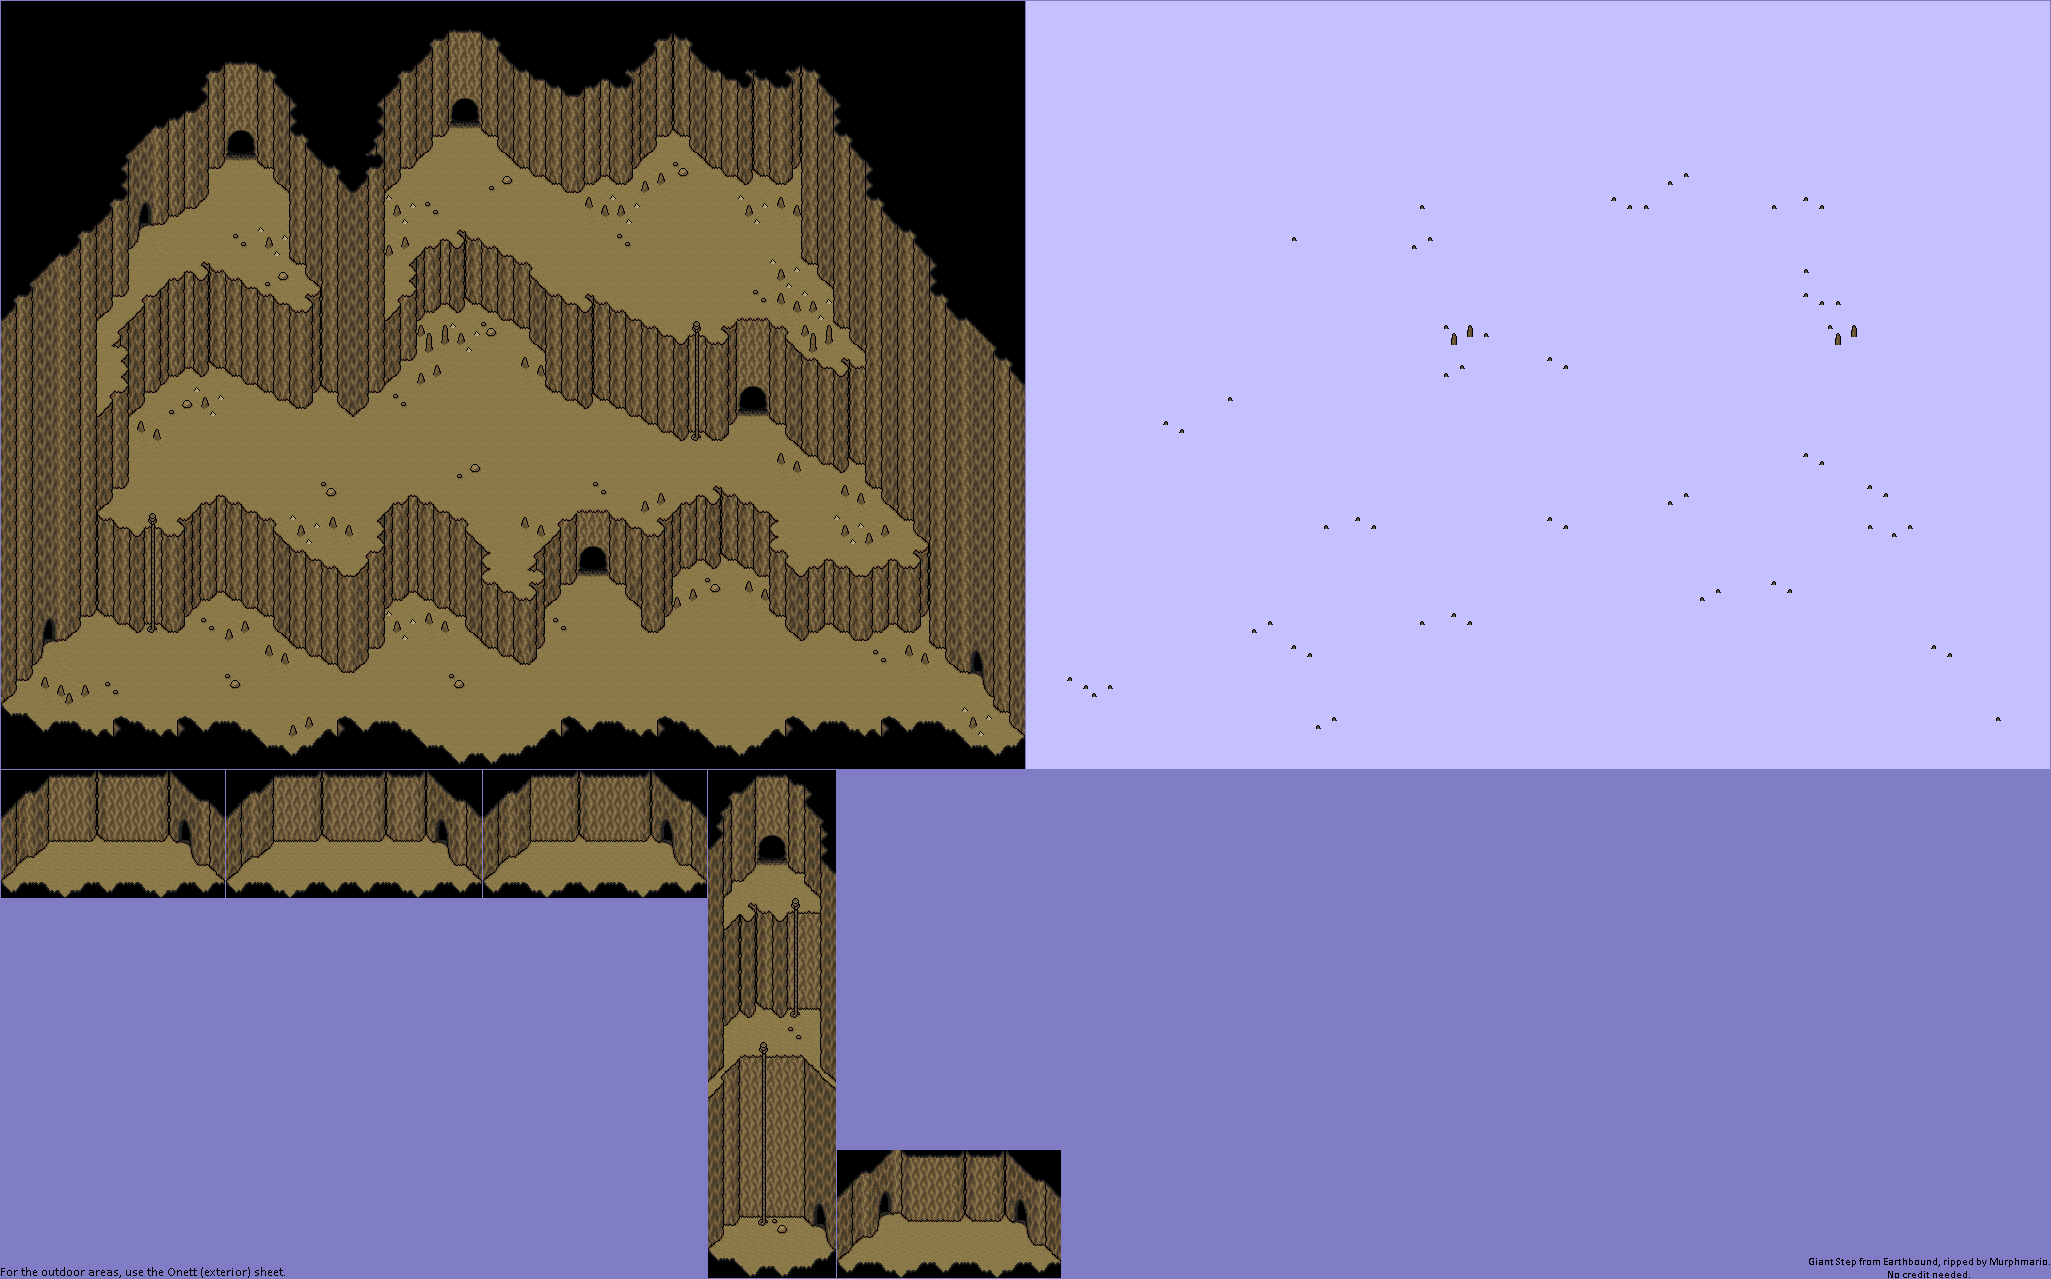
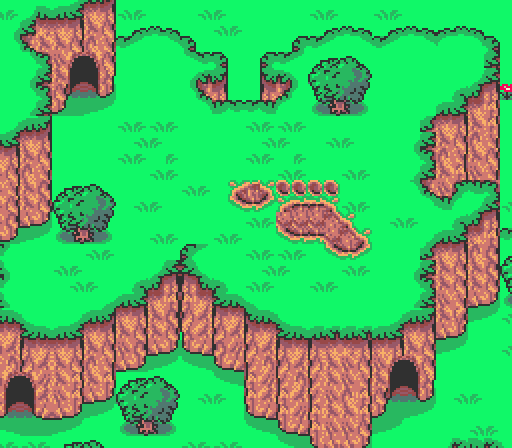
| Giant Step | Near Onett | Titanic Ant | 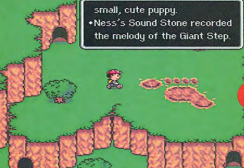 Full map |
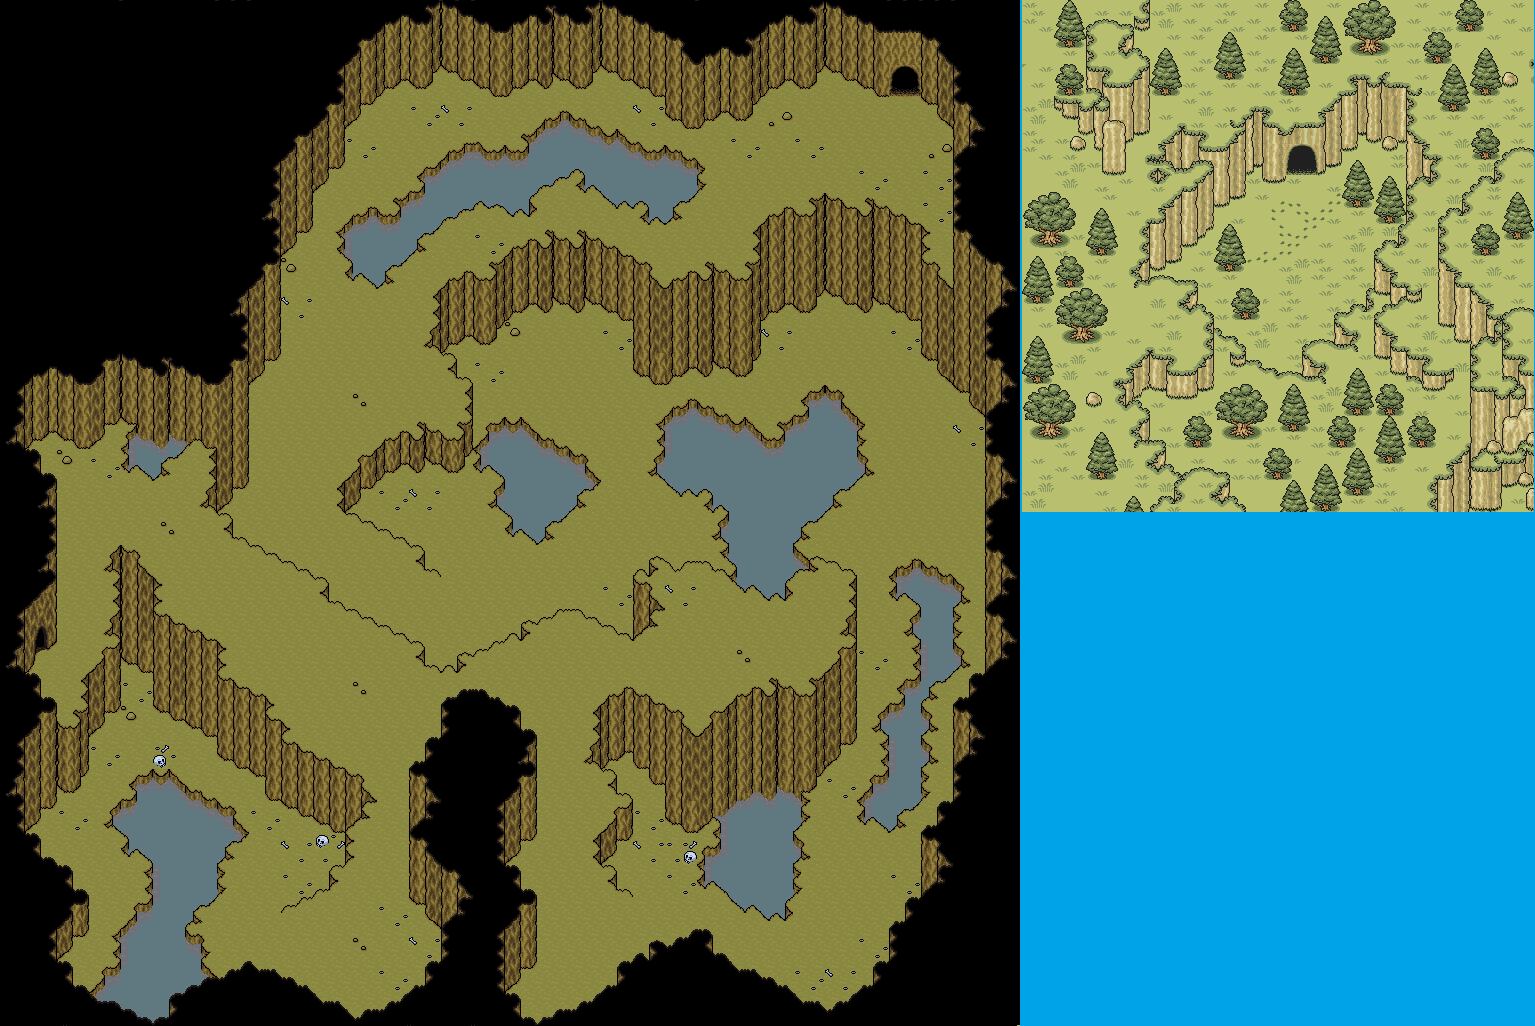
| Lilliput Steps | Near Happy Happy Village | Mondo Mole | 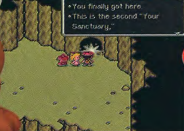 Full map |
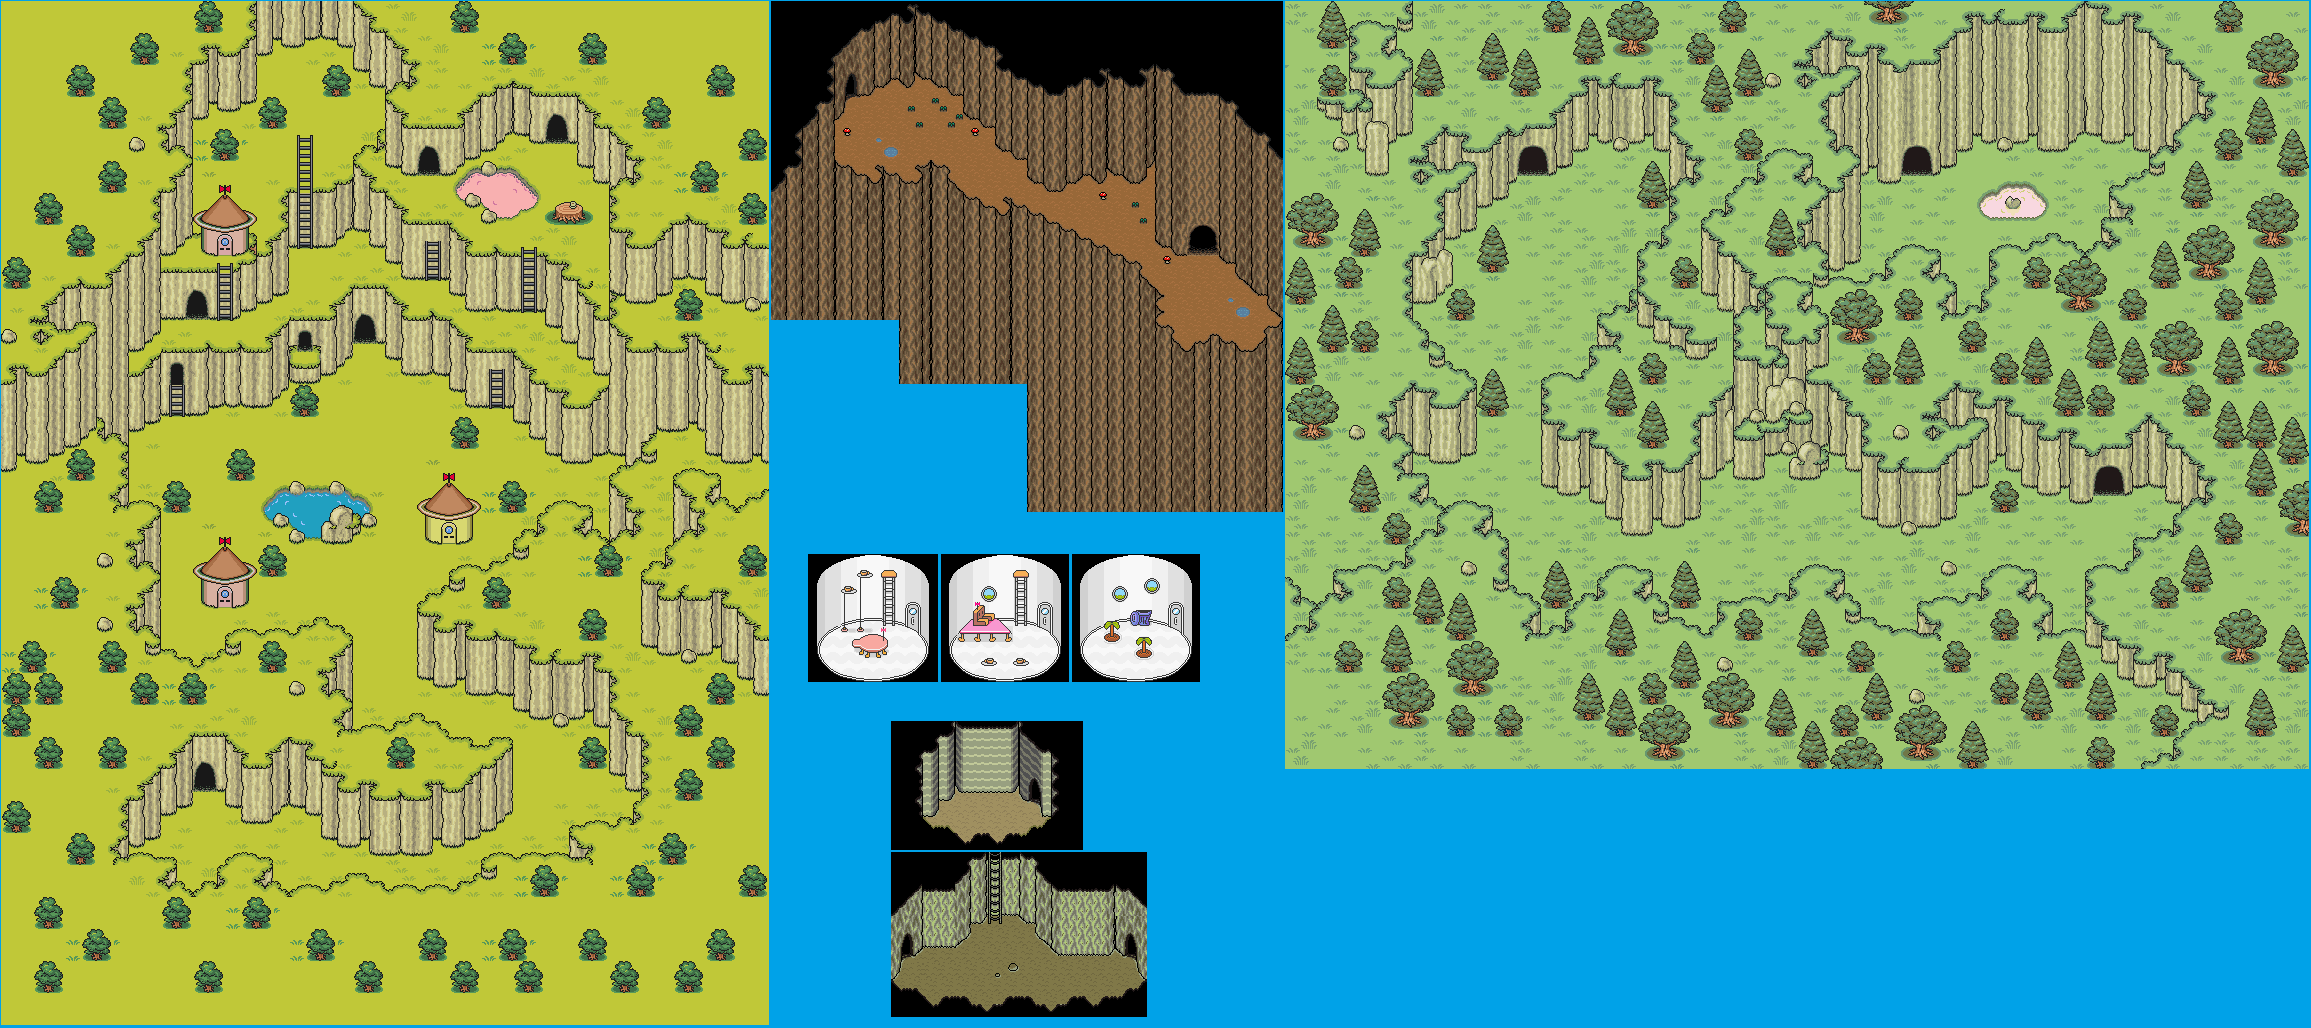
| Milky Well | Near Saturn Valley | Trillionage Sprout | 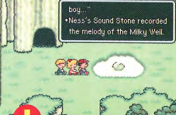 Full map |
| Rainy Circle | Winters | Shrooom! | 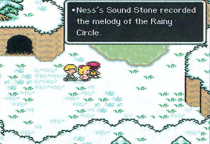 |
| Magnet Hill | Fourside | Plague Rat of Doom | 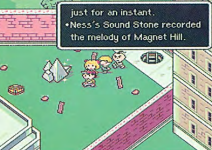 Full map |
| Pink Cloud | Dalaam | Thunder and Storm | 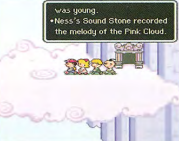 |
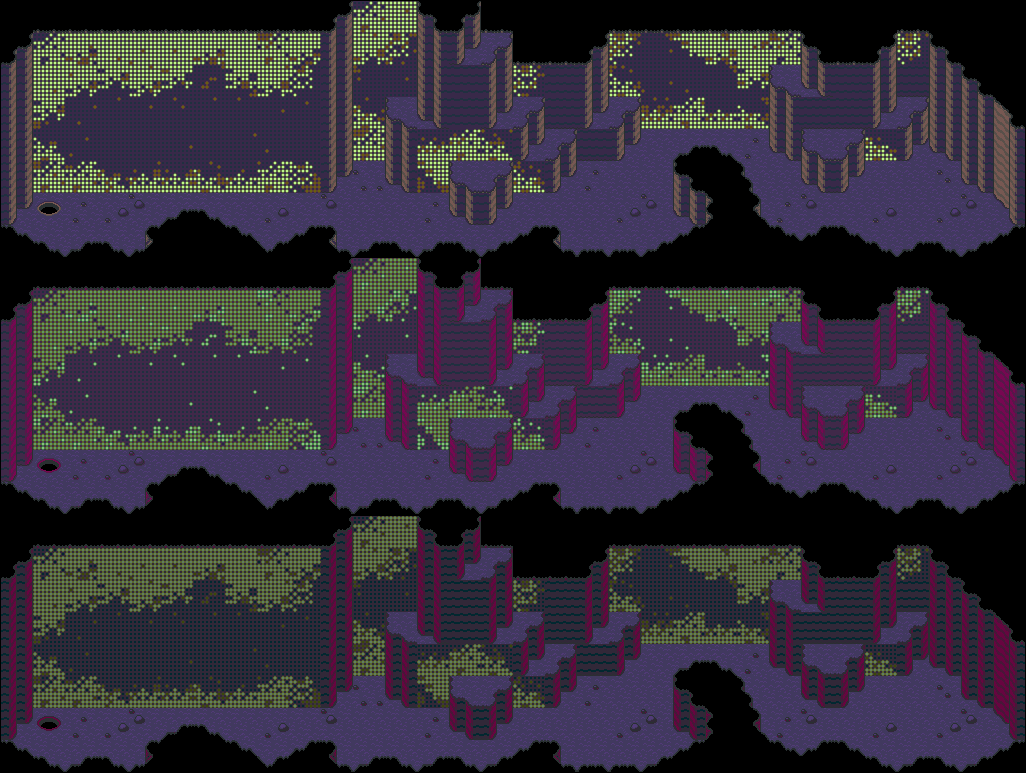
| Lumine Hall | Beyond Tenda Village | Electro Specter | 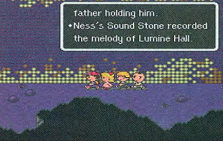 Full map |
| Fire Spring | Lost Underworld | Carbon Dog | 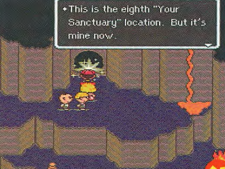 |

EarthBound · Super Nintendo. Game content © Nintendo / APE / HAL Laboratory.
Treat each Sanctuary as a regional milestone
A Sanctuary goal is connected to exploration and a major encounter, so arrive with equipment checked and recovery prepared. Learn the surrounding route before making the final approach. After a victory, follow through with the location’s story interaction rather than assuming the battle alone is the whole task. The Sound Stone helps connect these separate places to the larger purpose of Ness’s journey.
Keep a record of the melody’s progress
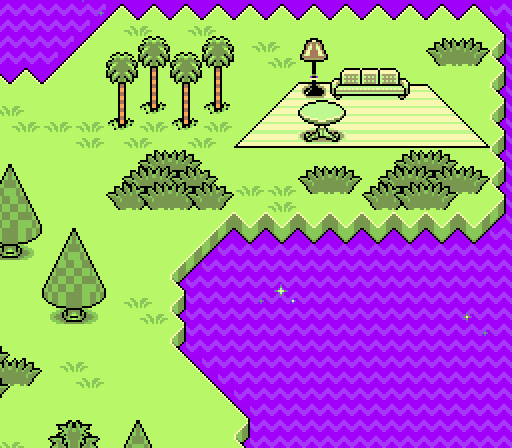
Use the list of eight locations to identify what remains, then match the missing place to the current story route. Do not assume every unvisited Sanctuary can be reached immediately. A useful completion note includes the region, the last obstacle seen and the reason you expect to return. That turns a late search into a focused trip rather than a tour of every town hoping to find a forgotten entrance.
References
Covered edition: The original SNES adventure: Mother 2 in Japan (1994), released as EarthBound in North America in 1995. This guide uses English-version names.