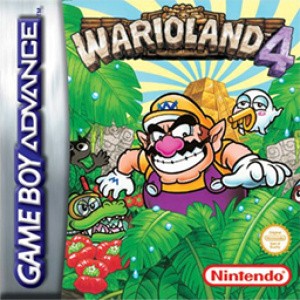
Wario Land 4 Jewel pieces, Keyzers and the Frog Switch: escaping a stage
Keep progression items and escape timing separate.
Edition covered
Original Game Boy Advance rules across Normal, Hard and S-Hard. Gallery captures of the original game include a later Nintendo Switch Online frame.
Four pieces make one stage jewel
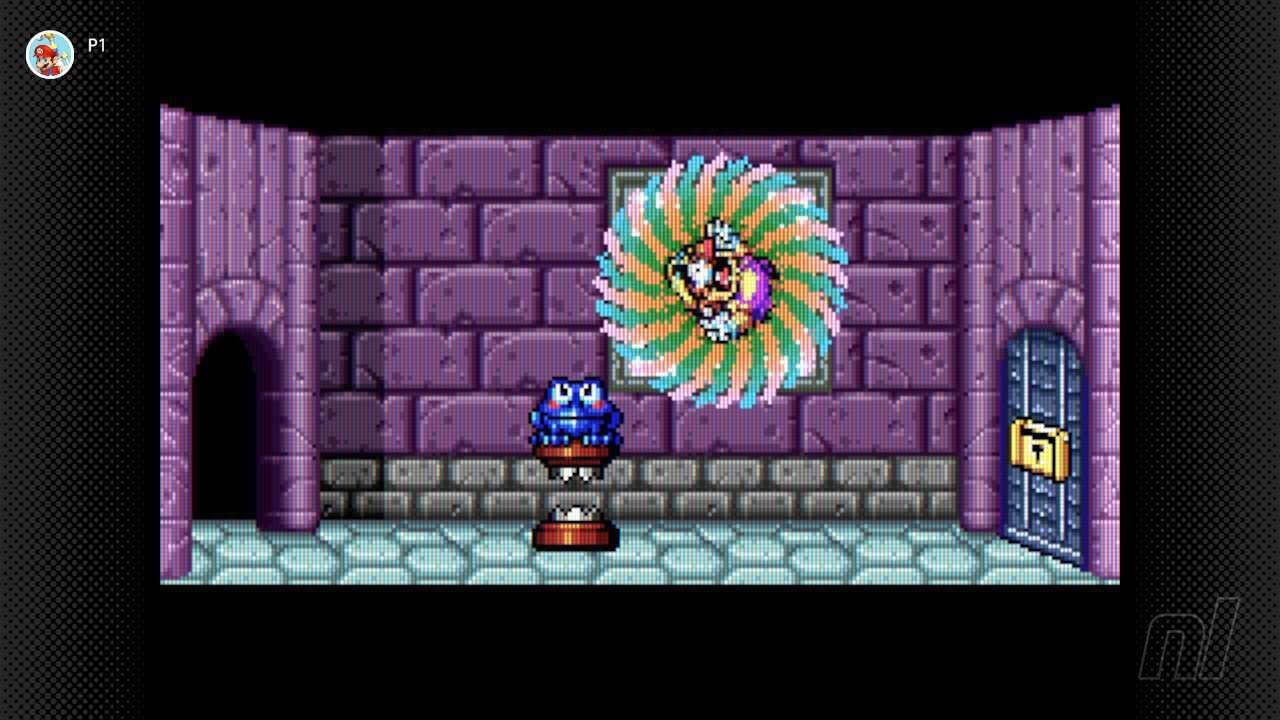
Look for the jewel-piece boxes while exploring. The next-stage Keyzer is a separate requirement, so use a two-part check before heading toward the return vortex.
| Object or trigger | Function | Before leaving |
|---|---|---|
| Four jewel pieces | Complete the stage jewel | Check every piece collected |
| Keyzer | Open the next stage | Keep it with Wario through the exit |
| Frog Switch | Open vortex and alter blocks | Know the first part of the return path |
| Return vortex | Bank the run and leave | Enter before score drains to zero |
| CD | Add a Sound Room track | Optional for stage progression |
Some items wait beyond the switch change
Solid and transparent Kaeru Blocks swap states when the switch activates. An item behind a solid barrier may be intentionally reserved for the timed return trip.
| Symptom | Likely cause | Response |
|---|---|---|
| Next stage stays locked | Missing Keyzer | Replay for the follower |
| Boss door stays locked | Incomplete passage jewels | Check all four stages |
| Item seems sealed away | Kaeru Block state | Inspect it after the switch |
| Screen becomes monochrome | Escape timer expired | Return immediately; score is draining |
| Old route fails on S-Hard | Changed layout or item positions | Recheck the route in that mode |
Zero on the timer is a score emergency
After escape time expires, the scene loses color and Wario’s score drains quickly. Reach the vortex before the score reaches zero to avoid being expelled from the stage.
Do not assume one route works on every difficulty
Harder modes change enemy placement, collectible positions and escape time. S-Hard can even move the switch, so a Normal-mode route is a starting point rather than a complete higher-difficulty solution.
References
| Reference | Website |
|---|---|
| Original-edition mechanics and reference | www.mariowiki.com |