Read the Main Deck and station habitats
Orient yourself with genuine GBA views of station corridors, recreated habitats and save facilities.
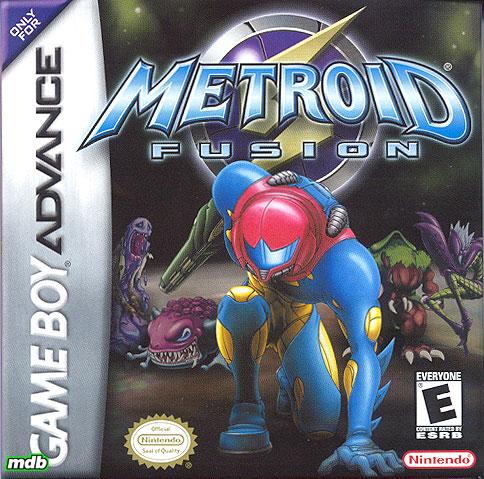
Original 2002 Game Boy Advance Metroid Fusion. The guide follows the English cartridge mission sequence and original GBA controls. Later emulator menus, save states, fan modifications and mechanics from other Metroid games are outside its scope.
Illustrated reference
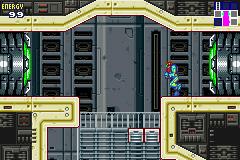
Main Deck
The Main Deck provides central corridors and connections to the station’s other facilities. Watch for broken routes when returning from a mission, since familiar passages can change during the outbreak.
Original GBA Main Deck corridor screenshot.
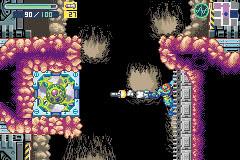
Sector 1 (SRX)
Sector 1 recreates SR388’s environment and introduces atmospheric stabilizers corrupted by the X. Its organic caverns make useful landmarks while Samus investigates the first habitat mission.
Original GBA Sector 1 organic cavern screenshot.
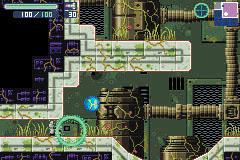
Sector 2 (TRO)
Sector 2 is the tropical habitat. Dense greenery, security restrictions and routes altered by the SA-X connect its missions to the equipment Samus is gradually restoring.
Original GBA Sector 2 tropical habitat screenshot.
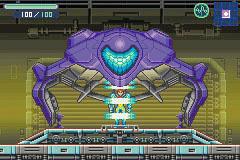
Save Room
Save Rooms preserve Samus’s progress at station terminals. A deliberate stop after an upgrade or difficult encounter reduces how much of the previous route must be replayed after defeat.
Original GBA Save Room screenshot.
Use the Main Deck as a connecting landmark
The Main Deck links the station’s central facilities and routes toward the habitat elevators. Navigation briefings repeatedly send Samus through familiar parts of this larger structure. Notice where a connecting corridor joins a shaft, because damage can change which direction is available. A remembered landmark makes an altered return route easier to recognize than following the objective marker alone.
Expect the habitat to affect the approach
Sector 1 recreates the environment of SR388, while Sector 2 contains a tropical habitat. Their organic surfaces and vegetation make hidden routes feel different from the station’s metal corridors. Search likely gaps after completing the current task, but keep the briefing in mind. The six sectors are connected by station systems whose security and operation change as the outbreak develops.
Treat facilities as part of your route
A Save Room records progress; a Recharge Room restores supplies; a Navigation Room provides the next briefing; and a Data Room receives equipment transmissions. These rooms serve different purposes even when their machines look imposing. Include the useful facility in a return route before beginning a long unknown stretch. Saving after an upgrade protects the progress used to reach the next objective.
The room’s function matters as much as the sector name.
Picture details
Game artwork belongs to its respective rights holders.