Borderlands getting started: missions, shields and early loot
Learn the Fyrestone opening, mission levels, Second Wind and practical loot decisions.
Edition covered
The original 2009 Borderlands base campaign, illustrated with the original PC Game of the Year release. GOTY Enhanced, sequel-only mechanics and expansion-specific rewards are not treated as base-game features.
Finish the opening jobs before ranging too far
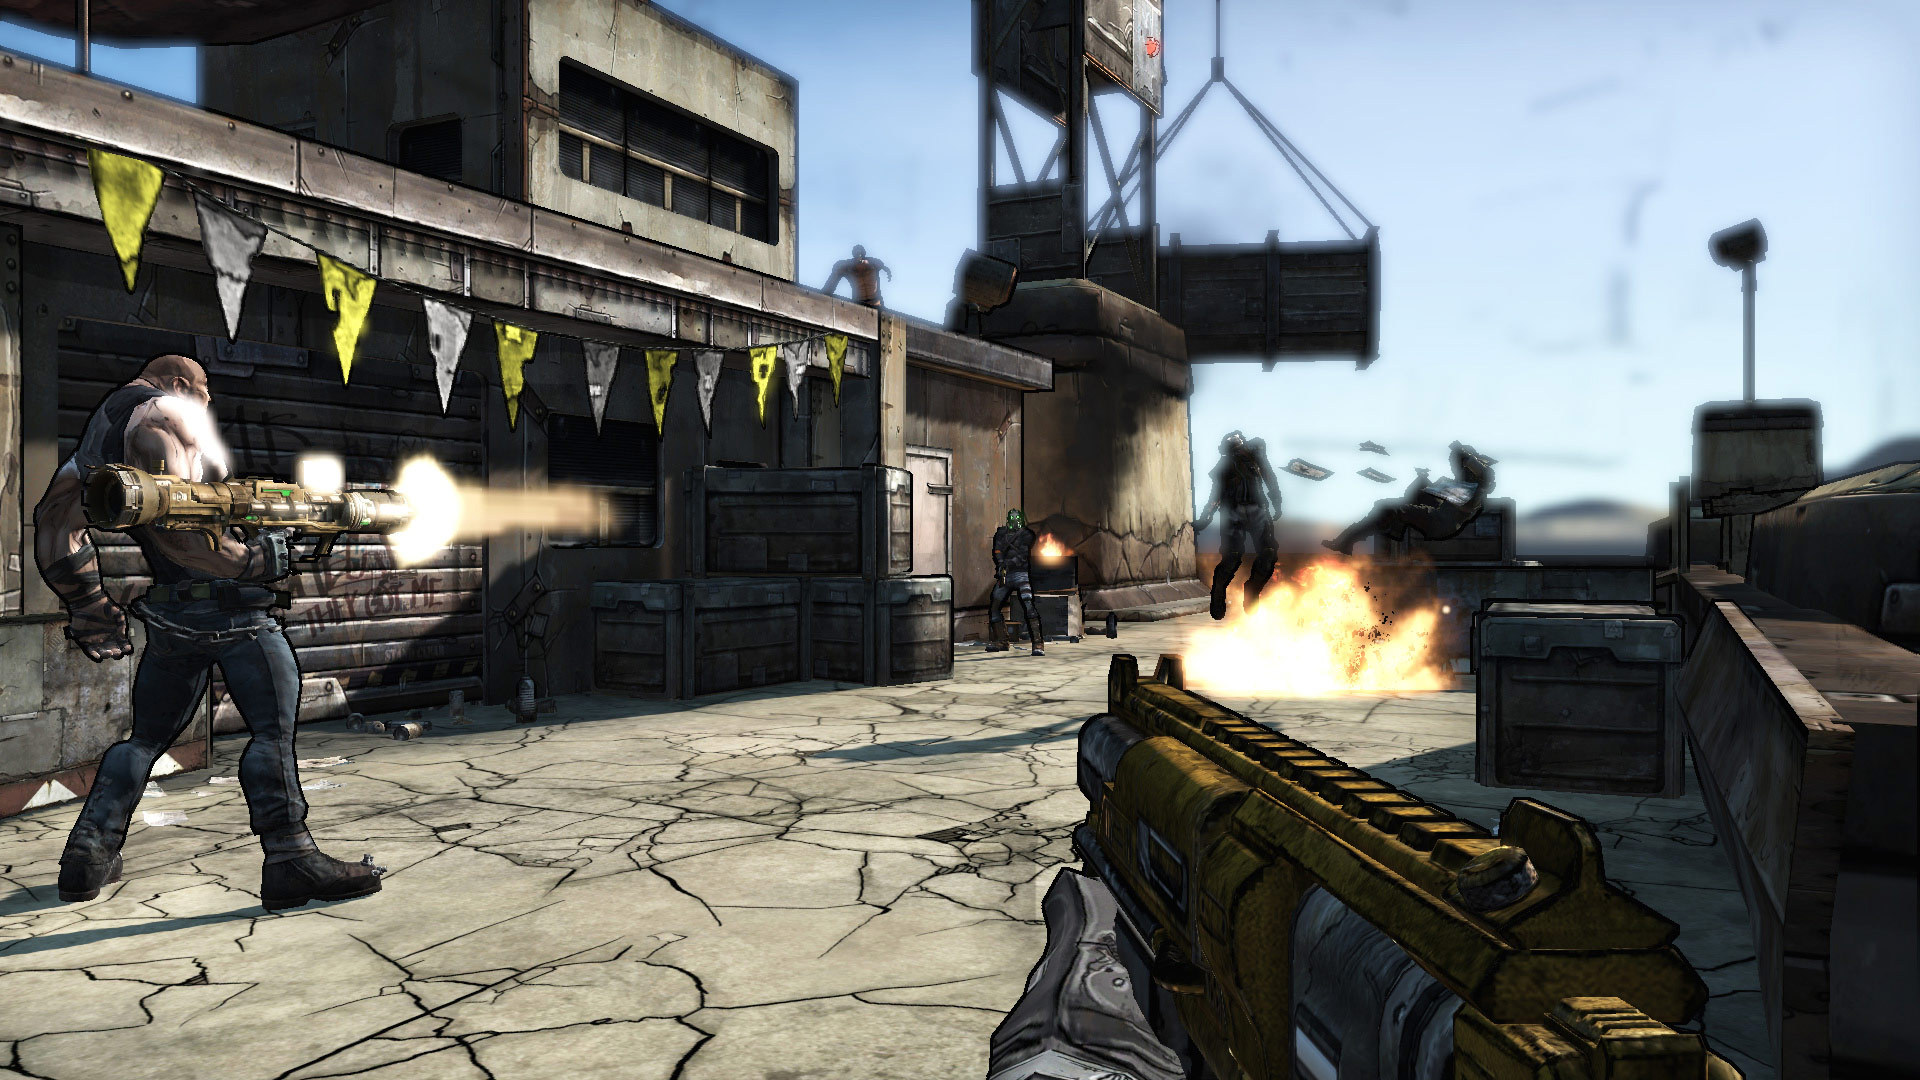
Follow Claptrap and Dr. Zed through the Fyrestone introduction. These jobs establish the equipment and mission loop. Check the mission log when several markers compete for attention.
| Stop or system | What to do | Why it helps |
|---|---|---|
| Claptrap introduction | Follow the opening instructions | Activates the basic interface and route |
| Dr. Zed’s jobs | Complete the initial local missions | Introduces health and shield needs |
| Mission log | Select the intended objective | Keeps the active marker useful |
| Vending machines | Check ammunition and equipment | Prepares for the next combat area |
| New-U station | Notice local station locations | Provides a useful recovery and customization landmark |
Use mission level as a warning
A mission far above your level can be an inefficient first target. Our recommendation is to complete useful nearby side missions, update equipment and return instead of repeatedly forcing the same difficult fight.
| Situation | Suggested action | Common mistake |
|---|---|---|
| Shield is empty | Move behind cover | Continuing a stationary damage exchange |
| Mission is much higher level | Do suitable nearby jobs first | Assuming a new gun removes the level gap |
| Backpack is full | Compare and sell unwanted loot | Discarding a useful elemental option blindly |
| Downed with an exposed enemy nearby | Focus damage for a Second Wind | Spreading damage among several healthy targets |
| Different guns share ammunition | Carry a complementary option | Using one ammo pool for every encounter |
Give the shield time to recharge
A shield is a recoverable buffer; lost health needs a different solution. Break line of sight when the shield empties, and avoid leaving a safe position simply because one enemy is nearly defeated.
Choose a realistic Second Wind target
When downed, an enemy kill can provide a Second Wind. Prioritize an exposed, weakened opponent rather than the toughest enemy in the room. In co-op, help a partner when the approach is safe.
When downed, an enemy kill can provide a Second Wind.
References
| Reference | Website |
|---|---|
| Borderlands publisher/storefront | store.steampowered.com |
| Original 2K game manual | www.gamesdatabase.org |
| BradyGames official guide sample: character building | ptgmedia.pearsoncmg.com |
| Base campaign and Claptrap rewards | gamefaqs.gamespot.com |
| Original weapon element reference | borderlands.fandom.com |