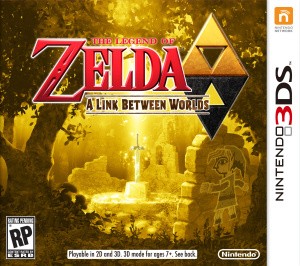
A Link Between Worlds beginner guide: rentals, energy and wall merging
Understand the systems that open Hyrule and Lorule routes.
Edition covered
Original Nintendo 3DS game. Promotional screenshots may depict a pre-release build; gameplay guidance concerns the released game.
Read the shared energy gauge
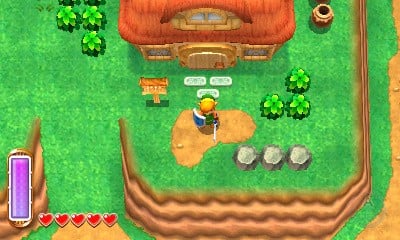
Several tools and wall merging consume the same gauge. Leave enough energy to reach safe ground, then let it recharge before continuing a long traversal.
| System | What it does | Planning rule |
|---|---|---|
| Energy gauge | Powers tools and merging | Let it recharge safely. |
| Wall merge | Moves Link along suitable walls | Check the exit point. |
| Rental | Temporary access to equipment | Loss matters after defeat. |
| Purchase | Permanent ownership | Eligible items can be upgraded. |
Build the opening toolkit
Ravio’s inventory lets you prepare for a specific obstacle. Select a tool because the route needs it rather than renting everything before you know the next destination.
| Obstacle | Useful response | Check |
|---|---|---|
| Distant target | Bow | Clear line of fire. |
| Peg barrier | Hammer | Room to strike. |
| Wall gap | Merge | Enough gauge for the crossing. |
| Unfamiliar dungeon entrance | Read its item cue | Carry the needed rental. |
Test a wall from both sides
A narrow gap or corner can connect places that appear separate from the overhead view. Merge where the wall allows it and look for a safe place to emerge.
Keep rupees for a return visit
Rented items are reclaimed after a defeat. A small reserve helps you recover the equipment required for the route without repeating unrelated money gathering.
A narrow gap or corner can connect places that appear separate from the overhead view. Merge where the wall allows it and look for a safe place to emerge.
References
| Reference | Website |
|---|---|
| Nintendo: electronic manual | csassets.nintendo.com |
| Zelda Dungeon: A Link Between Worlds walkthrough | www.zeldadungeon.net |