Gather Wisdom and prepare the Silver Arrow
Finish the First Quest with the equipment needed for Ganon, then recognize the optional Second Quest.
The original 1986 Famicom Disk System adventure as released internationally on the NES in 1987. Guides and game pictures follow the NES First Quest. The rearranged Second Quest is described as an optional follow-up; BS Zelda, Zelda II and later remakes are excluded. NES saving and controls apply.
Track fragments and equipment separately
The eight fragments of the Triforce of Wisdom mark the main dungeon progress. Equipment found along the way solves a different set of requirements, so record both collections in your notes. If a later route seems inaccessible, review your tools before assuming a dungeon must be cleared again. Spend a supply trip on specific needs such as healing, Bombs or enough rupees for arrows.
Search Death Mountain with a clear purpose
The last labyrinth contains the Silver Arrow and Red Ring among its important rewards. Its passages and underground connections make a written room map useful. Note where you entered, which walls you tested and where a stairway led. Preserve enough ammunition and health to continue after finding an item. The equipment search and the route to Ganon are parts of the same expedition.
Finish Ganon and the rescue
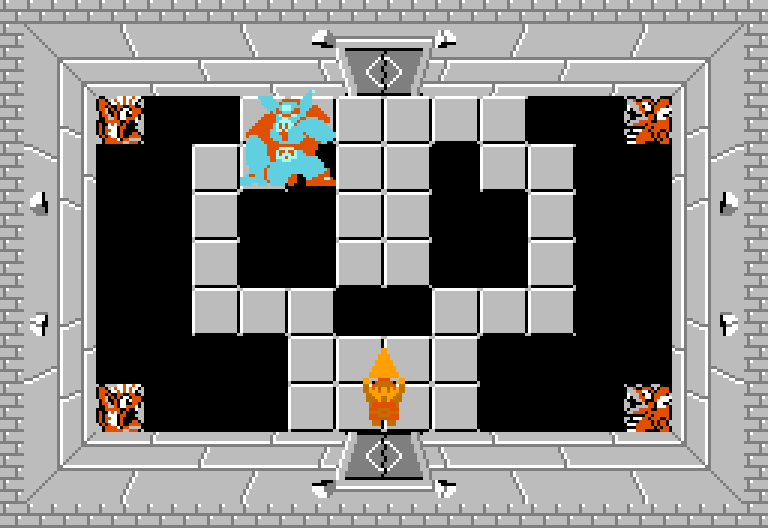
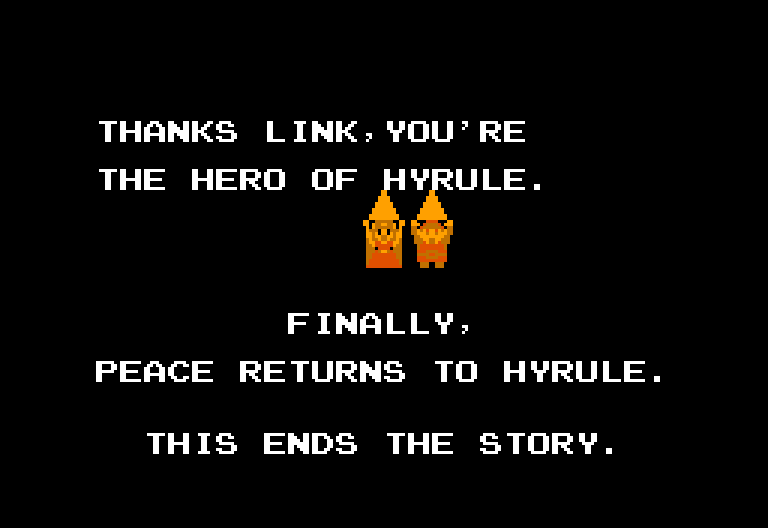
Ganon’s battle makes him invisible for much of the encounter, so sword attacks must find him while you also avoid his fire. When the required sword damage changes him to the vulnerable brown state, use the Silver Arrow to finish him. Collect the Triforce of Power and continue to Zelda’s chamber. Completing the rescue unlocks the rearranged Second Quest for another adventure.
Before the last encounter, verify that the Bow, Silver Arrow and rupees are available together.
Picture details
Game artwork belongs to its respective rights holders.